Download
1 / 23

E N D
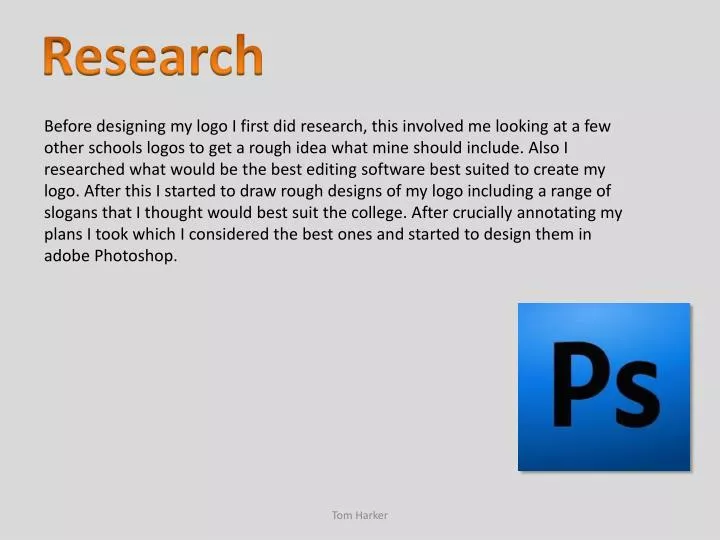
Research Before designing my logo I first did research, this involved me looking at a few other schools logos to get a rough idea what mine should include. Also I researched what would be the best editing software best suited to create my logo. After this I started to draw rough designs of my logo including a range of slogans that I thought would best suit the college. After crucially annotating my plans I took which I considered the best ones and started to design them in adobe Photoshop. Tom Harker
Logo design 1 This was my very first sketch of my logo, I had kept the slogan the same as the old college one as people would already recognise it and I think it represents the school well. I had also kept the idea of including the tree as I think this represents the location of the college well also could represent things such as, growth for example a pupil growing up through the school. its also a very simple shape that stands out and catch's the viewers eye especially if on school uniform etc. Tom Harker
This is me using a drawing tablet to create my logo. This is a piece of hardware that allows you to draw something on to the tablet which then shows up on the monitor. Tom Harker
When coming to design the logo on the computer I first drew the outline without the text. As I was drawing it I decided to make the outline look like a paint splat, I did this as I thought I represented well the fact that its an arts college, also I think it made it look more visually appealing. Tom Harker
To then change the colour of the drawing I used the ‘colour overlay’ tool Tom Harker
To then give my logo more effect I inserted a black inner shadow to the image, this gave it more depth and made it look even more visually appealing Tom Harker
I then used the text tool to insert text to the image I changed the font making it bold and the colour of the font black to make it stand out. Tom Harker
Logo design 2 My second logo design was this one although creating my first one already I wanted to create this one as well so I could compare them ageist each other. Tom Harker
I first draw a simple sketch of the girl catching a ball, I did this by using the drawing tablet as I did with my first logo design. Tom Harker
All I then did was add text to this design, I didn’t want to change the colours as I thought it looked good black as it stood out. Tom Harker
Logo design 3 For my 3rd design I wanted to include an aspect of art or something to represent that we are an arts college, I came up with the idea of the paint splat to do this with the third initial being splatted in paint. I also used just the initials to keep it more simple recognisable and sand out. Tom Harker
I first started by inserting the individual letters for my logo instead of drawing these of just using the text tool instead I retrieved these off the internet. I used Google images to do this then just copy and pasted them into Photoshop, one in there I could use the ‘free transform’ tool to resize and manipulate it. I also changed the fill colour bye using the paint bucket tool. Tom Harker
I then used the same technique when inserting the letter ‘A’ Tom Harker
Instead of drawing the graphic like id done in my previous logo designs I got this image off the internet Tom Harker
I then used magic wand tool crop out just the paint splat. Tom Harker
I then inserted it into the other tab onto my logo design Tom Harker
I then used blending options an inserted a colour overlay onto the image. Tom Harker
I then used the Eraser tool and draw in the letter ‘C’ onto the paint splat. Tom Harker
After finishing my three logo’s I couldn’t decide which one to use and develop as a final piece and didn’t want the other too ideas to go to waste so I thought If there was a way to include all of them into one final piece. I came up with loads of drawings for this and moved them around on top of each other before coming up with a final idea to develop Tom Harker
I then inserted my logo design one into my logo design three using it as part on the A and taking out the text I think this looked more visually appealing and also included both reorientations of the paint splat as we are an arts college and also the tree representing its location and growth etcetera. Tom Harker
I then put in the girl catching the ball on top of the letter ‘I’ and kept it the same colour to give it a silhouette effect also removing the text and using the paint bucket tool to change the colour of the ball. I'm really happy with my6 final piece and glad I managed to include all my idea’s. Tom Harker