Download
1 / 26
260 likes | 569 Vues
Controlling floods in Urban areas. Back to the Tees!. Causes of Floods. A Flood can occur when a river exceeds its bank full stage and water will subsequently inundate the adjacent surrounding area.

E N D
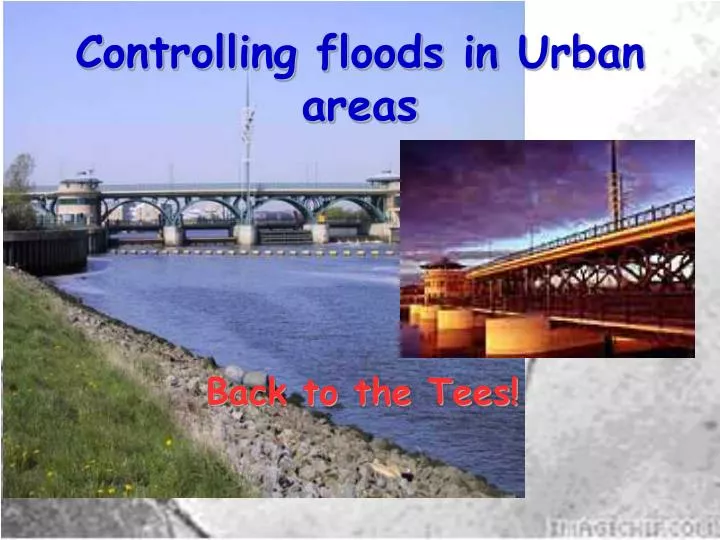
Controlling floods in Urban areas Back to the Tees!
Causes of Floods • A Flood can occur when a river exceeds its bank full stage and water will subsequently inundate the adjacent surrounding area. • Heavy rainfall - long periods of heavy rainfall will lead to an increase in surface runoff and increase in river level. • Snow melt - water in storage is often freed by Spring melts increasing surface runoff. • Deforestation - cutting down of trees leads to a reduction in interception rates and an increase in surface runoff. This may also lead to rapid erosion rates due to a lack of stability in the soil subsurface. • Urbanisation - tarmac and concrete surfaces are impermeable and lead to an increase in surface runoff. After urbanization the lag time is shortened, peak flow is greatly increased, and total run-off is compressed into a shorter time interval – favourable conditions for intense flooding. • For example, in a city that is totally served by storm drains and where 60% of the land surface is covered by roads and buildings, floods are almost six times more numerous than before urbanization
When we talked about the hydrograph – what other issues may mean that rivers are more liable to flood? – besides these? Heavy rainfall? Snow melt? De-forestation Urbanisation
What happens when there is flooding? • Flooding greatly increases the river’s energy so it can do more work. The deeper and faster flowing river can carry more load – see the tree trunk last year in the River Wye! • Most rivers turn brown because of the large amount of sediment carried in suspension. • What does that mean?
What happens when there is flooding? • The amount of erosion carried out by hydraulic action and abrasion is greatly increased. • How does this happen? • In the lowlands many features are formed during flooding: • Levees • Flood plain deposition • Ox-bow lakes
Damage caused by flooding • Short term • Loss of life • Destruction of property • Crop damage • Loss of communication • Fresh water pollution • Loss of power
Damage caused by flooding • Long term • Replacing what is lost or damaged • In MEDCs insurance covers much of it – but not all as in the case of Hurricane Katrina, many poorer people could not afford insurance. • Governments have the funds to rebuild the infrastructure- e.g. roads, water treatment etc • In LEDCs most people loose everything. Crop destruction can lead to famine. • The governments cannot easily rebuild the infra- structure. What they can takes a long time
Flood Control and Management • There are a number of ways managing floods: • 1. Afforestation - planting trees increases interception rates and reduces surface runoff. • 2. Dams and Reservoirs - these hold back and regulate the flow of river water. Can be used as fresh water supply and generation of HEP. • 3. Diversion Channels and basin - overflow channels which take surplus water out of a river in times of flood. • 4. Channel Straitening and Dredging - smoothens the channel to increase the speed (velocity) of the river and get water out of the drainage basin as quickly as possible.
Flood Control and Management • There are a number of ways managing floods: • 5. Artificial Levees - makes river banks higher therefore holding more water. • 6. Culverts - semi circular, smooth channels increase velocity and gets water away from urban areas as quickly as possible. • 7. Revetments, Channel Walls, gabions - strengthen river banks from erosion using large lumps of stone – see over • 8. Restricted use of flood-plains - legislation, higher selective insurance premiums/refusal to insure particular locations. • 9.Co-ordinated flood warning and emergence reaction procedures e.g. Environment Agency Flood watch
River Tees - Management • The River Tees has a long history of flooding. • The first documented flood was at Croft on the lower Tees in 1356. • Many of the previous floods were precipitated by snow melt. • However, the Environment Agency suggest that this will be less of a problem in the futures. • However, intense rainfall is more likely to be a problem so flash floods will become more frequent • The Tees valley is also home to a large population and many industries, all requiring a reliable water supply. • The river is managed to provide a water supply and to control flooding. • In recent years there have also been developments to increase its potential for recreation and tourism.
River Tees - Management • Cow Green reservoir was built in 1970 to provide water for the growing industries on Teesside. • It is a regulating reservoir, storing water in times of plenty and releasing enough for the needs of industry in times of low flow. • In times of severe summer droughts water can be added to the River Tees via a tunnel which connects it to the River Tyne and Kielder reservoir.
Lower Tees Valley- Management • The Tees Barrage (a man made barrier across a river) – • The aim of the Tees Barrage was to improve the water quality and recreational value of 22km of the lower Tees. • The barrage was completed in 1995 and cost £54 million. • The 22km stretch of river between Yarm and Stockton is now kept permanently at high tide. • The water is fresher and cleaner as it does not mix with the tidal salt water in the lower estuary. • The barrage also reduces the risk of flooding at very high tides or during a storm surge. • The barrage has acted as a catalyst for £500 million of investment in offices, housing, educational, leisure and shopping facilities.
Lower Tees Valley- Management • Dredging • The lower stretches of the Tees estuary are dredged (sediment is extracted) periodically to improve navigation by maintaining a deep-water channel. • There has also been some dredging in the upper parts of the estuary to reduce the flood risk - it increased the capacity of the channel.
Lower Tees Valley- Management • Cutting of meanders • In 1810, the Tees Navigation Company cut across the neck of the Mandale Loop, a large meander near Stockton. • The new route shortened the river by 4km. Other stretches of the river have been artificially straightened. • This allows the water to move faster along the channel (less energy lost with the river banks), reducing the flood risk.
Lower Tees Valley- Management • Yarm's flood defence scheme Yarm, a historic market town and once an inland port, is located on the inside bend of a large meander. • Yarm is particularly prone to flooding. • The most recent serious flood was in January 1995. • Since then a new flood defence scheme costing £2.1 million has been built which: • reinforced concrete walls with flood gates for access by people and vehicles. • earth embankments to contain the river. • gabions (baskets filled with stones) to protect the walls and embankments from erosion.
Lower Tees Valley- Management • The scheme also incorporates features designed to reduce the visual impact of the walls and to enhance the environment. • There are fishing platforms, new street lighting and a comprehensive planting scheme. • English Heritage approved all building materials used so that they were in keeping with the existing architecture of the town.
Lower Tees Valley- Management • Improved flood warning systems. • These have better liaison with the Meteorological Office, police and other emergency services. • Finally, new development discouraged building on low-lying and flood-prone land - an example of land-use zonation - land is used for activities not damaged by inundation (long word meaning severe flooding) e.g. playing fields, parks, urban forests/walks etc
Aim: • This section should briefly outline what the aim of the study was as well as what variables you looked at in your study (ie. how the width, depth, cross-sectional area, channel width, velocity, discharge, gradient and pebbles characteristics or water quality features, water quality features).
Introduction: • 1. Where the river is (those who are using the virtual data will have this supplied), what the river is like in general description – google maps in aerial are good for this. Etc • 2. Also included in this part is the theory that you will base your ideas on: • e.g. The saturation level for oxygen decrease as the temperature increases, so that I would expect lower amounts of oxygen if the day was warm • e.g. The bedload of rivers decreases in size and increases in smoothness the further they are from the source. This is because of attrition, the way pebbles are eroded, which is increased by the means of transport, saltation, which encourages the pebbles to jump over one another along the river bed. • As you see, depending on what you are measuring this section could be quite long.
Hypotheses / Predictions: • Hypotheses / Predictions:Most of these will start with ‘ The further the site is from the source, the more/less …..
Methods: • For the virtual folk, explain the official version of how the data was collected. For the rest, what you actually did.Include the resources you needed at the beginning and if you are doing pebbles, include a copy of the powers chart. You may include photos of you in action, especially if they help to explain what you did.
Results: • Present all your data in neat tables initially. • Then use a range of methods to present your data such as bar charts, line graphs, scattergraphs, (these are all available in EXCEL – any problems, let me know – I am a bit of an expert on EXCEL) • Labelled (annotated) photographs or sketch maps or any other relevant graphical method.
Conclusion: • Using the information in the results, go back and restate the hypothesis and see how well you data matches/ does not match. If it agrees, you can go on to say that the data shown agrees with it, showing that … If it disagrees, you need to have an idea as to why that is.Finally theEvaluation:You then need to go to explain if you feel you could have done more, had you had the time opportunity and what you would have done.
Afon Gywnllyn • I am doing water monitoring and also a feature or 2 – definitely stones – sse what else works – will keep a log on the blog