Download
1 / 44
450 likes | 469 Vues
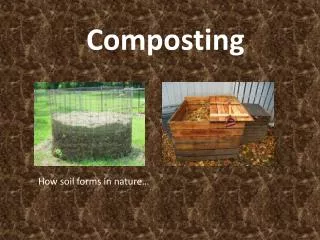
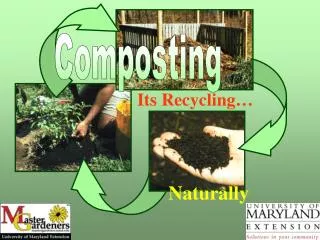
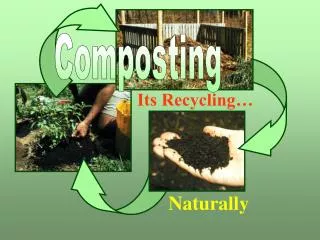
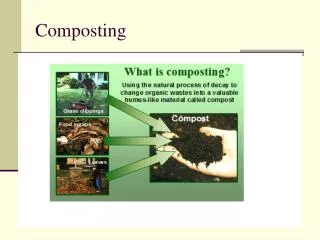
Composting. It’s Recycling…. Naturally. Compost. What is composting?. Using the natural process of decay to change into a valuable humus-like material called compost. Grass clippings. Food scraps. Leaves. Composting - Speeding up the natural decay process. A compost pile or bin

E N D
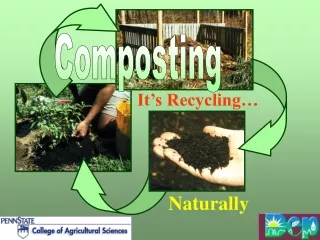
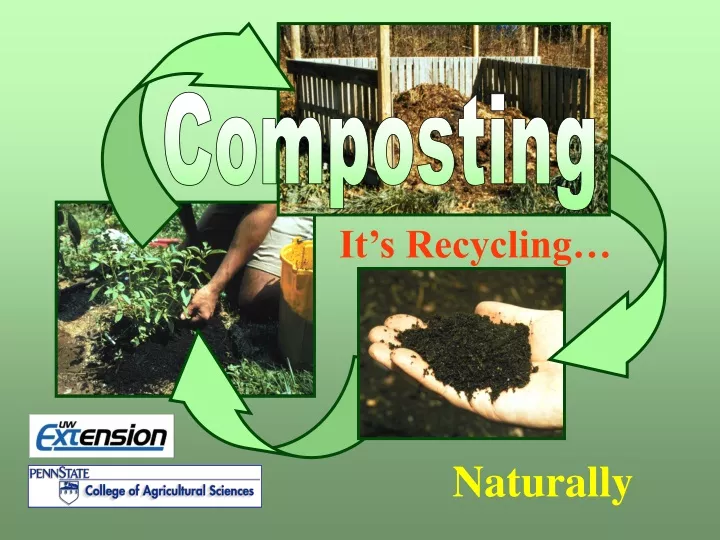
Composting It’s Recycling… Naturally
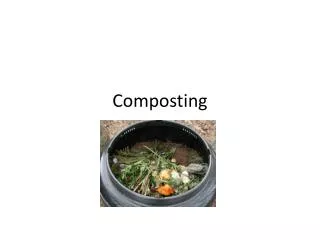
Compost What is composting? Using the natural process of decay to change into a valuable humus-like material called compost Grass clippings Food scraps Leaves
Composting - Speeding up the natural decay process • A compost pile or bin • allows you to control • Food • Air (oxygen) • Water • Temperature By managing these factors you can speed up the otherwise slow natural decay process
Benefits of CompostPromotes soil health • Supplies organic matter to soil • Attracts earthworms • Stimulates beneficial soil microorganisms • Increases soil water holding capacity • Increases soil nutrient retention
Benefits of CompostPromotes soil health (cont’d) • Improves soil tilth and friability • Adds organics to sandy soils • Loosens heavy clay soils • Improves soil drainage • Suppresses some soil-borne plant pathogens (diseases)
Benefits of CompostPlant nutrients Compost contains a variety of plant nutrients • The macro nutrients nitrogen and phosphorus are mostly in organic forms • Released slowly to plants • Not readily leached from the topsoil • Compost contains many trace nutrients that are essential for plant growth
Using finished compost • Soil amendment • Be sure that compost is mature, has an earthy smell (no ammonia or rotten smell), looks dark and crumbly with few recognizable starting materials • Compost improves soil health when mixed in the top 4 to 6 inches (work in no more than a 2” layer of compost) • Will improve water and nutrient retention of sandy soils • Will loosen compacted clay soils and make them more friable
Using finished compost • Surface mulch in the garden/landscape • Maximum 3” depth • Start 3-4” from trunk • Extend out to drip line • Mulch provides • Protection from temp extremes • Slows moisture loss from soil • Provides some slow release nutrients
Using finished compost • Lawn topdressing • Use fine (screened) compost, 1/4” depth raked over lawn • Potting mix • Mix no more than 1/3 compost by volume • Compost Tea • Soak porous bag filled with compost in water • Use liquid to water yard, garden & houseplants
What do you need to make compost? • Food for the “bugs” The organic materials to be composted • The “bugs” – Your composting work crew. Both macro and micro organisms • Oxygen, water, and warmth in the right amount to keep the work crew happy
What is the best food for your decomposers? All organic materials will compost, but not all should be added to a backyard compost pile Organic wastes that should be composted include: Garden trimmings Grass clippings Leaves Kitchen scraps And more!
What Food Waste Can I Compost? • Fruit • Uncooked Vegetable Scraps • Corn Cobs and Husks • Steamed/Boiled Vegetable Scraps • Egg Shells • Tea Bags • Coffee Grounds and Filters • Spoiled Juice • Manure from herbivores (nonmeat eaters)
Food To Avoid • Meats of all kinds • Fish • Sauces • Gravy • Dairy Products • Fats and Oils • Breads and Baked Goods
Materials to never add Materials to never add • Materials with Toxics or Diseases that can Carry over to People • CCA treated lumber or sawdust • Manures from meat-eating animals • Garlic Mustard/Invasive Species • WHEN IN DOUBT LEAVE IT OUT!
Materials to avoid… Avoid organic materials that could cause problems during or after composting • Oil, fat, grease, meat, fish or dairy products • Hard to kill weeds (bindweed, quackgrass) and weeds that have gone to seed • Charcoal briquette ash – chemically treated • Thorny branches • Whole branches or logs
More materials to avoid… • Lime (increases compost pH & promotes ammonia odor problems) • Wood Ash, add sparingly to the pile (will add some potash to compost but will increase pH and ammonia odor problems) • Some Pesticide Treated Grass & Weeds, as they do not all break down quickly. Never use these greens as mulch; it may kill trees and other plants.
More about food for your decomposers Your compost workers will thrive if you give them a balanced diet. Composting will be most rapid if the decomposers are fed a mix of carbon and nitrogen in about a 30:1 ratio • Carbon rich organics are known as “browns” • Nitrogen rich organics are known as “greens” • Typically, an “ideal” compost pile will have these in a 3 to 1 ratio
Browns High carbon materials such as Leaves (30-80:1) Straw (40-100:1) Paper (150-200:1) Sawdust (100-500:1) Animal bedding mixed with manure (30-80:1)
Greens High nitrogen materials such as • Vegetable scraps (12-20:1) • Coffee grounds (20:1) • Grass clippings (12-25:1) • Manure • Cow (20:1) • Horse (25:1) • Poultry (10:1), with litter (13-18:1) • Hog (5-7:1)
Browns • Decay very slowly • Coarse browns can keep pile aerated • Tend to accumulate in the fall • Tie up nitrogen in soil if not fully composted • Greens • Decay rapidly • Poor aeration – may have foul odors if composted alone • Tend to accumulate in spring and summer • Supply nitrogen for composting • Best composting if mixed with browns
The “Bugs”Macro Organisms • Worms (red wigglers) • Sow bugs • Mites • Springtails • Beetles • Millipedes & Centipedes • Even Snails and Slugs
The “Bugs”Microorganisms One teaspoon of good garden soil to which compost has been added contains: • 100 million bacteria • 800 feet of fungal threads
Numerous additives and starters are available but are not needed for good or rapid composting
Is shredding necessary? Smaller particles decompose faster • Have greater surface area per unit volume • Allows microbes to get at more of the food • Chipping or shredding coarse materials (twigs, stems) will speed up the rate at which they decompose
Shredding has downsides but… Smaller particles will also decrease airflow into the pile • May lead to anaerobic conditions • Pile may need to be turned more often
Pile aerationDepends upon adequate porosity • Porosity is the air filled space between particles • “Browns” help to maintain good porosity in the pile • A compacted pile has lost porosity, can be increased by turning • Aeration can be increased by inserting sticks, cornstalks, or perforated pipes into or under the pile
Pile aerationGetting air to your work force • Turning the pile mixes fresh air into the pile • Turning tools may make the job easier
Water • Rapid decomposition requires optimum water content • If too dry, bacterial activity will slow or cease • If too wet, loss of air in the pile will lead to anaerobic conditions • As wet as a wrung out sponge • If too dry, add water as you turn the pile • If too wet, add browns and/or turn the pile
Aerobic composting“HotPile” • Composting with decomposers that need air (oxygen) • The fastest way to make high quality compost • Produces no foul odors • Aerobic decomposers produce heat • Hard to do at home
Does my compost pile have to gethot? • Good compost can be made in a pile that never gets hot, but… • Decay will be slower and it will take longer to make compost • Not enough air, too little or too much water, or too many browns in the mix could all keep a pile from heating. • High pile temperature provides the benefits of • The most rapid composting • Killing pathogenic (disease causing) organisms • Killing weed seeds
When is compost finished? Compost is mature when • The color is dark brown • It is crumbly, loose, and humus-like • It has an earthy smell • It contains no readily recognizable materials • The pile has shrunk to about 1/3 of its original volume
Where should I put my compost pile? • Sunny area is fine, but shaded spot will help prevent drying out in summer • Avoid areas that interfere with lawn and garden activities • Adequate work area around the pile • Within reach of a garden hose
Considerations for locatingthe compost pile • Good drainage • Away from any wells • Near where finished compost will be used • 2 feet away from a building • Be a good neighbor • Make your composting area attractive • Don’t place too close to neighbors
Bin/pile construction • Ideal size is about a 3-5 foot cube • Promotes sufficient aeration • Retains sufficient heat to maintain warm temps • Piles larger than 5 feet are difficult to turn and tend to become anaerobic in the center
Compost TroubleshootingOdors Odors are one of the most frequent but easily avoidable composting problems. Rotten odor • Putrid smell or rotten egg smell • Usually results from anaerobic conditions • Excess moisture, compaction • Turn pile, add dry porous material (browns), cover kitchen scraps Ammonia odor • Too much nitrogen (greens) • Add high carbon material (browns), turn pile
Compost TroubleshootingAnimals Pests: raccoons, rats, insects • Presence of meat scraps or fatty food waste, rotten odors • Remove meats and fatty foods, cover with sawdust or leaves, turn the pile • Compost in an animal-proof bin • Covered bin, trash can bin, cone bin, or barrel bin • Wire mesh sides and floor (1/4” – 1/2” openings) • Use worm composting (vermicomposting) for food scraps
Mulch Leaves Into Your Lawn • Use your mower to mulch leaves into your lawn • Shred to dime size • Done when half inch of grass shows above leaves • Extensive Michigan State University Study showed leaves are beneficial for lawns. • Provide nutrients such as phosphorus and carbon • Lawns were softer the following summer • Increase in soil organic matter • Decreased broadleaf weed growth • No need to add supplemental nitrogen to offset leaves
Leaves As Garden Mulch • Leaves make great ground cover and suppress weeds • Leaves insulate plants in winter • Shredded leaves work best • Whole leaves can mat down and lose insulating properties • Place the leaves on top of your empty garden plots • Till them into the ground in the spring • Place leaves around perennials and shrubs.
Make Leaf Mold • Shred leaves with your mower • Add water • Let pile sit for 18 to 24 months • Turn occasionally if you wish • Use as a mulch around plants • Around, not touching plants • Leaf mold can hold 500 times its weight in water • Use as a soil conditioner • Easier for roots to penetrate and take up nutrients
Grasscycling Cut lawn high and let it lie! • Leave free nitrogen rich clippings on lawn • Mow to 2 ½ to 3 ½ “ high to promote deeper roots & shade out weeds • Cut no more than 1/3 of height at a time • Will not cause thatch • Use a sharp lawn mower blade
This presentation was originally developed by Penn State Cooperative Extension and generously shared with UW-Extension's Solid and Hazardous Waste Education Center. Kathy Powell, Intra-State Recycling Corp. revised it for use in Wisconsin with help from the WI Master Gardener Program Office. Further modified by John Reindl, Dane County Recycling Manager and George Dreckmann City of Madison Recycling Coordinator August 2002 Intra-State Recycling Corp