Download

1 / 8
80 likes | 162 Vues
Wind for Power Project. By: Kristopher, Wyeth, and Zander. Purpose. The purpose of this project was to see which of three models of wind turbines was most effective. Assembly. First, we constructed a wooden frame to support the turbine and the coils.

E N D
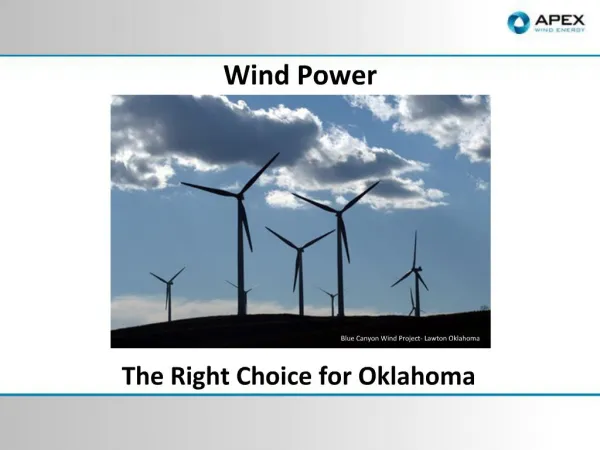
Wind for Power Project By: Kristopher, Wyeth, and Zander
Purpose • The purpose of this project was to see which of three models of wind turbines was most effective.
Assembly • First, we constructed a wooden frame to support the turbine and the coils. • To make the coils, we wound thin copper wire around a jig 30 times and taped it with electricians tape to ensure the coil would maintain its shape. • We then hot glued the eight coils onto our base board in a circular fashion as equidistant from each other as possible. The coils needed to be oriented in the same direction (clock-wise in our case), so that the current would flow in the same direction. • We then glued 14 (1x1/4 inch) neo-magnets that had a pull of 16 lbs. in a circle to the bottom of the rotor disk.
We then shoved a central axel into a predrilled whole in the rotor disk and secured it into the whole with hot glue and duct tape. (we made it so that the tip of the axel was protruding and sharpened so as to reduce friction [ when we secured the axel, we adjusted the height of the rotor so that the magnets were as close to the coils as possible without actual contact] ). • The tip of the axel was placed into a screw at the center of the base board. The screw had its head drilled out. The purpose of the screw was to reduce friction and keep the axel centered and in place. • We then attached the appropriate number of wind blades (two, three, or four) to the axel with hot glue.
The Test • The we took the two leads from the copper wire and then stripped them with a knife and attached them to a volt meter. (refer to picture on next page for settings) • We then used a generic three-speed stand-alone fan to blow on the blades. At different settings and recorded the results. We then compared the voltage of each turbine set and we figured the one with the most voltage was the most efficient. • The most efficient setup was the one with three air blades.