Download
1 / 34
340 likes | 480 Vues
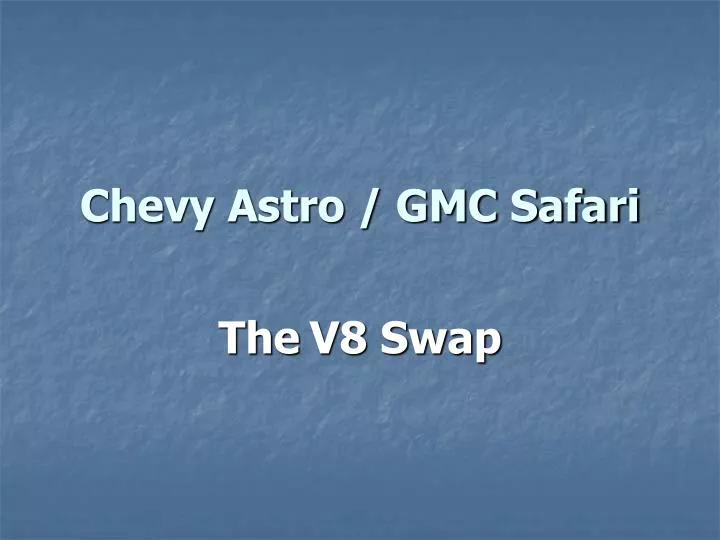
Chevy Astro / GMC Safari. The V8 Swap. This is a photo documentary on how to install a small block Chevy V8, such as a 350, in place of the little 4.3 that the vans came from the factory. The Beginning….

E N D
Chevy Astro / GMC Safari TheV8 Swap
This is a photo documentary on how to install a small block Chevy V8, such as a 350, in place of the little 4.3 that the vans came from the factory.
The Beginning… • The first thing that you need to find is of course a V8. My personal choice was a 350 from a 89 up full size Chevy/GMC pickup. These engines are virtually a bolt in, and are very easy to do. • The van I am using for this show is my 86 Astro, which has served me faithfully for years, so its time to have some fun.
Parts List • 1) V8 engine • 2) motor mounts (from JTR or Racecraft Conversions) • 3) TB bracket, may not be necessary depending on the engine choice. • 4) V8 fuel injectors • 5) 7747 computer with V8 program • 6) Headman 68600 headers, or stock manifolds. • 7) V8 distributor • 8) V8 Flexplate, I am not sure if the V6 is the same or not.
First, you need to remove most of the front end. This means simple stuff like the grille, headlight buckets, upper radiator support, the radiator itself... Here Mike removes the lower fill above the bumper.
Advice on the upper radiator support… • IMPORTANT • There are two bolts that are on the back of the upper support on each side at the top. It is very easy to overlook these and have a problem removing the support. In fact, one is actually a chassis ground. At least it was on my Astro. The picture on the next page points to their locations.
More stuff to remove • This is what the van SHOULD look like with the radiator, ac condenser, bumper, fill panel all removed. • We also removed the hood as well, since it was really beat and will be replaced.
Out with the old!!! • Make absolutely sure that you disconnect all the wiring from everything attached to the engine. If you miss something… You’ll know it all too fast. Also, make sure you take off the TBI off the top of the engine, as you will need all the room to hook the engine crane up to it. It has to be extremely close in order to get the engine out of there. We even removed the distributor.
Please Remember! • Don’t forget to have the front of the van on ramps… We DID forget this little touch and thankfully we were able to lift the van with my old 1955 Hein Werner jack, and shove the ramps under the front wheels… You more than likely will not get the engine out without the body being in the air.
Trans too??? • In our case, since the transmission was toasted too, we decided to pull it too. It actually seemed a little easier to do it this way. Again, remember to unhook everything…cause the one thing forgotten WILL hold that puppy in there…
Remember…CLOSENESS • As you can see, the crane has to be close to the intake…
Be Careful! • Again, double check yourself here. Make sure everything is disconnected, the chain is correctly hooked to the engine, all harnesses are out of the way of the engine being pulled. And have a few extra hands around in case, as the engine is heavy enough by itself, let alone with the trans on it.
Its Free!!! • Its free and hanging there… Now to get it off the crane and onto the tire outside. • This whole combo of the 4.3 and toasted tranny weighs upward of 1000 lbs combined! • Don’t drop this on your toes!
Ready and waiting! Time to clean it up a little before the new resident moves in!
Boltin’ It Together • Here we see Mike and Ryan tightening the transmission down. We later decided to install the engine and transmission seperately.
Before We Forget…The Chips! • In order for the V8 to function correctly, you must replace the chips in the computer. If you got the computer from the donor truck, you are already set. If not, just get these from the junkyard and install them in the computer. Make sure your computer is service number 7747. Without these, it may run, but not the proper way!
Closer view of Motormount • This shows the drivers side motor mount and header clearance. We had no issues there whatsoever.
On its way home! • Here goes our 350, heading to its new home. Without the trans attached, it was very easy to slip it in there. Surprising GM never offered these factory issue. If you want one, gotta do it yourself!!!
Getting it Together! • The top picture shows how the engine and trans lined up initially. A little maneuvering, preferably with 2 or more people, ends up with the result on the bottom picture. A nice hookup!
Putting it all back together • Here we see the front of the engine, complete with the 350 serpentine accessory brackets now in place. Power pulley installed on the crankshaft too at this point. Coming along slow but sure • Cant wait to hear her run! The time is closing in!
Some Points To Remember • Check Fuel lines for leaks • Double check all hose fittings • Check the ignition wire order for proper location on the cap… • I can stress these because I didn’t do these things and wound up with a minor fire and more damage to repair.
Another Thing • In this 86 van, You will notice that the alternator and the AC compressor have switched sides. This is not a issue, as simple lengthening of a couple of wires is all that’s needed here. • Looking Great! • Make sure the steering pulley is on the whole way! Otherwise, you will chew up belts…
Looking Good! Almost Done! • The reason for no AC is because of the big filter…Its actually from a 88-95 Chevy truck! • So Far, So Good!