Download
1 / 22
220 likes | 450 Vues
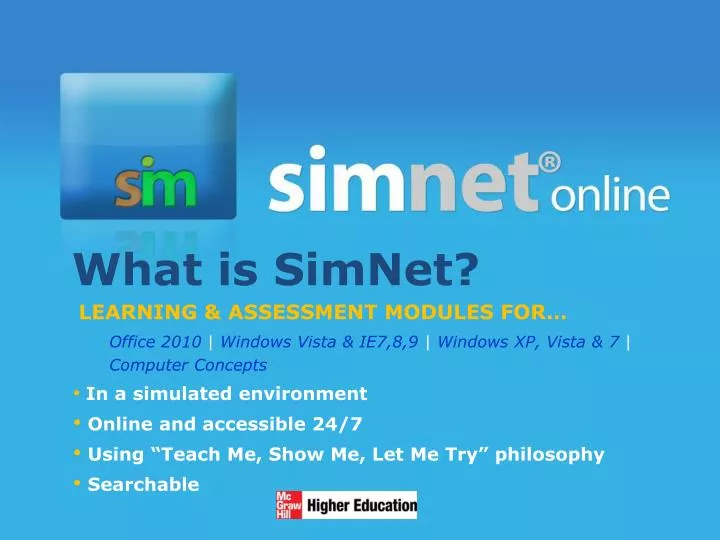
What is SimNet?. LEARNING & ASSESSMENT MODULES FOR… Office 2010 | Windows Vista & IE7,8,9 | Windows XP, Vista & 7 | Computer Concepts In a simulated environment Online and accessible 24/7 Using “Teach Me, Show Me, Let Me Try” philosophy Searchable. Student Walk-Through.

E N D
What is SimNet? LEARNING & ASSESSMENT MODULES FOR… Office 2010 | Windows Vista & IE7,8,9 | Windows XP, Vista & 7 | Computer Concepts In a simulated environment Online and accessible 24/7 Using “Teach Me, Show Me, Let Me Try” philosophy Searchable
Student Walk-Through <Insert School Name> <Insert School SimNet URL>
Top Student Benefits EASE OF USE LIFE-LONG LEARNING MEASUREABLE RESULTS
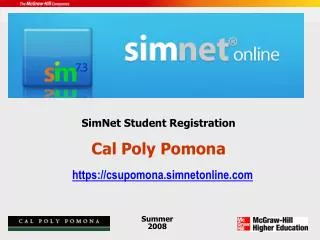
Login to your SimNet sitehttps://schoolname.simnetonline.com Add this URL to your favorites. • Online access makes SimNet for Office 2010 accessible 24/7, from any computer. • IE or Firefox recommended • Adobe Flash Player required
StudentHomepage Click on assignment to select Use the tabs and sub-tabs to navigate. The Assignments tab shows assignments (lessons, exams, and SimPaths) from your instructor.
The lesson name and assigned tasks will appear on left • A check mark will indicate that you have completed the task. • Task Instructions are given textually and visually
The “Teach Me” Tab: Select the “Teach Me” tab to learn the task. Teach Me walks you through how tasks and features work. You can bookmark, print pages, and get additional information from helpful features like “Tips & Tricks” and “Tell Me More.”
The “Show Me” Tab:Select the “Show Me” tab to view animation which will walk you through the task step by step. “Show Me” uses Flash 9 animation and voiceover narration to visually walk you through a task. Closed caption is optional. Playback options include fast forward, rewind, pause/play, and show/hide closed caption.
The “Let Me Try” Tab:Select the “Let Me Try” tab to complete the task. “Let Me Try” simulates the Microsoft Office environment completely, allowing you to get hands on experience without needing the actual Office 2010 software. Feedback is provided to you as you work through the task. Instructions for Task
SimGrader = Microsoft Office Project Grader • 3 Steps • Download Project Instruction file and Start File • Save within online program for easy access • Submit for grading!
The Gradebook TabTo view your lesson or exam results: 1. Highlight lesson 2. Click to view results
Gradebook Details: Quickly & easily see how you are doing in the course • Drill down into the detailed lesson and exam results to see what tasks you need to spend additional time on. • From the detailed results, you can build custom lessons to get the practice you need
The “Self-Study” Tab:Click “Take Lesson” • “Self-Study” stores custom lessons you create for yourself from SimSearch and from assigned lessons you take. • You can create your own “self-study” lessons to practice only what YOU need to practice!
The “SimSearch” Tab:Search for learning materials and create lessons for self-study (these will appear on “Self-Study” tab) • Enter the keyword you would like to search for. • Click on the search in field and choose the appropriate module where it might be loaded. Select search. • Once the items appear, highlight and click “Make Lesson” to create a lesson. Step 2 Step 1 Step 3
The “My SimNet” Tab: You can move yourself to a different course section if you register in the wrong one • To update your personal information, select the “My SimNet” Tab. Click on the edit button.
Need to access the Free Trial? • Click “I Have a Registration Code” • Follow prompts and click Next: • Confirm school • Identify if have previous SimNet account • Agree to license agreement
Free trial registration • Enroll in correct class by clicking on correct name. Selection will highlight in orange • Click Next
Free trial registration • Enter registration code that came in textbook • OR • Click checkbox Waiting for Financial Aid to activate 21 day free trial • Click Next
Free trial registration • Enter Personal Information • Create Login Information • Click Next and Finish • NOTE: If using Free Trial, your instructor will not see your grades until you activate the account by entering or purchasing a registration code.
SimNet Support Support Website http://www.mhhe.com/support Detailed Documentation Help Link: Upper-right hand corner of Student Portal after log in Toll Free Technical Support 1.800.331.5094 Sunday 6PM-11PM Central | Monday-Thursday 8AM-11PM Central | Friday 8AM-6PM Central
Questions?Thank you for your time and attention! <Insert Rep Name and title and contact info here> <Insert eLC name and title and contact info here>