Download
1 / 13
230 likes | 955 Vues
Comparing Polygons. Lesson 6. Look at the following chart. Work with your group to try to come up with a definition for a polygon. These are polygons These are not polygons. Write down what your group notices from each column.

E N D
Comparing Polygons Lesson 6
Look at the following chart. Work with your group to try to come up with a definition for a polygon. These arepolygons These are not polygons Write down what your group notices from each column.
Discuss: Have groups share what they notice while writing it on the board: These arepolygons These are not polygons
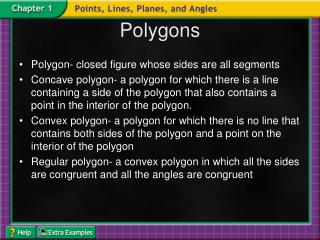
Distribute the 2D shape collection, whiteboard, and 1 black marker to each group. Two-dimensional shapes have classes, just like three-dimensional shapes: What is true of all polygons? What is significant about the line segments of polygons? • Spread out the collection of 2D shapes into 2 groups PolygonsNon-Polygons • Discuss: What are the names of some of the different polygons? What are some of the names of the non-polygons? If you stop here on Wed., have the students put the polygons in 1 bag, And the non-polygons in another bag for tomorrow’s lesson.
Investigate: • You need to work as a group to sort all of the shapes that are {polygons}. • After your group has come up with a plan to sort them, you need to sort the polygons on thewhite magnetic board, labeling each group. • After your group has finished sorting the shapes, look around to see how other groups sorted them.
Discuss: What are the different ways that you sorted the polygons? Do you have a question for any other students and/or the class about the way they sorted their polygons? What are the names of the polygons in that group?
Look at the following chart. Work with your group to try to come up with a definition for a convex and a concave polygon. convexpolygons concave polygons
What do you notice about theconvex polygons vs. the concave polygons? All of the edges are pushed outwards on a convex polygon. Some of the edges are “caved in” on a concave polygon. They go inside Like a cave. convexpolygons concave polygons
Show an example of a “Shape Card”Discuss the properties of the sides and angles of polygons. As the students share their ideas, make a list on the interwrite board or chart:~ What can be written about the sides of a polygon?~ What can be said about the angles of a polygon? Sides Angles
Compare these notes with the ideas that the students came up with. Sides The number of sides. Compare the lengths of the sides. Whether any of the sides are congruent (same size and shape). Whether the sides are parallel. Is the polygon concave or convex? Angles The number of angles Compare the sizes of the angles. Whether any of the angles are equal. The type of angle: acute, obtuse, or right.
Give each group 1 shape card: • Identify the pictured shapes in the collection, analyze the shapes, and plan together what to write about the sides and angles of each of the pictured shapes. • You should also write the name of the shapes.
Share shape card findings. • If possible, put shape card under doc. Camera so students may see the shapes. • Pass out Journals: • Choose 2 polygons to compare. • Trace the shapes in your journals (pg. 9) • Compare their sides and angles and provide the name of both shapes.
Reflect: • Share comparisons with other group members. Students can make changes to their writing as they hear the ideas of others using their “Bright Idea Pens”