Download
1 / 1
30 likes | 63 Vues
EAL for Dummies. &. DO’S. DON’TS. Use Keywords Always write the learning / lesson objective on the board. Encourage students to annotate your lessons in their own language. Check for understanding. “Tell me…….” Use Scaffolding Use pictures.

E N D
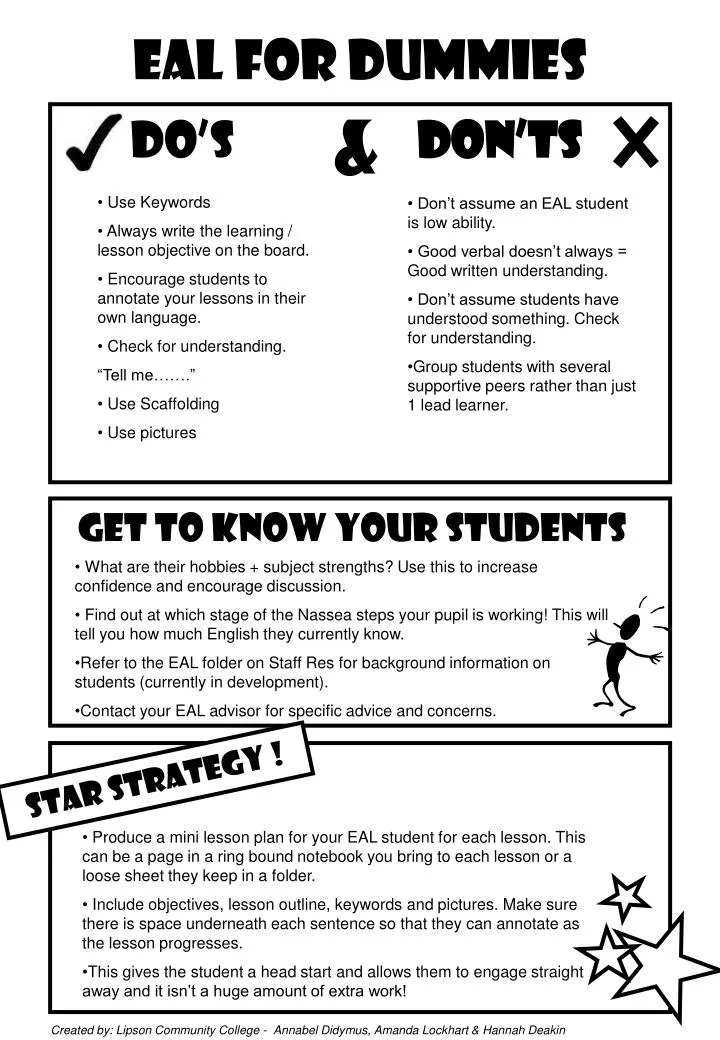
EAL for Dummies & DO’S DON’TS • Use Keywords • Always write the learning / lesson objective on the board. • Encourage students to annotate your lessons in their own language. • Check for understanding. • “Tell me…….” • Use Scaffolding • Use pictures • Don’t assume an EAL student is low ability. • Good verbal doesn’t always = Good written understanding. • Don’t assume students have understood something. Check for understanding. • Group students with several supportive peers rather than just 1 lead learner. Get to know your students • What are their hobbies + subject strengths? Use this to increase confidence and encourage discussion. • Find out at which stage of the Nassea steps your pupil is working! This will tell you how much English they currently know. • Refer to the EAL folder on Staff Res for background information on students (currently in development). • Contact your EAL advisor for specific advice and concerns. STAR STRATEGY ! • Produce a mini lesson plan for your EAL student for each lesson. This can be a page in a ring bound notebook you bring to each lesson or a loose sheet they keep in a folder. • Include objectives, lesson outline, keywords and pictures. Make sure there is space underneath each sentence so that they can annotate as the lesson progresses. • This gives the student a head start and allows them to engage straight away and it isn’t a huge amount of extra work! Created by: Lipson Community College - Annabel Didymus, Amanda Lockhart & Hannah Deakin