Download
1 / 9
90 likes | 175 Vues
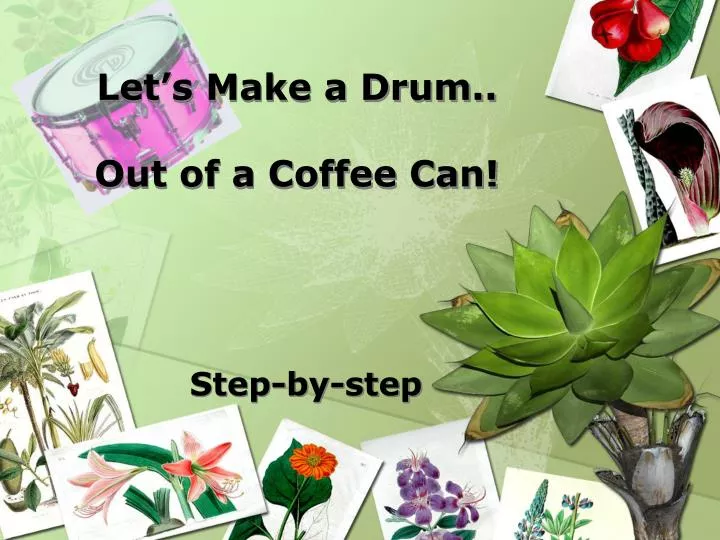
Let’s Make a Drum.. Out of a Coffee Can!. Step-by-step. This Week:. Monday: Introduction & Planning. Thursday: Discussion. Wednesday: Work Day!. Decide. Tuesday: Experiment!. Friday: Let’s Play!. What will yours look like?. Day One: Why Recycle?.

E N D
Let’s Make a Drum..Out of a Coffee Can! Step-by-step
This Week: Monday: Introduction & Planning Thursday: Discussion Wednesday: Work Day! Decide Tuesday: Experiment! Friday: Let’s Play! What will yours look like?
Day One: Why Recycle? • Recycling saves our natural resources like paper and minerals. • Recycling saves energy that would be used to make new things. • Saves money!
Day One: Let’s Plan! • What will your Drum look like? • Colors Used • Traditional Native American Patterns • Texture • What will we need? • Coffee Cans • Media Used • What Other Recycled Materials?
Day Two: Let’s Experiment! • Sounds • Can Size? • Bottomless Cans? • Beads, Buttons, Erasers inside? • Looks • Native American Patterns? • Paint, Markers, Collage? • How to Keep the Lid On?
Day Three: Get to Work! • Affix Lid • Remove Bottom? • Decorate! Paint, Marker or Collage • Allow to dry
Day Four: Hang Time! • Our Drums are Still Drying! • A Look at Some Other Recycled Toys and Instruments • How Would These Be Made? • What Else Could You Make?
Day Five: Time to Play! • Shake Filled Drums, Strike Open Drums. • Try Out Different Rhythm's on Your Drum • Break into Groups
Important Features of This Presentation: The features in this PowerPoint presentation will assist in the direct instruction involved in the drum making lesson. This allows me, the teacher, to state the learning objective and to orient the students to the lesson. The design templates and images assist in capturing the student’s attention by presenting the information with lots of color on each slide. Putting together an organizational chart at the beginning of the presentation will assist in letting the students be aware of what is to come in the week ahead. Creating my own chart using the auto shapes and connectors helped to make it as interesting and functional as possible. One of the most useful tools in this presentation are the custom animation settings. For example. In slide#3, I plan on asking the students the question, ‘Why should we recycle?’, before revealing the answers listed on the slide. In this way, I can see what they already know about recycling, and spark an interest in the material ahead. The animation settings also help to capture the student’s attention. Motion Path Training: http://office.microsoft.com/training/training.aspx?AssetID=RC061174671033 Flow Charting With Flair: http://office.microsoft.com/training/training.aspx?AssetID=RC010198841033