Download
1 / 18
180 likes | 299 Vues
Photography. The Basics. Parts of the camera. More parts. The Body or Camera Casing .

E N D
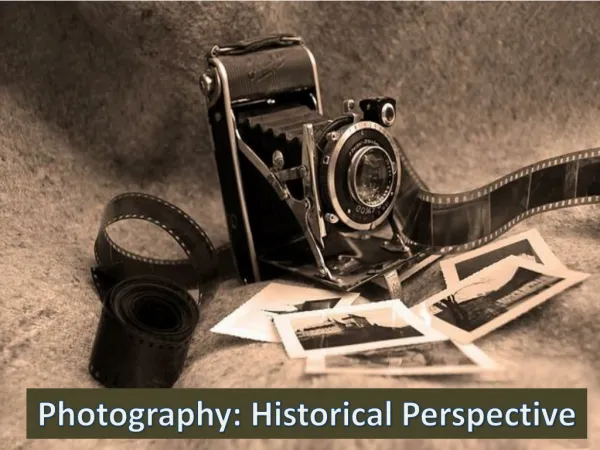
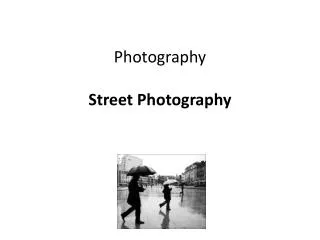
Photography The Basics
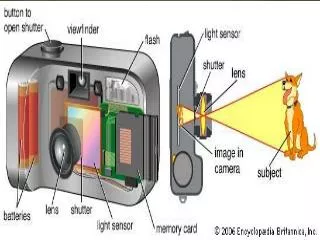
The Body or Camera Casing Camera Casing: The casing is all around your camera, its that plastic body. It protects the camera's iner workings, and also helps keep light away from the film. If your casing is broken, light could be seeping into your camera, and exposing your film!
1. Film winder.2. Shutter Release.3. Shutter Speed Dial.*4. Flash Hot Shoe.5. Film Rewind Crank.6. Film Speed Dial.7. Flash Synch Socket.8. Aperture Ring.9. Focusing Ring.10. Lens.11. Filter Thread.12. Self Timer.13. Depth of Field Preview.
2. Shutter release Button • Shutter button: Generally located on the top right of the camera, it's the button that opens the shutter, and lets you expose your film to get your picture. • By holding the button half way down you will cause the automatic lens to refoucus on the subject you are pointing to.
10. lens Lens: • Obviously, located on the front of the camera. The lens lets the light into the camera, and then onto the film.
Shutter • You can find it tucked behind the lense, and it controls the ammount and duration that the light enters the camera. If your shutter gets stuck, ask your teacher, its usually a quick fix, but it could be a serious problem.
F-stop Wheel • It's the spinning wheel you can find located on the part of the camera where the lense sticks out. You can spin it, and line it up with a little diamond or dot on the wheel in front of it, to find out what f-stop you are on.
aperture • an opening, hole, or gap. • The aperture allows a certain amount of light to be exposed onto the film. • The numbers on the camera lens indicate the gauge of the hole, a #22 would be the smallest size and a 3.5 would be the largest.
View Finder • You can see it near the middle of the camera on it's back. It lets you see what you're taking a picture of.
Lightmeter Flash Button • Little meter you can see when you look through the view finder. It shows how much light is going into the camera. If it's up high, too much light; way down, too little. I like to keep it slightly below the middle, thats just a personal preference.
Tripod Mount • You can see it on the camera's underside, and it looks like a little screw-hole, because it is one. Most tripods are the same size, so any camera can hold any tripod, without worry.
ISO What is it? How to use it.
What is ISO? In traditional (film) photography In Digital Photography • ISO (or ASA) was the indication of how sensitive a film was to light. It was measured in numbers (you’ve probably seen them on films – 100, 200, 400, 800 etc). The lower the number the lower the sensitivity of the film and the finer the grain in the shots you’re taking. • ISO measures the sensitivity of the image sensor. The same principles apply as in film photography – the lower the number the less sensitive your camera is to light and the finer the grain.
Questions to Ask When Choosing ISO • Light – Is the subject well lit? • Grain – Do I want a grainy shot or one without noise? • Tripod – Am I using a tripod? • Moving Subject – Is my subject moving or stationary?
100 ISO 3200 ISO
Situations where you might need to push ISO to higher settings include: • Indoor Sports Events – where your subject is moving fast yet you may have limited light available. • Concerts – also low in light and often ‘no-flash’ zones • Art Galleries, Churchesetc- many galleries have rules against using a flash and of course being indoors are not well lit. • Birthday Parties – blowing out the candles in a dark room can give you a nice moody shot which would be ruined by a bright flash. Increasing the ISO can help capture the scene.