Download
1 / 11
110 likes | 226 Vues
DREG Process. No more purging. DREG Process. This process can be tedious. Must follow steps carefully to avoid DREG of wrong students. Set up XDGP first with the maximum number of hours you charge. XDGP Screen. Step 1: XDRG. Run XDRG to get your saved list. XDRG continued.

E N D
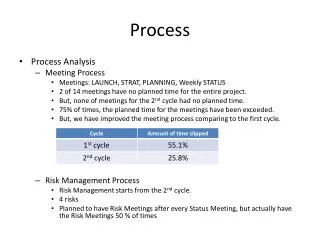
DREG Process No more purging
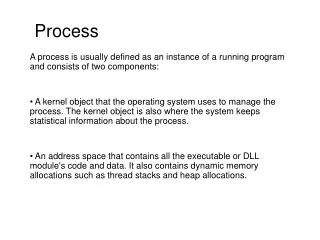
DREG Process • This process can be tedious. • Must follow steps carefully to avoid DREG of wrong students. • Set up XDGP first with the maximum number of hours you charge.
Step 1: XDRG • Run XDRG to get your saved list.
XDRG continued • Be sure to enter Registration Date ranges, reporting term, academic level, and your saved list name. • You can choose to exclude students with pending financial aid or who are on payment plans. • Write down your saved list name. You will need it later.
Step 2: Business Office • XDRG will generate a list of students that can be printed and each course that will be DREGed. • Consult with your Business Office to determine if any of these registrations should be held.
Step 3: PERC or ACDR • For those students that should not be DREGed, enter DNP-R on their PERC screen. • Be sure to set the end date prior to your next time to register or DREG. • You can also do this in batch on the ACDR screen.
Step 4: Back to XDRG • Re-run XDRG. • Your new list should not include students that have the DNP-R restriction. • You can use the same saved list name.
Step 5: DREG • Now run DREG using your saved list. • Let the person that will run the process on the AR side know the saved list name. • Make sure you tell them if the saved list is upper or lower case. • Let person that keeps track of closed courses know when the process is finished. • Caution: Do not run DREG without entering a saved list.