Download
1 / 24
240 likes | 244 Vues
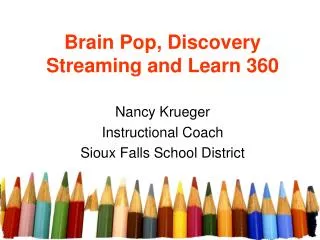
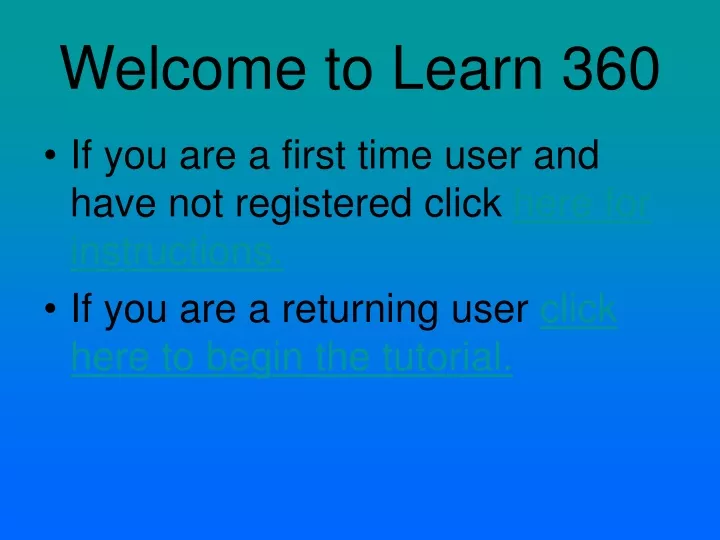
Welcome to Learn 360. If you are a first time user and have not registered click here for instructions. If you are a returning user click here to begin the tutorial. First Time Users. Go to www.learn360.com

E N D
Welcome to Learn 360 • If you are a first time user and have not registered click here for instructions. • If you are a returning user click here to begin the tutorial.
First Time Users Go to www.learn360.com Look in the Purple “New User?” box in the upper right hand corner of the screen and click on the “Red Arrow” to begin. Enter your passkey for your school If you do not have that your media specialist in the library will have it Fill out the information User Name: BCSC Email Address Password: Your Choice Additional Information is optional Click on “Register” button in the lower left hand corner of the screen. You should be able to use the program immediately. If you leave you can come back into the program using the directions on the next slide.
To access program after you have registered and are returning to use the program again do the following Go to your internet browser and type in www.learn360.com Login using your BCSC email address as your ‘Login’ and use the password you created. Press the red arrow to login.
Understanding the Screens & Searching • When you first sign in the ‘home’ page will appear. • From this page you can do many different mining options to search for content. • Searching by Keyword • Searching the Entire Site or a selected media piece (choose the down arrow next to “Entire Site”). • Search by Subject listed on the left. • Search by Grade level • Search by Media Format. • Search by State Standards.
Search by Keyword • Type a subject in the “Search window” • Wait for other choices to narrow search even more • Search by Entire Site Media Choice: • Full Videos • Video Clips • Audio • Images • Newsreels • Speeches Audio • Speeches Video • Articles
Search by Subject Area • Arts • Health & Wellness • Language Arts • Mathematics • Science & Technology • Social Studies • Vocational Guidance • World Language
Search by Grade • Pre-K – 2 • 3-5 • 6-8 • 9-12 • Staff • Notice that when you click on the grade level the amount of media is shown for each subject.
Notice in the left hand column, when you do a search, you see Related Search Terms and the media attached to those subjects.
You can also search by State Standards. Notice that under each grade there are expanded specific grades listed.
When you click on a State Standard Grade you will see all the categories and media related to them.
When you click on the “My Learn360” tab this is the screen that appears. This is the place where you can view all that you have saved plus gives you access to the other tabs that allow the creation of quizzes, groups, and assignments. Instructions for saving Learn 360 Videos, pictures, etc... Are addressed later in the tutorial.
Viewing the Videos When you search for videos a list normally will appear with a picture and a description of the content. The content that you find on each individual media clip is a title, duration of clip, a description of clip (video – media). Search Terms, and State Standards. Clicking in the middle of the video screen will launch the video into viewing mode.
When you first try to view a video this yellow bar will appear and your video will not start. Click on the yellow bar first. Click on “Run ActiveX Control Click on “Run” After you have done this you should not have to do it again unless you go to a computer that has never had Learn360 used on it before.
Once you have double clicked on a video from the search results this is the screen that will appear. The video should start streaming right away and begin to play. • Notice what you see on this screen: • The title • Grade Level • Run Time • Related Videos • Teaching Resources • State Standards • Citations Tab Do not click on “Enlarge, Download, or Launch Player” Double clicking in the middle of the video launches it to full screen and clicking “escape” on your keyboard will return it to this look that is shown in this picture.
Saving Media in Learn 360 Option One From the media listing of the videos • Steps - Media Listing • Click on the star to add the video to a playlist. • Add the media to an existing playlist or create a new one by clicking on the “new” in the upper right hand corner. The next slides show examples.
Adding Media to Existing Playlist from the Media List Place a check mark beside the playlist and click on the “Add to Playlist(s)”.
Creating a New Playlist When you click on “new” this screen appears. Type in the name for your new playlist. Click “Add to Selected Playlist” The playlist will appear in the left hand side menu panel under “Browse Playlists”
Saving Media in Learn 360 Option Two From the Previewing Screen • Steps: • Below the video there is a drop down box that says “Use Media” click on that pull down arrow. • Click on “Add to Playlist” • Click on an existing playlist or create a new one by clicking on “new” in the upper right hand corner. • The following screen gives and example.
Add Media to an Existing Playlist You can click on a playlist that already exists by placing a check mark beside the playlist. Then click on “Add to Selected Playlist”.
Creating a New Playlist When you click on “new” this screen appears. Type in the name for your new playlist. Click on “Add to Selected Playlist”. The playlist will appear in the left hand side menu panel under “Browse Playlists”
Option Three Instructions on Saving Videos and other Media in Microsoft Word Page 1 of 2 (follow instructions on sheets)
Instructions on Saving Videos and other Media in Microsoft Word Page 2 of 2
Sample of what a Word Document might look like if you choose to save your media in this manner.
Questions • Contact Kim Kennedy • kennedyk@bcsc.k12.in.us or Contact your Media Specialist (Librarian) in your building