Download
1 / 10
100 likes | 101 Vues
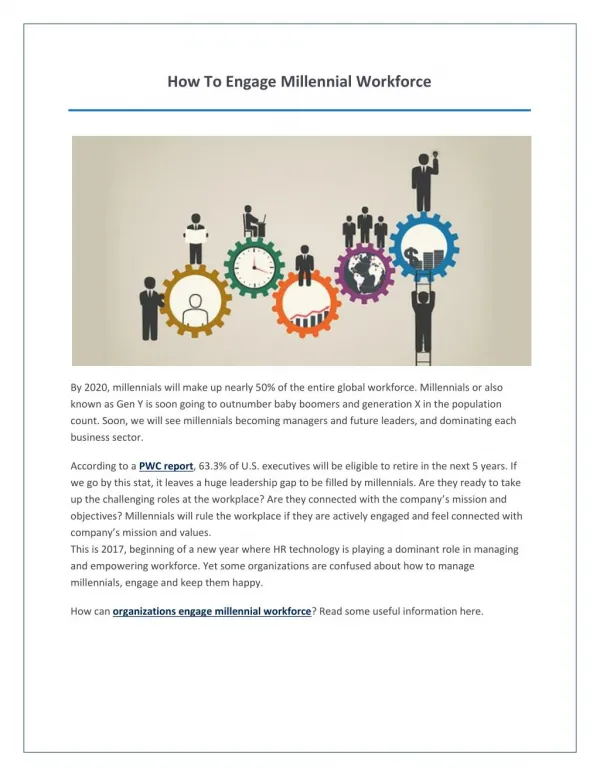
This guide provides a comprehensive checklist, tips, and tools to help you plan and execute a successful tax event targeting millennials. From selecting a venue to outreach strategies, this guide has you covered.

E N D
How to Conduct a Millennial Tax Event This Photo by Unknown Author is licensed under CC BY-SA
7 Months Out: Select an event committee. • YOUR CHECKLIST FOR MONTH 7 • Decide authority for signing contracts and approving expenses. • Create a list of three to five potential event venue sites. • Select preferred and alternate dates for the event. • Submit RFP to each of the potential venue sites. • Prepare a preliminary budget • Set goals for number of tax payers served Overview of Step: Having an event is an exciting undertaking. 7 months before your event you want to bring together an event committee to start organizing details and select a date. • Questions to Consider: • Who are the key stakeholders for this event? • What is the ideal size for this committee? • How often will you meet? ORGANIZATIONAL CHART • Key things to Remember: • Pick a location with high visibility where you can post signage (see page 4 for more specifics regarding an idea venue) • Consider access to Wi-Fi and outlets so tax payers can bring their own devices • A key volunteer role is that of tax expert; be sure to include someone with access to potential volunteers with this expertise and certification.
6 Months Out: Create Outreach Plan • YOUR CHECKLIST FOR MONTH 6 • Create outreach plan to get the word out to tax payers • Finalize date and venue • Reach out to community partners with a “save the date” and request for partnership • Pick RSVP page • Choose an email marketing provider or update an existing relationship. Overview of Step: One of a key parts of a successful event is having a solid outreach plan and great community partners who have access to resources or tax payers. • Questions to Consider: • Who are key community partners who have strong relationships with your target taxpayer? • What is the name of this event and logo? TOOLS TO CONSIDER • Key things to Remember: • Marketing is key to a successful event. Old school tactics like flyers and word of mouth (WOM) really work for tax events! • For a younger demographic also consider Facebook and Instagram ads or reaching out to a local student group to partner. • RSVP-ing and Appointments • SplashThat–a beautiful landing page that looks great on mobile • Eventbrite –an event RSVP staple. Eventbrite will syndicate your event across their network often increasing reach. • Facebook Event –if targeting the 18-35 demographic, consider using Facebook events for your main RSVP page.
4-5 Months Out: Execution and Outreach • YOUR CHECKLIST FOR MONTH 4-5 • Make event registration page live • Create floor plan and do walk through of venue • Send out first wave of “save the dates” messaging announcing the program. • Establish volunteer needs Overview of Step: 4-5 months out from the event you want to work hard to finalize the details of the event and start getting the word out. • Questions to Consider: • Where can you post online about your event? • How do you make the event fun? Things to consider: a Raffle, music, food? VENUE REQUIREMENTS • Key things to Remember: • Meet with the venue and and do a walk through of the site to visualize the set up and start to build a floor plan • Wi-Fi Area for laptops or desktop computers • Food and drinks for volunteers • Chairs and semi private set up for computer screens and assistors • Sign in table/Exit table • Wireless speakers for Wi-Fi
Floor Plan Ideas Classroom Set Up Group Table Set Up • Essentials • Access to power outlets. • Fast Wi-Fi • Space for seating and volunteer movement • 2-3 extra laptops or iPads in case a tax payer has forgotten their device Help Desk Help Desk volunteer volunteer volunteer Desks Desks Desks Table Table Desks Desks Desks volunteer volunteer volunteer Desks Desks volunteer Desks Table Table
2-3 Months Out: Implementation • YOUR CHECKLIST FOR MONTH 2-3 • Hire third-party vendors (photographers, entertainment, MC) • Finalize Floor plan • Send Calendar invite to guests and start heavy promotion. • Make hotel or travel arrangements for tax experts or volunteers • Confirm A/V and internet needs for "bringing your own device • Prepare for volunteer training Overview of Step: 2-3 months from the event you’ll want to start finalizing details and start heavy promotion to increase RSVPs. Your committee may want to consider meeting more frequently. • Questions to Consider: • What is the safety plan? • What other creative ideas can you do to get the word out about the event? • Do you need to book any travel or transportation? • Are your designs and visuals finalized? MARKETING PLATFORMS TO CONSIDER • RSVPing and Appointments • Flyering–have volunteers flyer the neighborhood or community center to engage directly with potential attendees. • Facebook ads –Facebook ads can be targeted by location and zip code. • Email Marketing –email marketing is a cheap and efficient way to get the word out to digital savvy tax payers.
1 Month Out: Final Preparation • YOUR CHECKLIST FOR 1 MONTH • Order signage • Send reminders to attendees of date, time, and room information • Write the first draft of your schedule of events for internal volunteers • Schedule/execute a volunteer training • Confirm deadlines and deliveries with suppliers/food vendors • Continue marketing and promoting the event via Instagram, email newsletters and announcements at organizations • Prepare post-event survey • Order t-shirts for volunteers (if required) • Assign captains for each area (registration, meals, exit etc) • Send out agenda and directions with what materials/paperwork to bring to attendees with dress code. Overview of Step: 1 month out from the event you want to focus on your checklist and working closely with your team. The final 30 days are key to driving RSVPs and ensuring a smooth tax prep day! • Questions to Consider: • Feeling overwhelmed? What can you delegate to volunteers? • What other creative ideas can you do to get the word out about the event? • Do you need to book any travel or transportation? • Are your designs and visuals finalized?
2 Weeks Out: Final Checklist • YOUR CHECKLIST FOR MONTH 2 WEEKS • Distribute drafted schedule to volunteers and partners • Brief the photographer • Continue heavy promotion and answer questions that may come up. • Send email confirmations to early event registrants. • Organize money: petty cash and credit card for last minute purchases • Send final schedule of events and contact sheet to all suppliers, staff and volunteers • Confirm final catering numbers Overview of Step: It’s almost time. In the final 2 weeks you want to anticipate potential challenges that may come up and work out a plan. These final two weeks you also want to ensure that all of those tax payers who RSVPed actually show up! • Questions to Consider: • How can you reach back out to partners or tax payers who committed early and re-engage them? • Are your volunteers trained? • Do you have answers to frequently asked tax prep questions?
Day of Event: Go Time! • YOUR CHECKLIST FOR MONTH 2 WEEKS • (optional) Volunteer walkthrough • Review security procedures (including safe for any money/high-value items, private room/entrance for high-profile guests) • Everyone has been sufficiently briefed with FAQ and logistical information • All areas are clean, setup, ready for photography shots • Staff/volunteers are dressed, in place for early guest arrivals • Volunteer breaks and lunch are scheduled Overview of Step: Today is the day. Get there early to welcome volunteers and set up the space. Make sure you wear comfortable shoes and drink lots of water. You’ll be busy!
Post Event: Wrap Up • YOUR POST EVENT CHECKLIST • Do wrap up with host organization and team • Settle bills within 5 business days (or previous agreed upon date) • Complete event debrief within 2 days • Send out survey within 3 days • Thank you letters to volunteers and organizational partners • Final budget with all expenses and revenues Overview of Step: After the event you want to quickly reach back out to attendees and volunteers to gather key information and feedback. • Questions to Consider: • How did the event go? What would you change for next year? • How did taxpayers find out about the event? What marketing worked?