Download
1 / 34
370 likes | 811 Vues
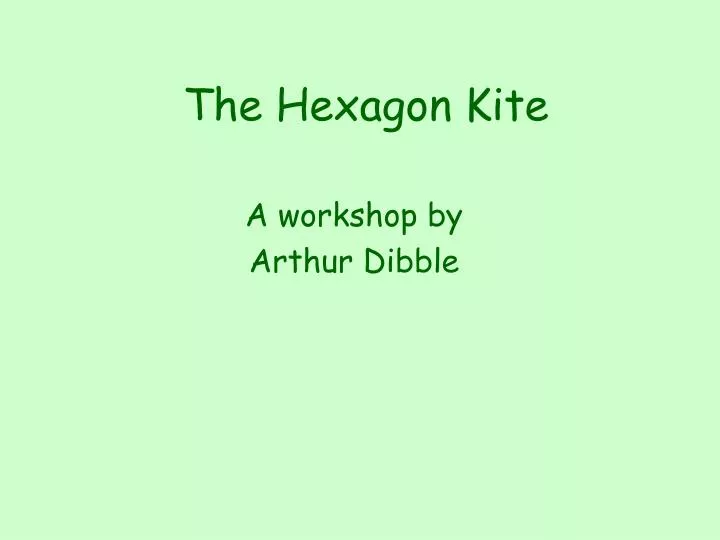
The Hexagon Kite. A workshop by Arthur Dibble. Materials. The kite is made from rip-stop nylon with Dacron pockets and wooden doweling spars. They will all be supplied complete with bridle lines and flying line. Tools such as saws, sand-paper and hot cutter will be supplied. Equipment.

E N D
The Hexagon Kite A workshop by Arthur Dibble
Materials • The kite is made from rip-stop nylon with Dacron pockets and wooden doweling spars. • They will all be supplied complete with bridle lines and flying line. • Tools such as saws, sand-paper and hot cutter will be supplied.
Equipment • You will need to bring:- • Sewing machine • 100% polyester, white thread • Shears • 1 metre rule • Soft pencil • I always require a stitch ripper!!!!!!!!!!!!!! • Pins
THE KITE • The kite is a simple flat hexagon with long tail. • It is easy to make as there are no curved seams. • It will fly in winds from 4 to 12mph. At the higher wind speeds it pulls hard and you will need to wear strong gloves. (leather/gardening type)
BASIC SHAPE • The hexagon kite we are going to make consists of six triangles. • We will be using three colours and the first decision is how to arrange these. • Then which is to be the top.
Tails There are three possible arrangements of tail.
More advanced patterns If you are good on the sewing machine there will be time to add patterns.
Marking Out 1 • Place a template on the first colour of material and hold in place with a weight. • The bottom edge should be parallel to the weave. • Draw around the template using a rule to keep it firm.
Marking Out 2 • Turn the template over and align it with the previously drawn triangle. • Using scissors, knife, roller cutter or hot knife cut out these two shapes.
Cutting Out • Repeat for the other two colours so that you end up with six pieces.
Cutting Tails • From the off-cuts of material left over from cutting out the sail parts cut as many strips as possible 100mm wide.
Cutting Tails • Use all 3 colours. You should end up with over 8 metres for the tails.
The Bag • From the remainder of the off-cuts cut random pieces to make a rectangle 25 by 125cm. • Turn over 20mm along one of the shorter edges and sew down to form a tube. • Fold in half lengthways and sew down the open edge and bottom being careful not to sew across the mouth of the tube. • Turn the bag right side out and thread a draw string through the top tube.
Sewing Together 1 • Take the first two pieces and put them faces together. • Pin them together at regular intervals along one edge. • Starting from the centre sew a seam 12.5mm from this edge. • Make sure the pieces do not slip on each other.
Sewing Together 2 • Open out the two sheets and fold the hem flat. • Sew this down flat. • Now add the next section in the same way. • Take care to lay the hem in the same direction each time.
Sewing Together 3 • Continue doing this until all six sections are joined. • Lay the first panel over the last and complete the hem. • You should now have a complete hexagon.
Sewing Together 4 • At the centre there should be a small hexagonal hole.
Sewing Together 5 • Turn over a 12.5mm hemon the outside edge to the same side as the joining hems already made. • Sew this down all the way round.
The Hot Cutter • The next phase is to cut out the loops and pockets required from the Dacron tape. • This is done using a hot cutter. Take care as it gets very hot. • Always cut on to a glass surface and use a metal straight edge. • First cut a 100mm length of the 50mm Dacron and then cut it in 4 length wise. • Next cut 6 strips 30mm wide across the 50mm Dacron.
Tabs And Pockets 1 • Take one of the 100x12.5mm pieces of Dacron and fold it in half. • Sew this to the back of one of the TOP corners of the sail, along the seam, leaving 10mm protruding past the corner of the sail. • Repeat this at the other TOP corner.
Tabs And Pockets 2 • Repeat the previous step for the bottom corners but fix the tapes at right angles to the bottom edge.
Tabs And Pockets 3 • Take one piece of the 50x30mm Dacron and fold it in half so that one side is 5mm longer than the other. • Sew this to one of the left or right corner along 3 sides only so that it forms a pocket. • Repeat this for the other corner.
Tabs And Pockets 4 • Repeat the previous steps for the other four corners noting that the pocket goes over the tab but stays in line with the main seam.
Centre Reinforcing 1 • Using a suitable template hot cut a 50mm diameter circle of Dacron. • Sew this to the front centre of the kite. • Using a soldering iron make a two small holes one above the other about 10 mm apart.
Tails • Take the pieces cut off for the tail and sew them along a continuous length of string with no gap between each section. • Now using scissors make a series of cuts in to about 12.5mm from the string from each side These should be spaced at about 12.5mm. • This process can be speeded up by winding the tails around a former and cutting several layers at a time. • These cuts do not have to be accurate.
Spars • Using sand-paper round the end of a piece of doweling. • Fit this in to one of the pockets and stretch the sail across it. Mark the position of the end of the pocket on the dowel. • Cut two more spars the same length and round the ends. • Fit the three dowels to the sail.
Cut a 2m length of line and tie one end through each of the top loops. Find the exact centre of this line and mark it, then tie an overhand loop with this mark at the centre. Cut a 1.5m length of line and tie an Pass the end of the line through the loop and tie it to the loop in the top bridle. overhand loop. Pass this loop through one of the holes in the centre reinforcing, round the back of all 3 sticks and back through the other hole. Cut a 1.5m length of line and tie one end through each of the bottom loops. Find the exact centre of this line and mark it, then tie an overhand loop with this mark at the centre. The tail may now be fixed to this loop or the ends attached to both the lower loops for the looped form. Cut a 25cm length of line, fold it in half and tie a single overhand not to form a loop. Use a Prussic knot to attach this to the lower bridle line. (see diagram on next page.) Bridle
Prussic Knot 4 1 2 5 3 6
Adjusting the Bridle • Lay the kite on it’s back on a flat surface and lift the loop so that all bridle lines are straight. • Adjust the position of the loop on the lower bridle line so that it is above the centre of the top triangle. • Mark this point as the approximate flying point. • Attach the flying line to the loop using a larks head hitch. (see Prussic knot 4 and slide it up to the knot.)
The End • Go fly a kite. • If your kite does not climb; move the towing point up in small increments until it reaches a good angle. • If your kite oscillates from side to side; move the towing point down in small increments until it stabilises. • Most of all: have fun. • I hope you have enjoyed the workshop and look forward to seeing you on a flying field some where.
Measurements • Metric measurements are used throughout this presentation. For those of you wishing to use imperial units please use the following conversions. • 12.5mm = 1/2inch • 20mm = 3/4inch • 50mm = 2 inches • 75mm = 3 inches • 100mm = 4 inches • 25cm = 10 inches • 125cm = 50 inches • 2m = 6 foot 6 inches • 8m = 25feet