Download
1 / 15
150 likes | 157 Vues
https://www.coolmuster.com/android/transfer-files-from-android-to-pc-using-usb-cable.html<br>This upload offers users the top 3 solutions to complete the process of USB file transfer, including Android USB transfer with Windows File Explorer, USB transfer with Android File Transfer, etc.

E N D
Transfer Files from Android to PC Using USB Cable https://www.coolmuster.com/android/transfer-files-from-android-to-pc-using-usb-cable.html
Technological innovation has made everything easier these days. Mobile phone storage is getting larger by the day. As a result, people can store huge amount of data on their phones. However, files stored on a mobile phone are at risk because the device can crash and you could end up losing valuable information. For this reason, mobile phone users need to back up their files and data from the phone to their personal computers. The following are the methods that can be used to transfer files from Android to PC using USB cable. Part 1: How to Transfer Photos from Android to PC Using USB Cable & Windows File Explorer Part 2: How to Transfer Files from Android to PC/Mac Using USB Cable & Coolmuster Android Assistant Part 3: How to Transfer Files from Android to Mac via USB Cable & Android File Transfer
Part 1: How to Transfer Photos from Android to PC Using USB Cable & Windows File Explorer Android phone users can also use Windows explorer to move files from their Android phones to their computers. However, you need to know that in this method, you have to copy the data in bits. This is why it is appropriate to photos, videos, and music. When copying pictures from the phone to the computer using this method, you have to follow the following steps. Here's how: Step one: Use a USB cable to connect the Android phone to the personal computer. Step two: The phone will request to know the kind of connection you want to create. Select the "Transfer files" option. Step three: On your computer, open the Windows File Explorer. Step four: On the left side of the screen, there is a list. Select your phone.
Step five: Go through the photos from "DCIM" ("Photos" or other image folder) and highlight the ones you want to transfer from Android phone. Step six: Right click and select the "Copy" option, then navigate to desktop on PC (or other location), and right click to choose "Paste" to store the copied images. Alternatively, drag and drop them to your preferred location on the computer, the transfer process will begin automatically. Step seven: After you have moved all the files, the computer will notify you once the transfer is complete. Right click on your phone's name and select the "eject" option. Step eight: Unplug the phone and the USB cable.
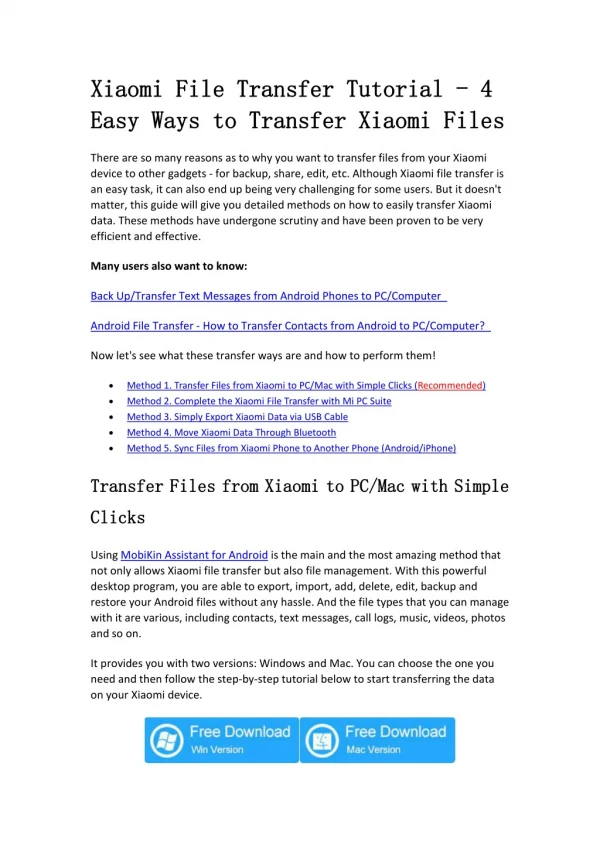
Part 2: How to Transfer Files from Android to PC/Mac Using USB Cable & Coolmuster Android Assistant When it comes to Android USB File Transfer, using Coolmuster Android Assistant is the easiest way of moving files from an Android phone to a personal computer or Mac. Android users can manage their data with just one click. Features * The method supports all types of data including contacts, text messages, call logs, apps, music, photos, music, videos, books (ePubs & PDFs), audios and more. * Users can move data selectively to Windows PC or Mac after preview, using USB cable or Wi-Fi connection. * It offers one-click Backup & Restore feature to back up and restore Android files with ease. * It transfer files very fast and retains its quality by 100%.
* It allows users to add, edit, delete, import, export, unduplicate Android files directly on computer. * It is fully compatible with almost all Android phones and tablets from Android 2.0 to Android 9.0 (or later), including Samsung Galaxy S10/S10+/S10e/S9+/S9/S8+, HTC U11+/U11/10 M10H, HUAWEI Mate X/Mate 20/Mate 10 Pro/Mate 10, Xiaomi 9/9 SE/8/8 SE/Play/6X, ZTE, Sony, OPPO, LG and more. Download the free trail version of Coolmuster Android Assistant on your PC/Mac below:
The following are the three significant steps involved in this procedure: Step one: Launch the program on your computer. After installation, please run the software on computer. In this step, the Coolmuster program assistant (Android version) will be installed on your phone for successful connection.
Step two: Connect the Android phone to the computer. - Connect the phone to the computer using a USB cable to ensure that the program has recognized the Android phone. - Enable USB debugging on the Android phone by clicking on the "Allow" on the notification bar. - When your phone is successfully connected, the following interface will be shown.
Step three: Transfer and manage files with one click - Choice 1: Transfer files from Android to PC using USB cable selectively (in batches or individually) After Coolmuster Android Assistant has detected the phone, you can select the files that you want to move from the main interface, such as "Contacts", "Photos", etc. Click the "Export" button. The transfer will begin automatically.
Similarly, how to transfer photos from Android to PC using USB? Simply click "Export" button after choosing the pictures you want.
- Choice 2: One Click to Transfer files from Android to PC using USB cable (all at once or by category) After having your phone connected, please go to "Super Toolkit" > "Backup" > choose your device > choose file types to transfer > (choose location to store backup file on PC) > "Back Up". Done!
Part 3: How to Transfer Files from Android to Mac via USB Cable & Android File Transfer One of the advantages of transferring files using Android File Transfer is that you do not need an internet connection. Several steps have to be followed in this process. The things that you need: * An Android phone * A Mac computer with macOS 10.7 and higher * A USB cable
When moving the files from the Android phone to a Mac, please follow these steps below. Here's how: Step one: Open the Mac finder or spotlight search to find the Android File Transfer on your list of programs. In case it is not available, download Android File Transfer here. Step two: Launch the Android File Transfer after downloading and installing it on the computer. Step three: Use a USB cable to connect the phone to the Mac Step four: On the options that appear on the screen, select the "Transfer files" option. Step five: Open the Android drive icon on the Mac.
Step six: Highlight the files and the folders from your phone and transfer them to the computer. Step seven: Once the transfer process is complete, open the Finder sidebar, go to Devices and select the "Eject" button. Step eight: Unplug the Android phone from the computer.
Summary Every person who owns a phone should be concerned about the security of their personal and business data and information. Human error, natural calamity, and loss of devices are some of the factors that can lead to loss of valuable data. To be on the safe side, you should consider transferring the data from the Android device to the personal computer or Mac using the above methods.