Download
1 / 80
1.05k likes | 2.14k Vues
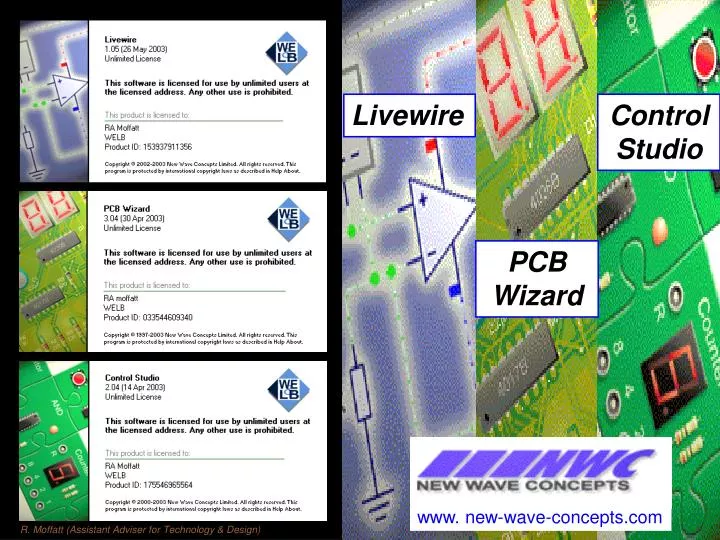
www. new-wave-concepts.com. Livewire. Control Studio. PCB Wizard. R. Moffatt (Assistant Adviser for Technology & Design). www. new-wave-concepts.com. Livewire. R. Moffatt (Assistant Adviser for Technology & Design). Technology Education Centre 05.

E N D
www. new-wave-concepts.com Livewire Control Studio PCB Wizard R. Moffatt (Assistant Adviser for Technology & Design)
www. new-wave-concepts.com Livewire R. Moffatt (Assistant Adviser for Technology & Design) Technology Education Centre 05.
( Live Wire, Control Studio and PCB Wizard) Aims: To provide opportunities for improving skills in using the Livewire ‘Electronics’ software. And to promote a better understanding of electronics Systems.
( Live Wire, Control Studio and PCB Wizard) • Objectives: • To introduce teachers to Live Wire, Control Studio and PCB Wizard 3 • software • To explore and develop the ‘Live Wire’ software in relation to school • based projects and electronic circuit design for Key Stage 3 & 4 • To experience all three software packages in the design and construction of • Circuit design and the construction of PCB’s • To develop strategies for teaching this new software at Key Stage 3 and 4
Livewire is a simulated electronics laboratory that uses animation and sound to demonstrate the principles of electronic circuits. Switches, transistors, diodes, integrated circuits and hundreds of other components can all be connected together to investigate hidden concepts such as voltage, current and charge. There are no limits to the circuits that can be designed and no loose connections or faulty components to worry about. However, if the maximum ratings for any components are exceeded, they will explode! Technology Education Centre 05.
V I R Ex 1: Verifying Ohms Law • Confirm Ohms Law by changing the value of R1 to:- • 10K x 899.99 uA = 9 Volts • 100K x 90.00 uA = 9 “ • 2k2 x 4.09 mA = 9 “
Resistors in Parallel: R1 1) Calculate the total resistance for the two resistors in parallel? R2 R1 2) Calculate the total resistance for the two resistors in parallel? R2 R1 3) Calculate the total resistance for the two resistors in parallel? R2
Multi Meter Multi Meter Multi Meter Ex 2: Measuring Resistance: • Build the circuit and record the Resistance when the temperature • reaches: - • 20 degrees Celsius • 30 degrees Celsius • 60 degrees Celsius • Resistance is measured in? • Name the component R1?
Ammeter Ex 3: Measuring Current Flow: • Build the circuit to show how the current increases as the • Resistance decreases • b) Current flow is measured in?
Ex 4 : Measuring Voltage: Voltmeter Vo • Measuring Voltage – Demonstrates how a multimeter can be used • to measure the voltage level ( or potential difference) between two • points in a circuit. • Build the circuit and adjust the light sensor (R2) to see how the • resistance shown in the multimeter (voltmeter) changes accordingly.
Ex 5: Series Circuits: • Build the circuits shown above and test to light the bulbs • Note what happens to the output of each bulb when more bulbs are added? • Draw these circuit diagrams in your folder
A B Parallel Circuits: • Ex 6: Parallel Circuits – shows several bulbs in parallel. • Build each of the circuits shown and test. • Explain what would happen if BL 2 fused in circuit A ? • Explain what would happen if BL3 fused in circuit B? • Draw these circuit diagrams in your folder and explain how they work?
Ex 7: LED-Light Emitting Diode ‘on’ ‘off’ • Build the circuit above using Livewire and test! • Draw this circuit in your folder • Explain how this circuit works? • Explain the purpose of R1 in the circuit?
_ + Ex 8: A Flashing LED Flashing LED • Build and test the circuit shown • Draw this circuit diagram in your folder • Give one practical use for this circuit?
Ex 9: Dimmer Switch • Using a Variable Resistor • Build the circuit shown and test • Explain the function of the Variable Resistor?
Voltmeter Ex 10: Potential Difference • Build the potential divider as shown and use the multimeter to see • what happens when the push-to-make switch is pressed?
Voltage Out Ex 11: Time Delay Voltmeter • Build the circuit as shown and time how long it takes the capacitor • to fully charge? • Check how long it takes Vo to reach two thirds the supply voltage = • ‘time constant’
Capacitors: A Capacitor stores electric charge. It consists of two plates separated by an insulator called the dielectric. The charge stored depends on the size of the capacitor and the voltage applied to it. The unit of capacitance, the farad, is very large and most capacitors you will use are likely to be measured in microfarads (F) and nanofarads (nF). Capacitors Axial electrolytic capacitor Radial electrolytic capacitor Polyester film capacitor Ceramic disc capacitor Technology Education Centre 05.
When the switch is closed, a current flows into the capacitor until it is full. If R is a resistor with a high resistance the current flows slowly, and if it is a resistor of lowvalue the current flows quickly. Compare this with water from a tap filling a basin. The amount of water flowing into the basin is altered depending on whether the tap is fully open or almost closed.
Ex 11 (b): Capacitors • Build the circuit as shown press and • hold SW1 and test how long it takes • for the voltage meter to reach 9V using:- • R1 = 1K • R1 = 10K • R1 = 100K Time constant (sec) = C (farads) X R (ohms)
Time Constant When the switch is closed and the capacitor starts to charge, the voltage output can be monitored using a voltmeter. To start with the voltmeter will show 0V, increasing to 9V when the capacitor is fully charged. A graph can be plotted of the voltage output against the time taken. The first part of the graph is almost a straight line, which then curves and tails off as it takes longer and longer to fill the capacitor. The time taken to reach two thirds of the supply voltage is called the time constant and can be calculated using the formula: Time constant (sec) = C (farads) X R (ohms) Technology Education Centre 05.
Collector (c) Base (b) Emitter (e) The Transistor Transistors are semiconductor devices. This means that they have a resistance to the flow of electrons – current. However they become conductors if a small voltage is provided across two of the legs – the base and the emitter. Symbol for the n-p-n transistor You can use the transistor as a high speed switch if a small voltage of 0.6 – 1.6V is applied to the base leg as shown below Technology Education Centre 05.
X X B B Y Y The Potential Divider Water Pipe Analogy: Extracted from Making Things Work Ken shooter & John Saxton
Ex 12: Potential Divider In the light the voltage between the base and the emitter leg of the transistor is 657mV or 0.65V. For this transistor the voltage is not enough to switch it on – therefore the bulb remains off. In the darkness the voltage between the base and the emitter leg of the transistor is 739mV or 0.739V. This voltage is high enough to switch on the transistor – therefore the bulb is switched on. • Build the circuit shown and test • Draw the circuit in your folder and • explain how it works?
Ex 12 (b): Convert this Circuit Design to a PCB Layout using PCB Wizard Livewire PCB Wizard
Dark Sensor Transistor The Transistor
TIP 121 TIP 121 Ex 13 Dark Sensor: Circuit 4 from 112 Circuit Designs –M. Lynch Light level low LED will be ‘on’ • Build this circuit and test • Convert this circuit to a PCB layout using PCB Wizard • Draw the circuit diagram in your workbook and explain how it works?
M. Lynch B C E Ex 14: Dark Sensor a) Draw the Circuit Diagram from the PCB Track Layout shown and test. b) After listening to the commentary briefly explain how this circuit works in your own words?
Ex. 14 (c) Light Sensor: Circuit 5 from 112 Circuit Designs – M. Lynch Light level high the LED will be ‘on’ Light level low the LED will be ‘off’ c) Build this circuit and test.
http://www.technologypupil.com http://www.technologystudent.com
Aroma Fan: a Suggested Year 10 Project aroma oil dropped on foam foam? dowel? Fan Solar 3v motor Powered by a dry Cell battery pine box 555 timer circuit fan ‘on’ for a set time? Design Activity: Design a decorative platform for the top of the box to accommodate the flower petals NB: Refresher oils is to be added to these petals.
Circuit 37 555 (On for a period) from 112 Circuit Designs – M. Lynch • Ex 15: • Build the circuit design and test • Explain how this circuit works
M. Lynch Ex 15: c) Listen to the commentary and explain in your own words how this circuit works?
Circuit 38 555 (Off for a period) from 112 Circuit Designs – M. Lynch • Ex 16: • Build the circuit design and test • Explain how this circuit works
M. Lynch Ex 16: c) Listen to the commentary and explain in your own words how this circuit works?
Circuit 44 555 Astable from 112 Circuit Designs – M. Lynch • Ex 17: • Build the circuit design and test. • Convert this circuit using PCB Wizard to a PCB layout
M. Lynch Ex 17: b) Listen to the commentary and explain in your own words how this circuit works?
Suggested GCSE Projects Using 555 IC: Monostable / Astable Monostable A Hazard or Warning Sign An Egg Timer
GCSE Suggested Projects; Why not a ‘Bicycle Lights’ Theme? A Bicycle Hazard Light
GCSE Suggested Projects; A Suggested GCSE Project – ‘Bike Indicators’ 555 Astable Circuit
GCSE Suggested Projects; A Potential Divider circuit driving a 555 Monostable. A Desktop Fan Design
GCSE Suggested Projects; A 555 Monostable / Astable GCSE Project: A Computer Controlled Teleporter
Circuit 59 555 Bike Indicators from 112 Circuit Designs – M. Lynch • Ex 18: • Build the circuit design and test. • Convert this circuit to a PCB layout using PCB Wizard
Circuit 74 Majority Decision from 112 Circuit Designs – M. Lynch • Ex 19: • Build the circuit design and test. • Convert this circuit to a PCB layout using PCB Wizard
Circuit 17 555 Heat Sensor (Operational Amplifier) from 112 Circuit Designs • Ex 20: • Build the circuit design and test • Adjust the thermistor and record the temperature that operates the motor/fan? • With VR1 set at 1K what temperature operates the motor/fan? • Convert this circuit to a PCB layout using PCB Wizard