Download

1 / 21
210 likes | 320 Vues
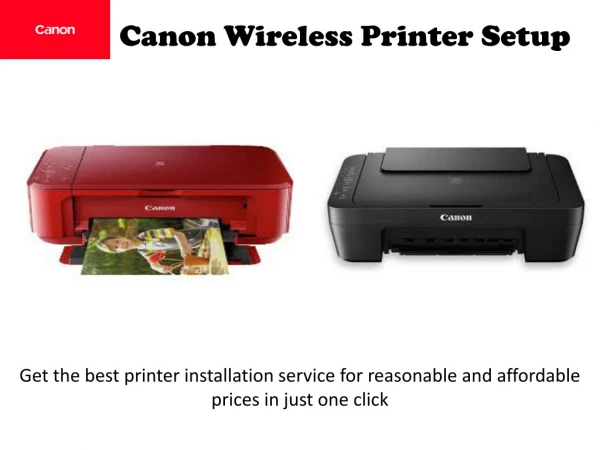
This Slide by Risezone let you understand the complete process of how to install canon wireless printer by the help of simple images explaining the each step.By following these you can install canon wireless printer very easily.If this slide help you please do download and follow us.

E N D
How to Install Wireless Printer
Step 1:Take away all the protective materials & orange color tape on the outer surface the machine.
Step 2: Open the Paper Output Tray & raise the Scanning unit Cover.
Step 3 :Remove protective material & orange color tape in the region of Ink Cartridge Holder. Shut the Scanning unit cover.
Step 4:Place in the power cord into the power interface on the left side of the printer & connect the next end to the wall of power outlet.
Step 5:Push the ON button to turn on the printer. Use Operation Panel to select the language and then press the OK button.
Step 6: Push ON button to turn off printer. Open Scanning part Cover. Insert Ink Cartridge Holder into the Holder. Shut the Scanning unit Cover.
Step 7 :Press ON button to turn on printer. Wait a while for printer to adjust the Ink Cartridge.
Step 8 :Press the Setup button. Use Operation Panel select Wireless LAN setup, then press OK button.
Step 9: Select Easy setup. Press OK button. Select Access point, press OK button.
Step 11: Insert the Setup CD-ROM in to the computer's CD-ROM drive.
Step 12 :Click Run Msetup4.exe on the AutoPlay screen. If AutoPlay screen not shown, go to the CD-ROM folder and right click Msetup4.exe then choose open.
Step 13 :Select your place of residence in the pop-up window. Then click Next.
Step 14 :Click Easy Install. At the next page Click Install.
Step 15 :Select Use the printer on network. Then click Next.
Step 16 :Wait for the installation. It will take a while. When Printer Detection screen appears, click next.
Step 17:In the detected printers list, select your Printer and click Next.
Step 18 :Wait for printer Setup Completion window appears, click Complete.
Step 19: The Printer Application Menu will appear. Now the setup is completed. Congratulations.