Download
1 / 20
210 likes | 430 Vues
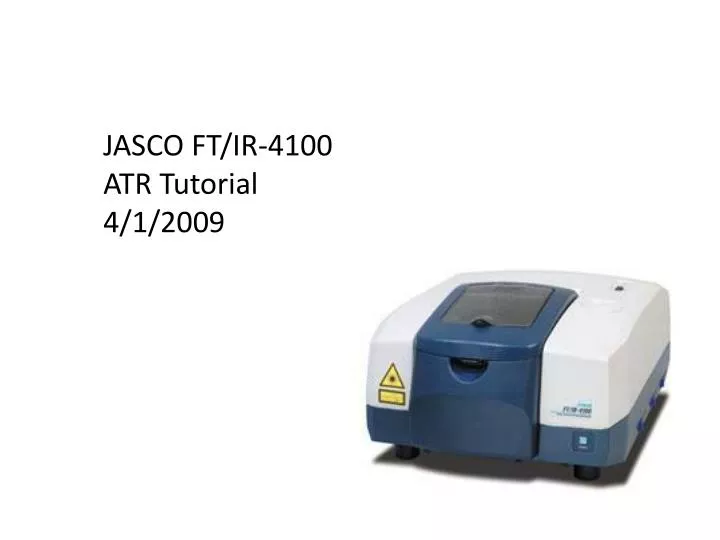
JASCO FT/IR-4100 ATR Tutorial 4/1/2009. To begin, make sure the ATR crystal is clean and press “Background measurement” on the IR toolbar. 1. The background should look something like this. H 2 O. H 2 O. CO 2. 2. Sample Preparation. Liquids. Solids.

E N D
To begin, make sure the ATR crystal is clean and press “Background measurement” on the IR toolbar. 1
The background should look something like this H2O H2O CO2 2
Sample Preparation Liquids Solids • Place solid next to the ATR crystal • Move the solid onto crystal with wooden stick • Apply pressure by lowering the clamp • Open Hyperlink to see the movie • Place 1 – 2 drops on the crystal using aPasteur pipette or dropper making sure that there are no bubbles on the crystal • The clamp has not to be lowered here • Open Hyperlink to see the movie 3
After sample preparation, press “Sample measurement” on the toolbar 4
A new window will open with your raw spectrum. However, some corrections have to be made to improve the spectrum. 6
Click “OK” in the window Raw spectrum Corrected spectrum Note: peaks on the left side are now more intense 8
New spectrum Click “OK” in the window Original spectrum 14
Drag the horizontal lines so your peaks are inside them and press “Apply” Note: vertical lines can be used to mark specific peaks 16
The peak labels will appear in the left column. The noise level can also be adjusted. When satisfied, click “OK.” Upper limit Lower limit 17
Sample Clean-up Liquids Solids • Release clamp by raising the pin • Brush sample onto collecting paper • Clean with alcohol wipe. Do not use Kim Wipes or paper towels! • Open Hyperlink to see the movie • Clean with alcohol wipe. Do not use Kim Wipes or paper towels! • Open Hyperlink to see the movie 19