Download

1 / 28
300 likes | 484 Vues
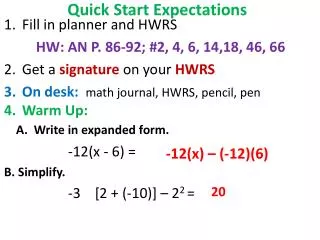
NEW TAMIS Quick Start. Affiliate Users with UIC. 1. Click ADMIN, User Management, Add/Edit Users. 2. Choose the User you are Affiliating (Do not hit “Remove Affiliation”) 3. Hit Add affiliations.

E N D
2. Choose the User you are Affiliating (Do not hit “Remove Affiliation”)3. Hit Add affiliations
4. Hit Select Hierarchy (Not shown, behind window)5. Select Company you are Affiliating User with
6. Click to give User all permissions (Except Read Only)7. Click needed Available Munitions Accounts8. Set Expiration to “NONE”9. Hit Save affiliations
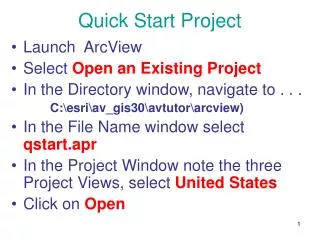
2. Choose Setup type, Hierarchy Setup3. Click Select Hierarchy4. Chose the Company you want to order ammunition with5. Click Continue
6. Click Requestor (Yours may all be empty, we have already previously done this for our units)7. Choose the name of requestor for unit8. Click Continue* Repeat for Approvers and Validators
* When all done you will have all personnel in E581 routing scheme9. Click Save changes* Will need to be repeated for OPL, NET, TEST, and all other accounts if needed
4. Fill in all required data1. Document #, 2. ASP, 3. Unit requesting, 4. Date of pick-up, 5. Allocation period, 6. Training dates, 7. DODIC, 8. Training event, 9. Training area, 10. Quantity requestingNote, we had 1 G955 forecasted in APR and the E581 is showing 1 forecasted5. Click “Request” after all required information Is inputted
* When you go to E581, manage E581, the document will appear in the list (I searched by document number to only show this document from the larger list)
1. Click E581, Manage E581s to see documents2. Choose the document you want to approve* Everything in “Workflow Step” column as “Requested” is now pending Approval
3. Verify all data on the E581 is correct and Requestor is on the current units 1687
4. Type in the amount of rounds you want to approve * The system does not currently automatically put that in as on the old system5. Click “Approve” to sign the document (might sign without typing in pin)
1. Click E581, Manage E581s to see documents2. Choose the document you want to validate from the list (not shown)
3. Verify all data on the E581 is correct and Requestor and Approver are on the current units 16874. Type in the amount of rounds you want to Validate * The system does not currently automatically put that in as on the old system5. Click on Validate to sign the document (might sign without typing in pin)
* Document shows as validated in the list and will show in TAM Validator list of documents
Questions Please contact the TAMIS Help Desk Email: tamis.support@hpe.com Phone: 1-855-752-8111 Fax: 1-855-379-5011