Download
1 / 53
530 likes | 670 Vues
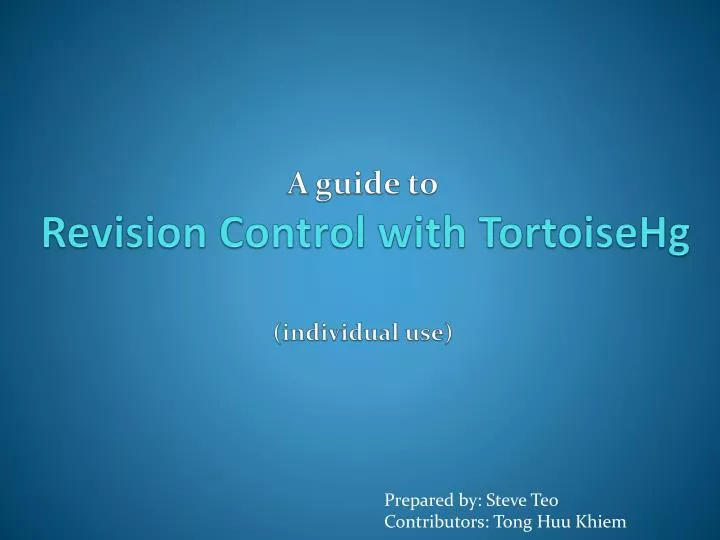
A guide to Revision Control with TortoiseHg (individual use). Prepared by: Steve Teo Contributors: Tong Huu Khiem. Before we begin…. I am a note. I am an instruction. Introduction to TortoiseHg.

E N D
A guide toRevision Control with TortoiseHg(individual use) Prepared by: Steve Teo Contributors: Tong HuuKhiem
Before we begin… I am a note I am an instruction
Introduction to TortoiseHg • TortoiseHg is an easy to use graphical client which integrates into the Windows Shell for the Mercurial Revision Control System (RCS) on the Windows operating system. • Mercurial is also referred to by its short name Hg (see the connection?) • TortoiseHg comes with Mercurial by default • Download the latest version of TortoiseHg from http://tortoisehg.bitbucket.org/
Objectives • Learn basic concepts of Revision Control System (RCS) for individual use • Know how to • Create a local repository • Add files to the repository • Commit changes to the repository • View differences between revisions • Revert changes to files • Label a revision for easy reference
After installation • The explorer context menu will have two new commands.TortoiseHg allows for quick access to commonly used operations.Hg Workbench is a full-fledged application for interacting with repositories. • We will focus on TortoiseHg for the purpose of this tutorial. Quick access to operations
What is a repository? • The database where the files and historical data are stored, including the author of the changes and the summary of each change. Commonly called repo for short. Repository (Repo)
What is a working copy? • The local directory of your files which you work on.
A basic overview • The set of files you are currently working on. • Where files and historical data are stored Working Copy works on monitors Stores/retrieves Version Control System Client Steve uses Repository (Repo)
Create a local repository • When we create a repository, we specify a folder where the repository will be created in. • In Mercurial, repositories can be created locally on your computer or on a remote server. Let us create a local repo. 2. Select “Create Repository Here” on the empty folder 1. Create an empty folder
Create a local repository The equivalent command using the command line Accept the default options and click “Create”
Create a local repository • The repository exists as a special hidden folder, .hg in the selected folder. • The folder which was specified becomes the working copy itself. The local folder becomes the working copy The “.hg” directory is the repository.
Create a local repository • Additional context menu commands will also be available once a folder has had a repository created within it Commit command More commands are available
Add files to the repository • “add” tells the Version Control System to track a file, a set of files or a directory. • Begin by creating new files in the directory. We need to ‘add’ these files so that they are tracked by Hg. Create these files
Add files to the repository Right-click on the folder and select the “Add Files…” command
Add files to the repository “?” status means unknown status, which means it has not been added into the repository Preview of the contents of the selected file 1. Check the 3 files just created 2. Click “Add” to begin tracking the files for commit
Add files to the repository Icon indication that the files have been added and are being tracked
Add files to the repository Alternatively, you can just right-click on the files to be added
What is a commit? • commit command uploads a changed file or a set of changed files to the repository. It is similar to saying “take a snap shot of files at this time”. Repository (Repo) Working Copy Stores snapshot commit User TortoiseHg
What happens during a commit? • Whenever a commit operation happens, files that have been changed with respect to the last commit will be detected. • The user can then select which of these changed files are to be committed. The selected files will have their changes stored. • During a single commit operation, the selected changes are grouped together into what is known as a “revision” and stored into the repository.
What is a revision? • A revision is the set of changes whenever a commit is performed. Each revision is given a number. Every file change has a diff which shows the change to the particular file. • Contains other important information such as the author of the changes and the summary of each change. • Each successful commit will result in a new revision.
Commit changes to the repository • Although the files have been added and are being tracked, they have not yet been committed. • We need to commit so that changes to the files are saved by the repository. Right click on the directory and select the “Hg Commit…” command
Commit changes to the repository Parent of the revision. Since it is the first commit, it will be -1 “A” status means it has been added 2. Type a useful message that describes the commit 1. Select the files that are to be committed. Since this is the first commit, all the newly added files will be committed 3. Commit the changes
Commit changes to the repository • After the commit, the screen will remain open. Notice that the next commit will have the first commit as its parent. 4. Close the window
Commit changes to the repository Select the “Update Icons” command to see the updated icon signs. Notice the icon has changed for the files. The tick means that the file hasn’t been changed since the last stored commit in the repository.
What is a diff? • Diffis a file comparison utility that outputs the differences between two files • Typically used to show the changes between one version of a file and a former version of the same file. • Diff displays the changes made per line for text files. • Revision Control Systems can display changes between files in the form of diff output or side-by-side comparisons using a ‘Visual Diff’ program.
An example of diff output Mercurial Diff Output Readme.txt (Original) Original line in document Going to be deleted @@ -1,2 +1,2 @@ Original line in document -Going to be deleted \ No newline at end of file +New second line \ No newline at end of file Readme.txt (Modified) Original line in document New second line How to read diff: http://www.markusbe.com/2009/12/how-to-read-a-patch-or-diff-and-understand-its-structure-to-apply-it-manually/
An example of diff output • You can see the diff output when you commit changes. Diff output for readme.txt
Side-by-side diff comparison This red exclamation mark indicates the file has changed since the last Commit. Changes in files can be viewed side-by-side between the latest committed version and the new uncommitted version. Right-click on the changed file and then select the ‘Visual Diff’ command.
Side-by-side diff comparison This panel is the file content in the lastest commit This is the new content in the working directory TortoiseMerge is used by TortoiseHg to resolve conflicts and to visualize diffsbetween files. It makes it easy to resolve conflicts and analyze changes between files.
View differences between revisions 1. Right-click on the repository directory and select the “Hg Workbench” command
View differences between revisions List of Revisions Commit messagefor selected change set List of files that were changed between Revision 5 and 4 Diff output between revision 5 and 4 for “Readme.txt”
View differences between revisions Right-click on a revision and select the “Diffto local…” command to view a diff between it and the working copy
View differences between revisions Select two revisions (using control-click) and right click on them and select the “Visual Diff …” command
View differences between revisions 3. Double-click on the file to view the differences for that revision “misc.txt” in Working copy (or the later revision) “misc.txt” in the earlier revision
Revert changes to files • Restore individual files or directories (in the working copy) to an earlier state, usually done if mistakes were made.
Revert changes to files • Let us make some changes to misc.txt Notice the icon has changed for misc.txt. The exclamation mark indicates that the that the file has been changed.
Revert changes to files • The changes were a mistake and we want to “revert” it. “M” status means it is modified Mercurial diff output 1. Right click the directory and select the “Revert Files…” command 2. Select the files to revert 2. Proceed to “Revert”
Revert changes to an earlier revision • We can also revert changes of files to an earlier revision. 2. Select misc.txt 3. Select “Revision History” 1. Make some additional changes to misc.txt and commit it
Revert changes to an earlier revision Past commits 4. We are going to revert misc.txt back to revision 0. Right click revision 0 and select “Revert to revision…”
Revert changes to an earlier revision You can also revert all files back to this revision 5. Revert the file
Revert changes to an earlier revision • We need to commit the revert to ensure that the changes are saved. Notice that misc.txt is modified. This is because it is now back to Rev 0, but the latest commit in the repository is actually Rev 1. 6. Commit one more time to ensure that the revert is saved.
Label a revision for easy reference • In software development, it is good practice to label specific revisions as releases for commercial release to the public. In Mercurial, we can give specific revisions meaningful names such as Version 1.0 through tagging. 1. Right-click on the working copy and select “Hg Workbench” 2. Right-click a revision and select “Tag…” to tag it
Label a revision for easy reference 3. Enter the tag name 4. Add the tag name