Download

1 / 22
220 likes | 426 Vues
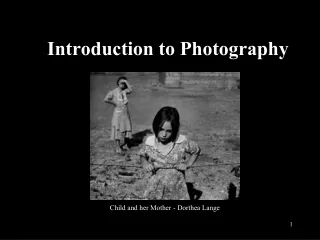
Intro to Photography. Single Lens Reflex A single-lens reflex (SLR) camera typically uses a mirror and prism system that allows the photographer to view through the lens and see exactly what will be captured. Types of Cameras.

E N D
Single Lens Reflex A single-lens reflex (SLR) camera typically uses a mirror and prism system that allows the photographer to view through the lens and see exactly what will be captured. Types of Cameras
Digital Singles Lens Reflex (DSLR) function the same way as SLRs, except they are digital and do not use film. Types of Cameras
Point and Shoot Camera Is nearly completely automatic and only gives the user control over zoom. The technology used to capture the image is different than the SLR. Types of Cameras
ISO (International Standard Organization) • In traditional photography, ISO referred to the sensitivity of film to light (the higher your ISO, the more sensitive to light) • In digital photography, ISO refers to the sensitivity of your light sensor. The higher your ISO, the more sensitive your sensor, and also the grainier your image will be. Exposure
Higher ISOs are used in dark settings or to get very fast shutter speeds in order to freeze motion • Lower ISOs result in images that are more fine and where a lot of light is present Exposure
Recommended ISO for a bright sunny day: • 100 or 200 • Recommended ISO for indoors or shady areas: • 400 • Recommended ISO for night or dark lit places: • 800 and up ISO
Aperture refers to how small or how large you will open up your lens. • The opening of the lens determines how much light will be let in to your sensor. Aperture is measures in F Stops on your camera Aperture
The higher the F stop, the less light you are allowing in your camera • High F stops have a longer depth of field, while lower F stops have shorter depths of field
Shutter speed refers to how quickly or how slowly the shutter of the camera is open. • When the shutter speed is slow, more light enters the camera. • When the shutter speed is fast, less light enters the camera. Shutter Speed
The combination of ISO, aperture and shutter speed determines the exposure of a photo (how the light is manipulated. Exposure
How do you determine the right settings to correctly expose a photograph? Exposure
Step 1 – Determine the ISO • Step 2 – Decide what depth of field you want to use • Step 3 – Use your light meter Exposure