Download
1 / 7
70 likes | 146 Vues
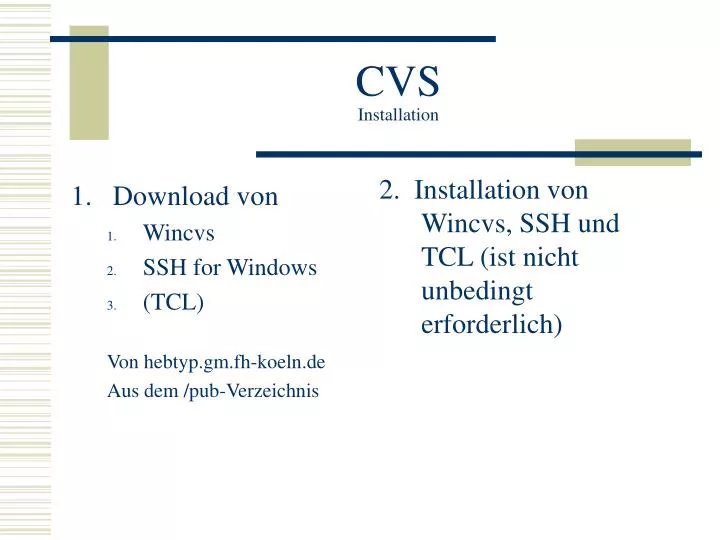
CVS Installation. 2. Installation von Wincvs, SSH und TCL (ist nicht unbedingt erforderlich). Download von Wincvs SSH for Windows (TCL) Von hebtyp.gm.fh-koeln.de Aus dem /pub-Verzeichnis. CVS Konfiguration. Admin Preferences. Username auf dem Server. Lokales cvs-verzeichnis

E N D
CVSInstallation 2. Installation von Wincvs, SSH und TCL (ist nicht unbedingt erforderlich) • Download von • Wincvs • SSH for Windows • (TCL) Von hebtyp.gm.fh-koeln.de Aus dem /pub-Verzeichnis
CVSKonfiguration • Admin Preferences Username auf dem Server Lokales cvs-verzeichnis auf dem Server Pfad zum Identity- File von SSH SSH-Verbindung
CVSKonfiguration • SSH einstellen SSH-Einstellung
CVScheckout module-name Gewünschtes lokales Verzeichnis einstellen
CVSVollbild Geändertes File Verzeichnis-Struktur Log-Fenster
CVSUpdate & Commit Update: File oder Verzeichnis anwählen Commit: File oder Verzeichnis anwählen Commit Button Update Button Log-message Im Log-Fenster Auf eventuelle Fehler schauen Im Log-Fenster Auf eventuelle Fehler schauen
CVSAdding Files Gewünschte File anwählen Add a file: Add-Button klicken Add-Button File commiten