Download

1 / 10
100 likes | 170 Vues
4.02A HTML Overview. 4.02 Develop web pages using various layouts and technologies. (Note to instructor: HTML tags are in red only to differentiate from regular text.). Purpose of Tags: Define and describe text, graphics, hypertext links, and other multimedia elements found on web pages

E N D
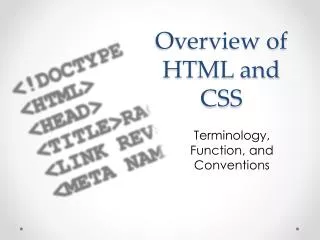
4.02A HTML Overview 4.02 Develop web pages using various layouts and technologies. (Note to instructor: HTML tags are in red only to differentiate from regular text.)
Purpose of Tags: Define and describe text, graphics, hypertext links, and other multimedia elements found on web pages Tell the browser how to display the document. By viewing the source code of a web page, the user can see the HTML tags used to display the page. To view a web page’s source code: In the browser window, Click on the View menu and choose Source. HTML Tags
Using HTML Tags • An HTML tag begins with a < character and ends with a > character. • Between these characters is the actual tag name, such as body or head. <body>is an example of a correct tag. • Tags should appear in pairs, with an opening tag <html> and a closing tag </html>. • The only difference between the opening and closing tag is the / used in the closing tag.
Using HTML Tags • Text entered between the HTML tags is formatted with the code specified by those tags. • Example: <h1>Welcome to my website!</h1> The browser will turn on formatting at heading level 1 to display the text and then turn it off at the end of that text. Note the source code showing the 6 levels of the heading tag.
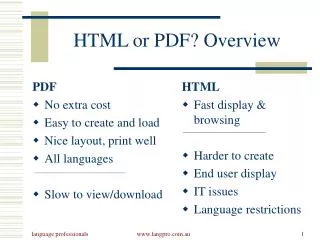
W3C created XHTML as an extended version of HTML. XHTML requires some modification of the old HTML standard. All tags must be in lowercase. All tags must have a closing tag. All tags must be properly nested. The <html> tag must be the root tag for every document. While many old browsers can display “old” HTML, newer ones rely on the current standard. Remember, web pages are accessed from desktop computers, mobile phones and handheld devices—all using a variety of browser technologies! HTML vs. XHTML
Nesting refers to the order in which tags are opened and closed. Enter the closing tags in the reverse order from the opening tags. Closing tags in a different order than they were opened may keep the browser from displaying the page as intended by the author. Nesting HTML Tags
Attributes provide additional information about tags and control how the tag will be interpreted by the browser. Example: The anchor tag, <a>, defines an anchor that converts text or an image into a hyperlink. <a href=http://www.unc.edu>University of North Carolina</a> href is the attribute instructing the browser to set the text between the anchor tags as a hyperlink to the specified web address. Adding Attributes to Tags
Rules for Using Attributes • Attributes are entered inside the opening tag but not in the closing tag. • Attributes are keyed in name/value pairs. Syntax: name=”value” • The attribute should have an equal symbol followed by the value or setting for the attribute. • Attribute values should be enclosed inside quotation marks.
Using Multiple Attributes Example: <img src=“image.gif” alt=“smiley face image” /> • Space once between multiple attributes. • The sourceattribute tells the browser where the image is located. • The alt attribute instructs the browser to display alternative text if the image file will not load. For a comprehensive list of tags and attributes visit www.w3schools.com/html/html_reference.asp
Creating and Saving HTML Files • Use any text editor to enter HTML code and create a web page. • Save the file as an HTML file using .html as the extension. • Many old browsers will display files with the .htm extension but the latest standard requires .html • Launch a web browser and open the file to display the page. (Check the page out with several different browsers to see how each browser displays the HTML file.)