Download

1 / 30
300 likes | 483 Vues
Designing Centerpieces and Holiday Arrangements. Learning Targets. 1. Identify types of centerpieces. 2. Learn how to take a centerpiece order. 3. Describe floral arrangements for holidays. Terms. Candle holder Conical centerpieces Cornucopia Novelty designs Paddle wire Plush animal

E N D
Learning Targets • 1. Identify types of centerpieces. • 2. Learn how to take a centerpiece order. • 3. Describe floral arrangements for holidays.
Terms • Candle holder • Conical centerpieces • Cornucopia • Novelty designs • Paddle wire • Plush animal • Raffia • Votive candles
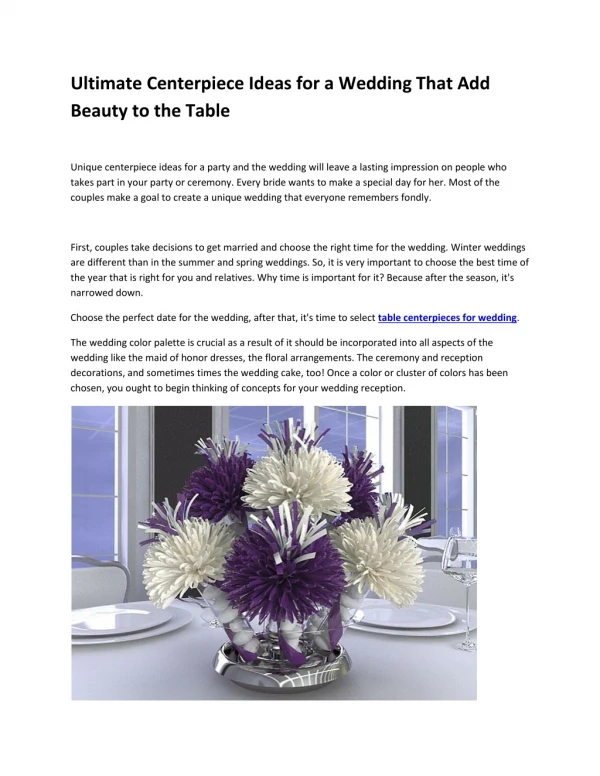
Centerpieces have been the center attraction on tables since the 18th century. • Since centerpieces are viewed from all sides, they should be attractive and colorful.
Traditional centerpieces are low so that conversation at the table is uninterrupted.
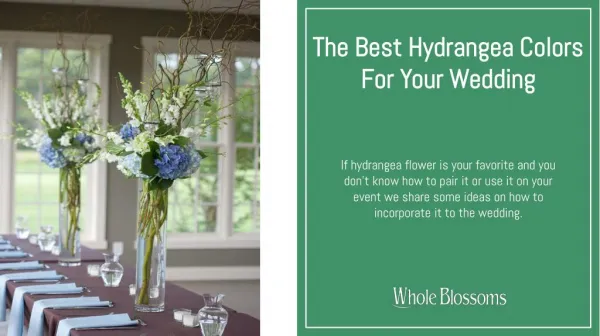
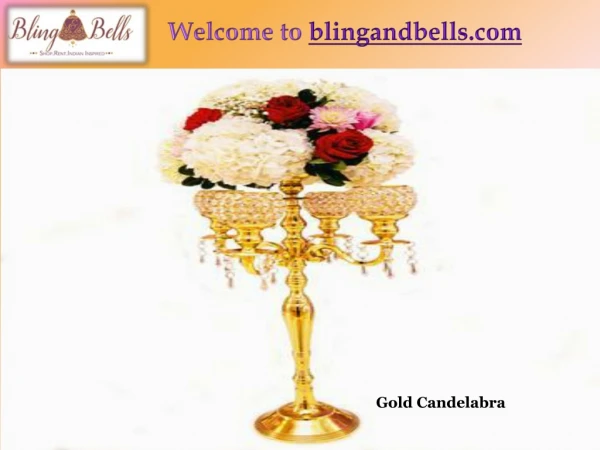
Contemporary arrangements, such as topiaries, add a splash of color and design above eye level.
A centerpiece on a buffet table at a banquet might be one-sided and coordinated with centerpieces on the dining tables themselves.
Types of centerpieces include: • 1. Bud vases are small arrangements suitable for placing on long rectangular tables at intervals. They typically contain one flower or three flowers, and are inexpensive to create. • 2. Small vase arrangements are designed in vases in proportions of 1 to 1 so that they do not obstruct vision. They are more colorful and emphasize flowers more than bud vases. They may be asymmetrical or symmetrical in design, depending on the theme and formality of the occasion.
3. Round centerpieces are suited for round and square tables. • They may be designed with one type of flower or a mixture of several varieties and colors. • The container that works best is low and rounded. A round centerpiece looks basically the same when viewed from any point in a room. The contour of this arrangement may be round or triangular.
4. Oval centerpieces are similar to rounded centerpieces but are more suitable for oval or rectangular tables. • Common containers for this style are rectangular, oval, or circular with a low rim. The outline and the contour of this design may be triangular or rounded.
5. Conical centerpieces are cone-shaped or three dimensional isosceles triangles. • These designs date back to a period in history known as the Byzantine period. • A centerpiece that looks like a Christmas tree would be conical.
B. Accessories can be added to centerpieces to create a certain atmosphere or interest. • These items should be in harmony with the design, and properly placed to be effective. • Candles are often used and can be stabilized using a candle holder. This plastic device is • round at the top to secure the candle and pronged on the other end to fit in foam. Candle • holders come in various sizes, for different sizes of candles. If using more than one, • candles should be spaced at least one inch apart. Ribbon, fruit, cones, and other items • might also be used as accessories in a centerpiece.
Designing A Round Centerpiece Its Lab Time
Designing a Round Centerpiece Materials Needed per group • 1 Container • 1 Brick of moistened floral foam • 1 Role of floral tape • --- Stems of foliage • --- Blue carnations • --- Babies breath • Ribbon white or yellow ribbon • 1 Floral wire
DESIGNING AROUND CENTERPIECE • Steps • 1. Position a moistened piece of floral foam in the center of the container. Secure to container with tape. • 2. Add greens in a circular pattern. • 3. Primary flower placements will establish the height and the width. • 4. Secondary placements will fill in space between the primary placements. • 5. Add additional flowers to fill in the empty gaps. • 6. Add filler flowers
Gathering necessary information is extremely important in order to make decisions about the design of a centerpiece for a particular event.
The following is a suggested checklist • 1. When is the event, date, time, and how much time is needed to set up? • 2. Where is the location and what is the size of the room? • 3. What is the style of the room? • 4. What are the room colors, and what are the colors associated with the event or event sponsor?
5. What is the preferred style of the event (formal, informal, casual, contemporary, elegant)? • 6. How many tables will need centerpieces and what are the shapes and sizes of the tables? • 7. How many additional floral design? • 8. What is the budget for flowers?
B. A florist should visit the site and become familiar with the surroundings prior to creating the floral work. Sometimes banquet halls and hotels have mirrors and candles that may be used, but they need to be reserved for the event in advance .
Flowers play a large part in many holiday celebrations. • A variety of designs might be offered by a florist and a sampling follows:
Valentine’s Day—A dozen roses arranged in a vase with baby’s breath or red and • white carnations and mums in an arrangement with a plush animal or chocolates as • an accessory. A plush animal is a stuffed figure, animal, or item added to an arrangement
St. Patrick’s Day—Green-tinted carnations are big sellers for this holiday. It might • also be beneficial to have several pots of oxalis (shamrocks) available for this Irish • holiday.
Easter—Spiritual or whimsical arrangements are appropriate for this holiday. Both • pastel colors and bright vibrant colors are appropriate at this time of year. Novelty • designs, which resemble kittens, bunnies, or ice cream, for example, are popular for • this holiday.
Mother’s Day—Spring flower arrangements and corsages are traditional gifts for • Mother’s Day. Novelty containers emphasizing the season are popular.
Halloween—Arrangements in fall colors, hollowed out pumpkins, or cornucopia are • ideal for Halloween. Recently, Halloween has become the fastest growing holiday for • floral design.
Thanksgiving—Centerpieces are the major arrangements for this holiday. No table is • complete for the Thanksgiving meal without a holiday centerpiece. Analogous colors • of red, orange, and yellow highlight this autumn occasion. Often a cornucopia, a • cone or horn shaped container containing flowers, fruits, and vegetables, is used as a • Thanksgiving centerpiece. Raffia, a fibrous material made from palm trees, offers a • natural ribbon appearance to fall arrangements.
Christmas—This is a busy season for holiday design work in both artificial and real • flower arrangements. This season starts in early November when florists have open • houses displaying not only arrangements, but also all kinds of holiday decorating • items. Wreaths can be purchased from a wholesaler and decorated by a florist, or • they can be created by a florist. Christmas centerpieces are often accented with votive • candles, short stocky candles placed in holders around an arrangement. • Wreath construction is not difficult, but it takes time and patience. Horticulture students • may use a wire coat hanger or a paddle wire, a piece of wood with wire • wrapped around it, to create this holiday piece. The hanger is bent into a round • shape. Do not untie the hanger but bend it into the desired shape. Use the hook already • formed as the mechanism for hanging the wreath. The hanger should be • wrapped in paddle wire at ½ inch intervals; which will create friction between the • pine branches and the hanger and hold the wreath together.