Download
1 / 9
90 likes | 92 Vues
Clear instructions about how you can make single pages in your Microsoft Word 2019 or 2016 document landscape. Just follow these steps.

E N D
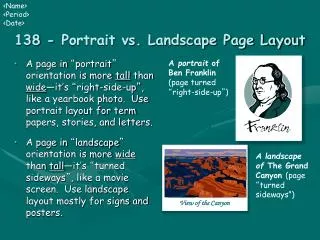
Instructions to Insert a Landscape Page Into a Portrait Document in Word
Sometimes you need some help to get the best out of your HP products. HP Support created these videos to help answer questions, troubleshoot problems, and even give you some expert tips on your HP Products.
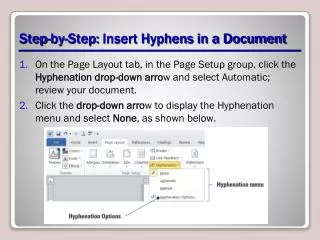
New area break in Microsoft Word To reveal to Microsoft Word where to break the page as opposed to giving the program a chance to choose its own, embed a Next Page segment break toward the begin and end of the content, table, picture, or other item for which you are changing the page direction. Snap the starting region for where the page ought to pivot. Select the Layout tab. Snap the Breaks drop-down menu in the Page Setup segment. Select Next Page.
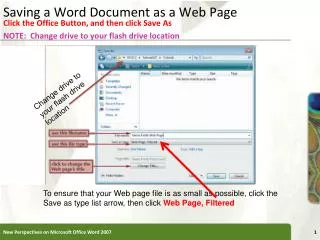
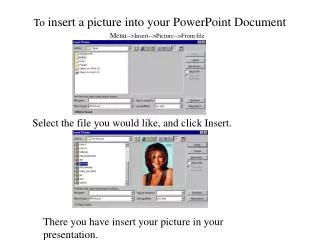
Rehash the above strides toward the finish of the region you need to turn, and afterward proceed with these means: Apply segment breaks in Microsoft Word Jon Fisher Concentrate the cursor on the page that ought to have the diverse direction. Open the Page Setup subtleties window by tapping the little bolt situated in the lower right corner of the Page Setup territory in the menu. Snap Margins tab. Pick Portrait or Landscape in the Orientation area. Pick This area in the Apply to: menu at the base of the window. Snap OK. Let Microsoft Word Do It For You Area breaks for chosen message in MS Word
You'll spare mouse clicks in the event that you let Microsoft Word embed the segment breaks for you, however then they'll be set where it chooses they ought to be. The trouble with giving Word a chance to put your segment breaks comes when you select content. In the event that you don't feature the whole passage, numerous sections, pictures, tables, or different things, MS Word moves the unselected things onto another page.
Ensure you're cautious while choosing the things you need in the new picture or scene design direction. Select all the content, pictures, and pages that you need to change to the new direction. Snap the Layout tab. In the Page Setup area, open the Page Setup subtleties window by tapping the little bolt situated in the lower right corner of the segment. Go into the Margins tab. Pick either Portrait or Landscape from the Orientation area. Pick Selected Text from the Apply to: drop-down menu at the base of the window. Snap OK.
Thanks for watching For more details click hp support