Download
1 / 14
190 likes | 355 Vues

E N D
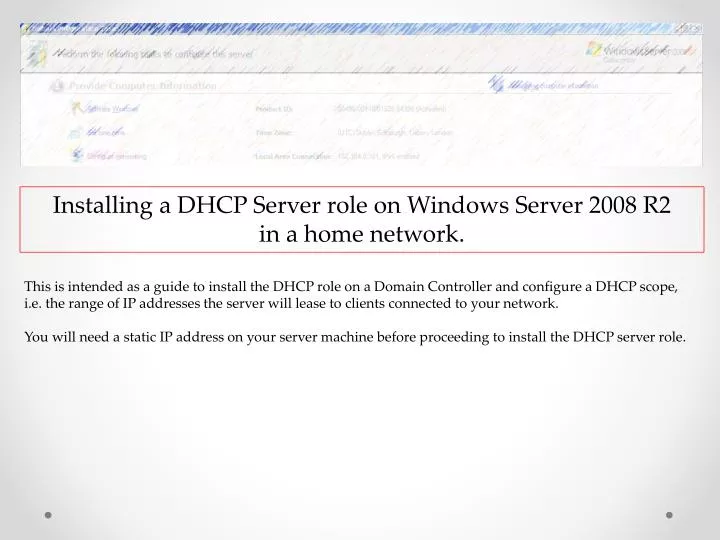
This is intended as a guide to install the DHCP role on a Domain Controller and configure a DHCP scope, i.e. the range of IP addresses the server will lease to clients connected to your network.You will need a static IP address on your server machine before proceeding to install the DHCP server role. Installing a DHCP Server role on Windows Server 2008 R2 in a home network.
Install the DHCP role Click on Add roles on the Initial Configuration window
Select the box next to DHCP Server Click Next
Here the wizard will look for a network card with a static IP address. There should be only one listed here. Make sure it is checked before proceeding. Click Next
Enter the full domain name Enter the IP address of your DNS server. Click Next
Select WINS is not required for applications on this network Click Next
Configure the range of IP addresses to lease to clients Give the scope a name Enter the starting and ending IP address range Choose Wired Enter the full domain name Enter the default gateway IP address Click OK when you have entered everything above
Disable IPv6 Click Next
Use current credentials Click Next
Review the summary to make sure everything is correct Click Install