Download
1 / 7
70 likes | 203 Vues
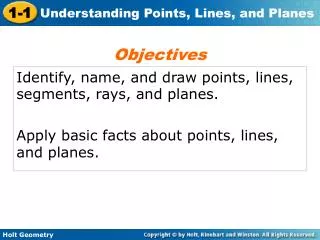
Objective. Name and draw rotation images. Remember that a rotation is a transformation that turns a figure around a fixed point, called the center of rotation. . Example 1: Identifying Rotations. Tell whether each transformation appears to be a rotation. Explain. . B. A.

E N D
Objective Name and draw rotation images. Remember that a rotation is a transformation that turns a figure around a fixed point, called the center of rotation.
Example 1: Identifying Rotations Tell whether each transformation appears to be a rotation. Explain. B. A. No; the figure appears to be flipped. Yes; the figure appears to be turned around a point.
Check It Out! Example 1 Tell whether each transformation appears to be a rotation. b. a. Yes, the figure appears to be turned around a point. No, the figure appears to be a translation.
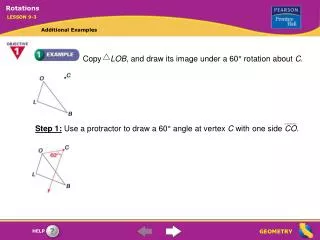
To reflect an image around a point follow the steps: We will begin by rotating a point 90º clockwise. On your paper draw two points. Label one R (the point we will rotate around) and the other P. P● R● Draw a line connecting P to R. Use a straightedge.
Use your protractor to measure the angle of the turn that you want. Mark where 90º is. Draw a line connecting your mark to R. P’● P● R● Measure the distance from P to R. Measure that same distance on your new line and make a mark. Label it P’. Line your protractor up with point R so the protractor lies on line PR.
Now we will try it with a triangle. Rotate 90º clockwise. ● R You will need to draw a line from each vertex to point R. Now let’s try it with a quadrilateral.
Homework Section 4-4 p.116-117, 1-23 all