Download
1 / 10
100 likes | 161 Vues
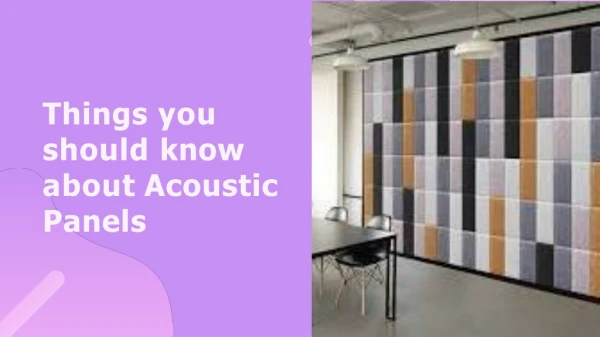
Shush Photo acoustic panels are sound absorbing panels with an upholstered image applied to the face. These can create a stunning effect to any room where there is a reverberation issue. Shush Photo acoustic panels are extensively used in offices, restaurants, schools, community halls etc.<br>http://www.soundhush.com/products/shushphoto/

E N D
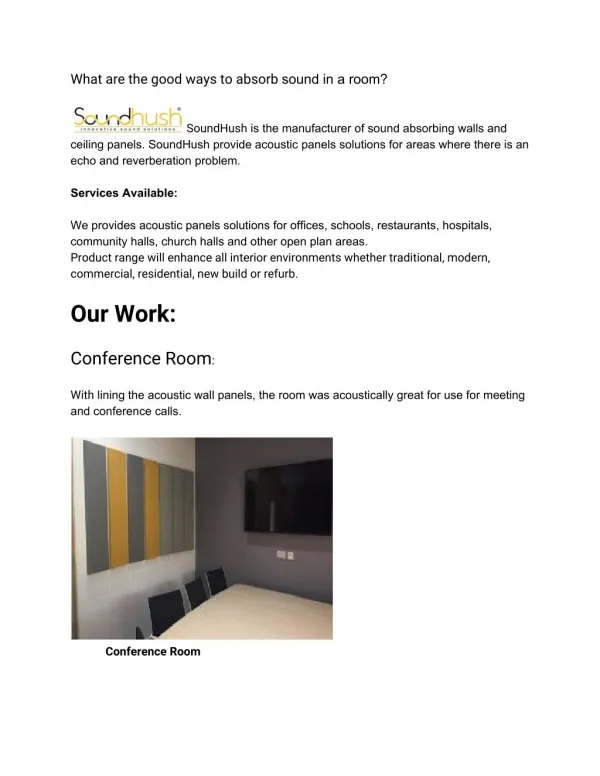
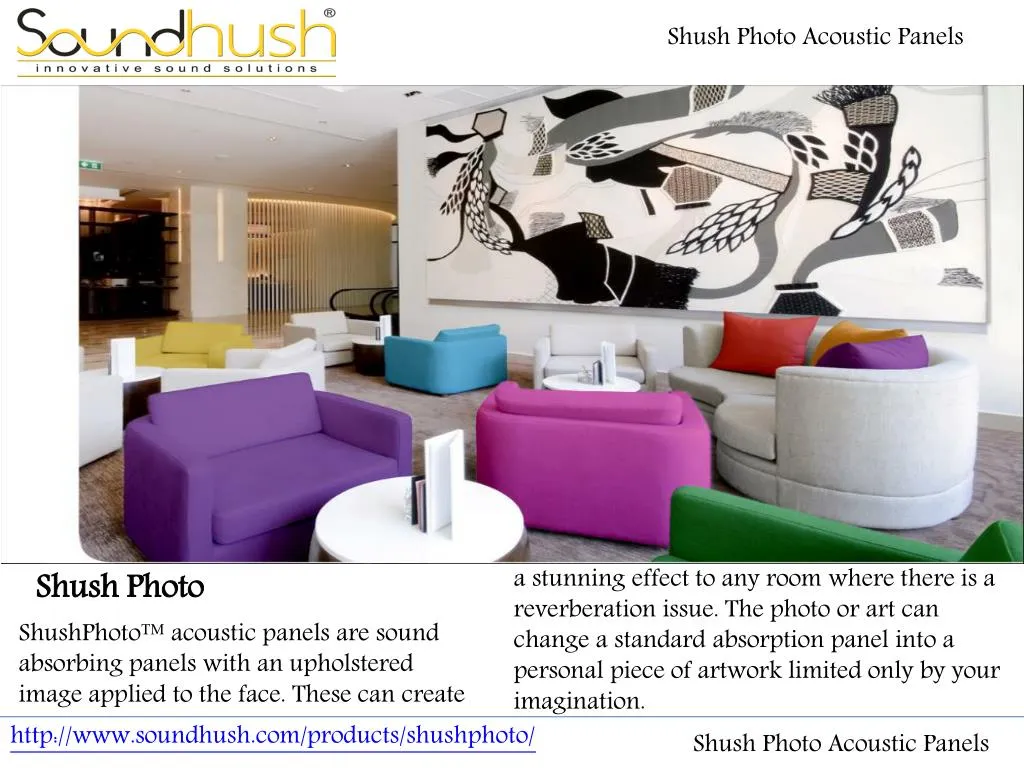
Shush Photo Acoustic Panels a stunning effect to any room where there is a reverberation issue. The photo or art can change a standard absorption panel into a personal piece of artwork limited only by your imagination. Shush Photo ShushPhoto™ acoustic panels are sound absorbing panels with an upholstered image applied to the face. These can create http://www.soundhush.com/products/shushphoto/ Shush Photo Acoustic Panels
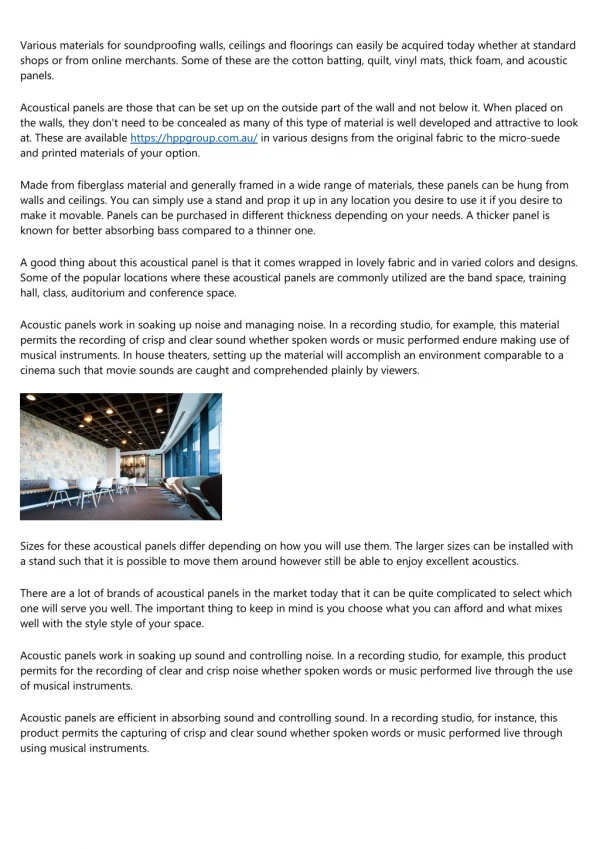
Shush Photo Acoustic Panels What is ShushPhoto™? ShushPhoto™ panels are a creative yet functional way to make your area unique. The photo is printed on to specially selected open weave fabric which allows the sound to pass through the fabric and into the sound absorbing panel. ShushPhoto™ acoustic panels are extensively used in offices, restaurants, schools, community halls etc. You are able to have a combination of small and large panels on the wall to create a feature. The panels are easy to install with either ShushBond™ adhesive or http://www.soundhush.com/products/shushphoto/ Shush Photo Acoustic Panels
Shush Photo Acoustic Panels We provide a library of images from which you are able to choose very high definition images. You are able to access the image library on www.shutterstock.com. Choose any image from this library and provide us the reference number and we will be able to print this on to the acoustic fabric. The photos consists of high resolution images which do not lose clarity when enlarged. You are also able to provide us with your own high resolution photos which then can be applied to the sound absorbing panel. A landscape image should be selected for a landscape panel and a portrait image for a portrait panel. wall spiral hook system, for removable panels. ShushPhoto™ panels can also be used as hanging rafts from the ceilings with a suspension kit which is provided by us. The ShushPhoto™ can be anufacturedto the size required to suit your requirement. We are able to manufacture a maximum panel size of 2700 x 1200mm. Standard Sizes: (25mm or 40mm thickness) 1200 x 600mm 1200 x 1800mm 1200 x 900mm 1200 x 2100mm 1200 x 1200mm 1200 x 2700mm http://www.soundhush.com/products/shushphoto/ Shush Photo Acoustic Panels
Shush Photo Acoustic Panels http://www.soundhush.com/products/shushphoto/ Shush Photo Acoustic Panels
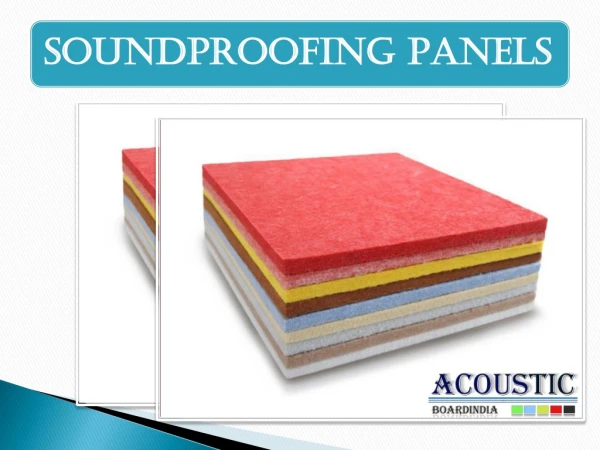
Shush Photo Acoustic Panels Technical + Acoustic Performance FIRE CLEANING WEIGHT ShuhPhoto core board has been tested and offer class O fire rating to BS476: part6. Fabric facing meets the requirements of class B1 for building material according to DIN 4102, part 1 (May 1998) Light dirt marks may be removed by using a proprietary carpet spot cleaner . A small area should be tested before doing the rest of the area to ensure that the fabric is not adversely affected. Our ShushPhoto panels weight in at 3.5kg/m2 for the 25mm thickness panels . 40mm thickness panel weight 4.5kg/m2 http://www.soundhush.com/products/shushphoto/ Shush Photo Acoustic Panels
Shush Photo Acoustic Panels Installation Step 1 Lightly trace the panel edges onto the desired installation area. Then suitably and securely fix the appropriate number of clips using screws. Step 3 Step 2 After waiting for the adhesive to dry (2-5 minutes at 23°C) carefully align the panel to the marked area and push gently - allowing the impaling spikes to bite into the panel. Once confident with the panel positioning, press firmly over the entirety of the surface and ensure maximum contact has been made with the wall. Spray ShushBond™ contact adhesive vertically onto the reverse of the panel surface and horizontally onto the desired installation area. Be sure to spray over the clips with ShushBond™ ShushBond™ contact adhesive should be applied to 100% of the surface area on both surfaces. http://www.soundhush.com/products/shushphoto/ Shush Photo Acoustic Panels
Shush Photo Acoustic Panels Note: SoundHush Ltd will not accept any liability for the loss or damage that may occur of any kind which is outside of our control. We strongly instruct to make sure the product suitability is confirmed by doing your own tests. Panels MUST be checked for colour shading differences, flaws, defects or damage prior to installation. Once installation has been commenced, the panels are deemed to have arrived in perfect condition – any of the above reported after installation will not be covered by your warranty http://www.soundhush.com/products/shushphoto/ Shush Photo Acoustic Panels
Shush Photo Acoustic Panels Product Specification 1. Product Install with the following components: ShushPhoto™ Acoustic panel in panel size of ............................mm Wide X ............................mm High X ............................mm thick. ShushBond™ spray adhesive and Impaling clips. http://www.soundhush.com/products/shushphoto/ Shush Photo Acoustic Panels
Shush Photo Acoustic Panels 2. Finish Image selected from Shutterstock ref ............................ or client’s own high resolution image to be supplied. 3. Delivery, Storage & Handling Protect ShushPhoto™ Wall Panels from excessive moisture when storing, and handling. 4. Installation Install acoustic wall panels in locations indicated, top edges level and in alignment with other panels. Comply with manufacturer’s written instructions for installation of panels using type of fixing accessories indicated as recommended by the manufacturer. 5. Cleaning A. After completion of installation of panels, remove dust on panels. B. Remove surplus material, rubbish and debris resulting from panel installation on completion of the work and leave areas of installation in a neat and clean condition. 6. Supplier ShushPhoto™ acoustic panel system as supplied by SoundHush Ltd, Unit 2, Warren Barn Farm, Little Milton, Oxfordshire, OX44 7PR, United KingdomTel: 01844 27 88 88 E. info@soundhush.com W. www.soundhush.com http://www.soundhush.com/products/shushphoto/ Shush Photo Acoustic Panels
Shush Photo Acoustic Panels For More Other Information Contact Us And Visit Our Website Website Url - http://www.soundhush.com/products/shushphoto/ Soundhush Ltd Unit 2, Warren Barn Farm Little Milton Oxfordshire ,OX44 7PR United Kingdom Telephone: 01844 27 88 88 info@soundhush.com http://www.soundhush.com/products/shushphoto/ Shush Photo Acoustic Panels