Download
1 / 7
70 likes | 233 Vues
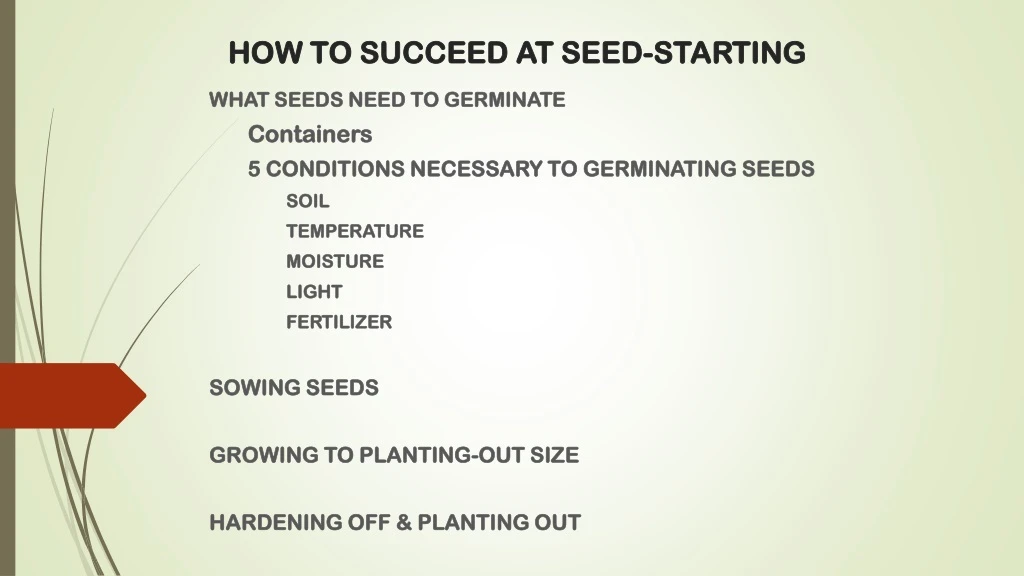
HOW TO SUCCEED AT SEED-STARTING. WHAT SEEDS NEED TO GERMINATE Containers 5 CONDITIONS NECESSARY TO GERMINATING SEEDS SOIL TEMPERATURE MOISTURE LIGHT FERTILIZER SOWING SEEDS GROWING TO PLANTING-OUT SIZE HARDENING OFF & PLANTING OUT.

E N D
HOW TO SUCCEED AT SEED-STARTING WHAT SEEDS NEED TO GERMINATE Containers 5 CONDITIONS NECESSARY TO GERMINATING SEEDS SOIL TEMPERATURE MOISTURE LIGHT FERTILIZER SOWING SEEDS GROWING TO PLANTING-OUT SIZE HARDENING OFF & PLANTING OUT
SEEDEmbryo: Develops from union of egg and spermRadicle: embryonic rootEpicotyl/hypocotyl: embryonic shootEndosperm: oil and carbohydrate storageSeed Coat: mostly dead, hard tissue (protection from being crushed)
GERMINATION occurs as the result of: Swelling of the endosperm Rupture of seed coat by emerging root Emergence of the shoot
FIVE CONDITIONS NECESSARY TO GERMINATING SEEDS SOIL DO NOT use garden soil (drains poorly and turns adobe-hard) Use extra-fine seed-starting mix. Holds moisture well. TEMPERATURE 1) READ ALL PACKETS CAREFULLY for growing temperature—if warm conditions place container on top of refrigerator or above floor register). 2) If NO temperature specified, room temperature fine. 3) TEMPERATURES near window (especially at night) too-cool for good germination. MOISTURE 1) Keep seeds constantly moist to germinate. But, not too moist. 2) Moisten growing mix evenly before adding to container. Can use spray bottle on soil. 3) After sowing, drape sheet plastic wrap over container to slow evaporation. DO NOT ADHERE. 4) Check containers daily. Water as needed—keep surface evenly moist. 5) DO NOT pour water in container, unrooted seeds will wash away. Use spray bottle or fine tip watering can. Water at room temperature. If using tap water, let sit for day before using to dissipate chlorine.
GERMINATING SEEDS (CONTINUED) LIGHT 1) Most seeds DO NOT need light to germinate. Prefer womb-like environment: Warm, moist and dark. 2) BUT as soon as seedling appears above growing mix, light is absolutely necessary. FERTILIZER 1) Seeds do not require fertilizer to germinate. Have enough food inside them to sprout on own. 2) BUT young seedlings DO need regular doses of a weak fertilizer solution to grow successfully. SOWING SEEDS LABELS (DO NOT skip this step.) Keep track of plant name and date planted. Use indelible ink pen. SOWINGS according to average date of last spring frost in area. Contact Chesapeake Master Gardeners (CMG). For 2019 CMG recommend planting out not before end of April. Seeds sowed now – will be ready to plant out by end of April.
GROWING TO PLANTING-OUT SIZE 1) Important—thin seedlings. Keep best specimens. Use small pair scissors, snip off weak or unwanted seedling at soil level. Do not yank out; will disturb roots of plants to keep. 2) Overcrowded seedlings develop into inferior plants. Roots will be intertwined/crowded. Will grow leggy stems/sad pale leaves. Necessary to separate. Thin out or space when “true” set of leaves appear. 3) Prick out young seedlings—transplant to new flats or individual containers when “true” leaves develop. Transplant best, toss others. Need ONE CONTAINER for seed-starting and another, DEEPER (or 4” pots) for SEEDLINGS on to Planting- Out size. OR can use one container for duration. Prick out seedlings--slice a section of seedlings out of tray or pot and set them on damp cloth. Cover the roots to prevent drying out. 4) If keeping seedlings in same container all the way to the planting-out stage, thin when first set of “true” leaves appear allowing 3” between seedlings to prevent overcrowding.
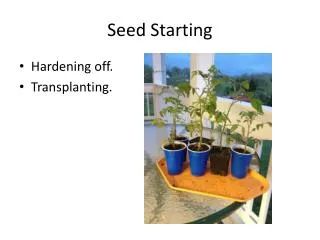
HARDENING OFF & PLANTING OUT SEEDLINGS MUST BE ACCLIMATED TO LIFE OUTDOORS. A PROCESS CALLED ‘‘HARDENING OFF’’. • When weather is warm and settled both day and night set out seedlings, still in containers, in lightly shaded, sheltered spot. • Keep well-watered and protected for first few days. Give half day of sun. Finally several full days of sun. Begin leaving outdoors through night about half way through hardening off period. Then leave out all day, increasing sun exposure, shifting eastern to western and finally to southern. • After hardening off seedlings, time for most satisfying part of seeding-planting; planting seedlings in the garden. --Plant in late afternoon or on an overcast day. --Make sure not too dry or wet. --Dig carefully from pots. Try not to handle root balls, roots are fragile. --Pick up seedlings by stems, trying to keep soil around roots intact. Keep roots covered and don’t expose to air unnecessarily. --Set each plant in prepared hole up to its first pair of true leaves, tamp soil firmly around it. Water thoroughly even if it rain threatens, to get rid of air pockets and ensure good root-to-earth contact. FINAL REWARDING ACT – ENJOY -- You have earned it.