Download
1 / 35
360 likes | 522 Vues
Signing In. Elf4us wiki http://elf4us.westernsydneyinstitute.wikispaces.net. Sign In To Wikispaces. You will need to join the wiki the first time you access it as this is a private wiki for the elf group. Sign In To Wikispaces. Use the user name and password you created or were assigned.

E N D
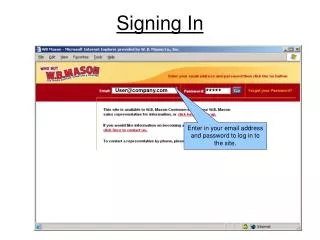
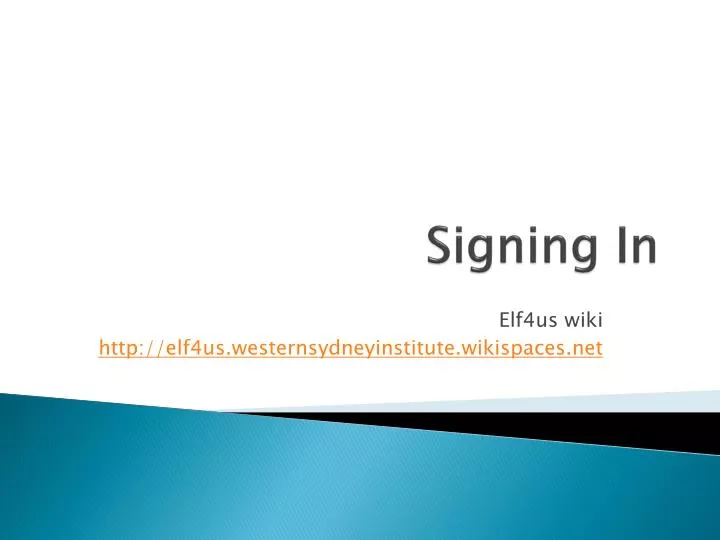
Signing In Elf4us wiki http://elf4us.westernsydneyinstitute.wikispaces.net
Sign In To Wikispaces You will need to join the wiki the first time you access it as this is a private wikifor the elf group.
Sign In To Wikispaces Use the user name and password you created or were assigned.
1 2 3 4 5 6 7 8 9 Basic Editing Functions • Bold • Italicize • Underline • Style • Numbered List • Bulleted List • Insert Horizontal Line • Insert Hyperlink (URL) • Remove Hyperlink (URL)
1 5 3 2 Inserting Images and Documents • Click on the Tree icon • Click Browse to locate your document and Upload to add it to the wiki server • Select if you want the document to be inserted as a file icon or as a hyperlink • Place your mouse on the page where you want your document to appear • Double click on the document’s icon on the menu
Inserting Hyperlinks • To insert a hyperlink to a page in your wiki or to an outside Internet page: • Highlight the text • Click on the Insert Link icon
Hyperlinking To A Wiki Page • Check “Wiki Link” and select the appropriate page name from the pull-down menu
Hyperlinking To An External Link • Check “External Link” and paste the URL of the outside web page.
Adding a Table of Contents • Add this bit of html code to the top of your page • [[toc]] • The html code will pull all text designated as Heading 1, 2, or 3 into the Table of Contents as hyperlinks
Table of Contents • Heading 1 text will be left most justified, Heading 2 will be slightly indented, and Heading 3 will be slightly more indented
Inserting Dynamic HTML - Widgets • Click on the TV icon • Select the icon that corresponds to the widget type you are inserting. • If you do not see your widget vendor list, click Other. If you cannot find an appropriate icon, select Other HTML. • Paste the Embed HTML code from your widget into the text field and click Save. (see next slide for image)
Editing Your Navigation • On the left side of your wiki, you have a navigation menu. • Your navigation menu will appear on all pages of your wiki. • Your navigation menu should include links to all the pages of you wiki and can include links to outside resources. • To edit your menu, click on the Edit Navigation link that is located at the bottom of your menu.
Editing Your Navigation Menu • When you click Edit Navigation, the space menu will open for editing just like any other page of your wiki. • The editing toolbar will appear – allowing you to add text, hyperlinks, images, and widgets just as you can for all wiki pages.
Discussion Board Reading, Creating, and Replying to Discussion Topics
Adding Pages • To add a new page to your wiki, click on the New Page link located above your navigation menu. • Title your new page.
Tracking Changes • To track page edits and discussions, click on the Recent Changes link located above your navigation menu. • You can view page edits as well as new discussion messages. • You can elect to be notified every time a change is made to your wiki.
Be Notified of Changes • You can elect to be notified of page edits and discussion messages as they occur. • Click on the Notify Me tab • Select if you want to monitor the entire space or just a single page • Select if you want to be notified of page edits, new discussion messages, or both • Select if you want to be notified via e-mail or RSS subscription • Good RSS readers are Google Reader Labs, Bloglines, Pageflakes, and Netvibes
Manage Your Wiki’s Preferences • If you are the wiki site organizer, you can manage a range of things including members and permissions
Congratulations! Now you are ready to get started with Wikispaces.