Download
1 / 23
260 likes | 394 Vues
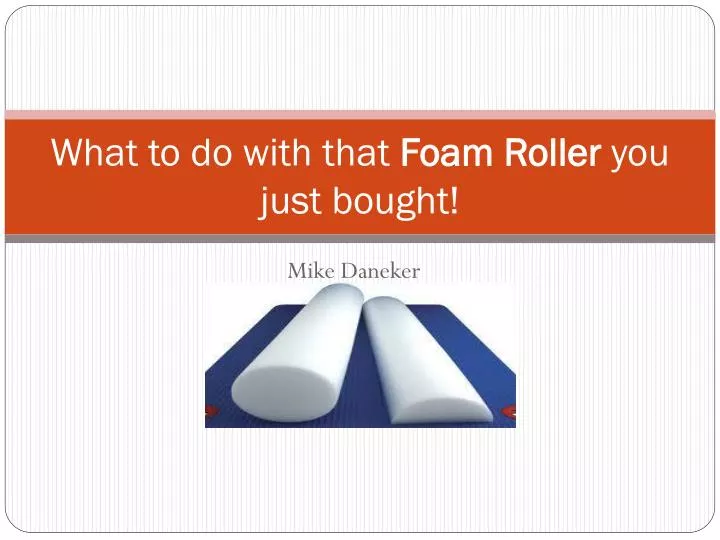
What to do with that Foam Roller you just bought!. Mike Daneker. How it works. Foam Rolling technique uses the Myofascial Release principle.

E N D
What to do with that Foam Roller you just bought! Mike Daneker
How it works • Foam Rolling technique uses the Myofascial Release principle. • The Golgi Tendon Organ (GTO) senses tension and rate of tension change in muscle tissue. The GTO which will respond to high or prolonged tension by causing muscle spindles to relax the agonist muscle. • In the case of Foam Rolling, a person’s body weight on the roller accentuates the response of “tension”, allowing the muscle to eventually relax. • This allows the tissue to respond to massage and stretch more readily and efficiently.
Why? • Possibly the most cost efficient modality someone could do to maintain skeletal muscle health and injury prevention (besides stretching). • Tension relief for problem areas. • Not a huge time commitment required to get benefit. • Can be supplemented into a stretching routine, and even makes it more interesting! • Intensities are easily adjusted for each individual . • Risk of injury is relatively low (some contraindications exist, i.e. fibromyalgia, lymphatic disorders, edema, skeletal muscle injury, etc.).
Stretching Tips • One technique found to be beneficial is to work half the muscle at first, from the proximal to the distal attachment. • This is an useful strategy because as you get closer to the distal muscle-tendon junction, there is a concomitant increase in tension. By working the top half first, you decrease the ensuing tension at the bottom, essentially taking care of the problem in advance.
Thoracic Spine Mobility Thoracic Extensors, Middle and Lower Trapezius, Rhomboids, Thoracolumbar Fascia -Begin w/roller around mid balance w/ back flat on ground, put hands behind head. -Slowly roll to mid/upper shoulder blade area. -Roll to right or left to emphasize one side.
Upper/Lower hamstrings -Balance on hands and feet rolling the upper hamstring area. -Work around “sit-bones”. < Gluteus Maximus/upper hamstrings -Balance on hands to work hamstrings from glute to knee. -Cross one foot over the other to emphasize one side. Semimembranosus, Semitendinosus, > Bicep Femoris
Gastroc/Soleus -Balance on hands, roll from knee to ankle -Emphasize one side by crossing your legs -Do this with toes pointed out and up. -Rotate at the knee to target different areas of the calves
Piriformis/Gluteus Medias Abductors of hip, Gluteus Medius and Piriformis -Sit on side of glute area w/ ankle of opposite foot across quad. -Balance on hand and one foot holding “hot spots” until pain diminishes -Roll from top of glute to middle.
Iliotibia Tract Tensor Fascia Latae and Iliotibial Band, Vast Lat -Begin w/ roller at hip bone on your side. Keep body perpendicular to ground. Balance on forearm. -Slowly roll to find “hot spots” -Change emphasis slightly by rolling side to side.
Quads Vastus muscles, Rectus Femoris -Balance on elbows, face down with quads on foam roller. -Work you’re way up or down roller -To place great emphasis on one leg, cross over the back or shift body weight to one side. -Rotate at the knee to target more area.
Hip Flexors TFL, Upper Rectus Femoris, Upper Sartorius -Lie on far end of roller on one side hip complex. -Slowly roll up and down -Change position on roller to emphasize lateral (outside) areas.
Adductors Adductors, Gracilis, Sartorius, Vast med -Balance on elbow and hand with one leg (roller side) at about 130 degrees. -Slowly roll from knee to hip complex changing leg position slightly for emphasis -Shift weight toward roller for more pressure.
Peroneals -Get on all fours with either far end or entire roller on one shin. -Shift body to apply pressure to anterior tibulus (muscle on front of shin) roll from knee to ankle -Rolling to outside to get emphasis on peronius.
Teres Minor/Lat LatissimusDorsi and Teres Minor -Lie on one side w/ shoulder perpendicular to ground. -With arm bent rollout teres minor (back shoulder) -With arms straight roll lat from bottom to top
Exercise Emphasis • Proprioception • Balance • Core Stability • Postural
-Get down on “all fours” using 2, 3ft. ½ round rollers with flat side down -Raise 1 arm or leg and maintain balance -As you progress try raising 1 arm and the opposite side leg at the same time For additional difficulty use full round rollers. Looks Like you need to buy another foam roller! Ask Faye about the 3ft. models!
-While kneeling on 3ft. ½ round roller, “roll out” using two 1ft. round rollers or a 3ft. round roller. -Extend out as far as you can control, stabilize, and return. - Keep spine lengthened, naval drawn in to stabilize. -While kneeling on a 3ft. ½ round roller, perform a push up with hands on a 1ft. full round roller. -can be done with legs lengthened. -abdominal core endurance w/ scapular stability
Supine -Lay on 3ft. full round roller with both feet on ground and stabilize. -Then raise 1 leg, while continuing to maintain balance. -The same exercises can be done using 2 3ft. full round rollers for greater stability . -Excellent for unilateral hip stability
upright -Stand with each foot on a ½ foam roller and stabilize. -A squat or reach can also be performed. -Start with flat side down, then progress to flat side up. -having feet wider helps stability.
upright -exercise can be done using two full round. rollers underneath each foot. -Use caution while trying this exercise -Carpet or padded floor makes this exercise easier (recommended, applicable to all foam roller exercises).
upright -Stand on a ½ round roller and stabilize with 1 foot. -Start with flat side down and progress to flat side up. -If using full foam roller, brace for impact!
upright -Begin by standing on a full round roller while placing both hands on a wall or holding on to a chair. -When that becomes easy, remove one hand. from the wall or chair. -Then remove both hands and maintain balance.
credits Pictures and guide provided via: M-F athletic company, inc.: Random internet pics via google! P.S. Note that you need 2+ foam rollers to do all the exercises! Talk to Faye!