Download
1 / 27
760 likes | 5.28k Vues
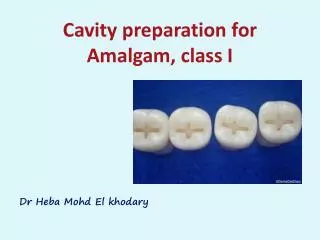
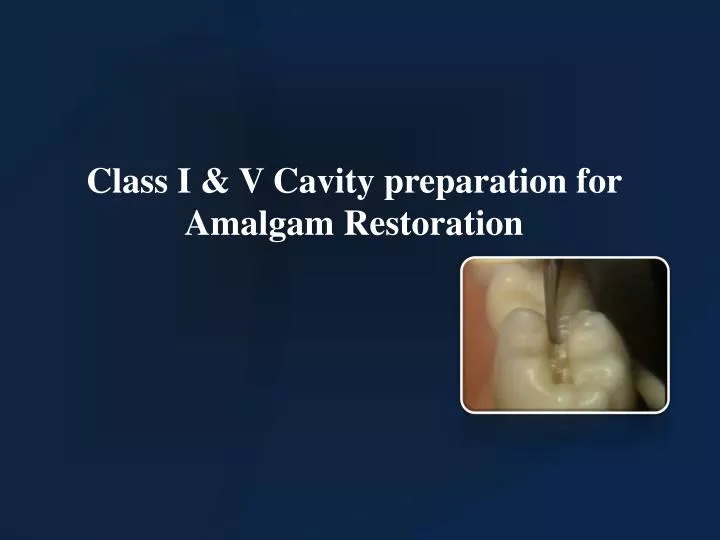
Class I & V Cavity preparation for Amalgam Restoration. Class I Amalgam Restoration. Conservative Approach. Cavity width : ¼ intercuspal distance (1 – 1.5 mm). Depth : 1.5 – 2 mm. Indications. Moderate to large restorations.

E N D
Conservative Approach • Cavity width : ¼ intercuspal distance (1 – 1.5 mm). • Depth : 1.5 – 2 mm
Indications • Moderate to large restorations. • Restorations that are not in highly esthetic areas of the mouth. • Restorations that have heavy occlusal contacts. • Restorations that cannot be well isolated. • Restorations that extend onto root surface. • Abutment teeth for RPD . • Temporary or caries control restorations.
Contraindications • Esthetically prominent areas of posterior teeth • Small-to-moderate Classes I & II restorations that can be well isolated • Small Class VI restorations. Advantages Primary advantages are : • The ease of use . • The simplicity of the procedure. • The placing and contouring of amalgam restorations are generally easier than that for composite restorations.
Disadvantages Primary disadvantages : • More complex tooth preparation required for an amalgam resto. compared to a composite restoration . • Potential nonesthetic appearance .
Conservative class I amalgam resto. Initial Tooth Preparation • Establishing the outline form by extension of the external walls to sound tooth structure, while maintaining a specified, limited depth and providing resistance and retention forms . Outline form : • Should include only the faulty, defective occlusal pits and fissures (in a way that sharp angles in the marginal outline are avoided).
Initial Tooth Preparation Ideal outline form for a very conservative amalgam restoration : Resistance principles include: • Keeping facial and lingual margin extensions as minimal as possible between the central groove and cusp tips. • Extending outline to include fissures. • Minimally extending into marginal ridges without removing dentinal support. • Eliminating weak wall of enamel by joining two outlines that come close together (i.e., less than 0.5 mm apart).
Initial Tooth Preparation • Extending outline form to include enamel undermined by caries. • Establishing optimal, conservative depth. • No. 245 bur with a head length of 3 mm and tip diameter of 0.8 mm or smaller No. 330 bur is recommended . • The shape of No. 245 inverted cone bur reveals sides slightly convergent toward the shank which provide an occlusal convergence of the facial and lingual preparation walls (Retention form). • The slightly rounded corners of the end of No. 245 bur produce slightly rounded internal line angles that render the tooth more resistant to fracture from occlusal force.
Initial Tooth Preparation • A punch cut is performed by orienting the bur so that its long axis parallels the long axis of the tooth crown, and then the bur is inserted directly into the faulty pit. • As the bur enters the pit, the proper depth of 1.5 mm (one half the length of the cutting portion of the bur measured at the central fissure ) should be established. • Depending of cuspal incline, depth of the prepared external walls will be 1.5 - 2 mm . • The desiredpulpal depth is usually 0.1 - 0.2 mm into dentin.
Initial Tooth Preparation • Distal extension into distal marginal ridge to include fissure or caries occasionally requires a slight tilting of bur distally (no more than 10O). • This creates a slight occlusal divergence to distal wall to prevent undermining the marginal ridge of its dentin support .
Initial Tooth Preparation • Pulpal floor should follow DEJ to maintain more uniform pulpal floor depth . • Ideally width of isthmus need be no more than diameter of bur. • It has been demonstrated that isthmus width of one fourth the distance include any fissures that radiate from the pit .
Initial Tooth Preparation • The remainder of any occlusal enamel defects is included in the outline, and the facial and lingual walls are extended, if necessary, to remove enamel undermined by caries . • The strongest and ideal enamel margin should be made up of full-length enamel rods resting on sound dentin .
Final Tooth Preparation Includes: • (1) removal of remaining defective enamel and infected dentin on the pulpal floor; • (2) pulp protection, where indicated; • (3) procedures for finishing external walls; • (4) final procedures of cleaning and inspecting the prepared tooth.
Final Tooth Preparation • An occlusalcavosurface bevel is contraindicated in tooth preparation for amalgam restoration. • It is important to provide an approximate 90 – 100Ocavosurface angle which should result in 80 – 90O amalgam at the margins . • This butt joint margin of enamel and amalgam is the strongest for both.
Initial Tooth Preparation • The same general principles for tooth preparation apply for all other tooth locations. • Using tapered fissure bur of suitable size, enter carious lesion to limited initial axial depth of 0.5 mm inside DEJ . • This depth is usually 1 - 1.25 mm total axial depth, depending on the incisogingival (i.e., occlusogingival) location. • If the preparation is on the root surface, the axial depth is ≈ 0.75 mm.
Initial Tooth Preparation • Axial wall should be in sound dentin 0.5 mm inside DEJ . • For the tooth preparation that is very extended incisogingivally, the axial wall should be more convex (because it follows contour of DEJ).
Final Tooth Preparation • Removal of any remaining infected dentin, pulp protection, retention form, finishing external walls, and final procedures of cleaning, inspecting, and desensitizing or bonding. • Because mesial, distal, gingival, and incisalwalls of tooth preparation are perpendicular to the external tooth surface, they usually diverge facially. • Use a No. 1/4 bur to prepare two retention grooves, one along the incisoaxial line angle and the other along the gingivoaxial line angle .
Final Tooth Preparation • Alternatively, four retention coves may be prepared, one in each of the four axial point angles of the preparation .
Final Tooth Preparation • Any old restorative material (including base and liner) remaining should not be removed if: • (1) there is no clinical or radiographic evidence of recurrent caries, • (2) the periphery of the base and liner is intact, • (3) the tooth is asymptomatic.