Download
1 / 71
710 likes | 818 Vues
Exercise 1 Computer Hardware. Objectives for Exercise 1. When you complete this exercise, you will be able to:. Identify, disconnect, and reconnect the computer’s cables and cover. Identify the external connectors on a typical personal computer.

E N D
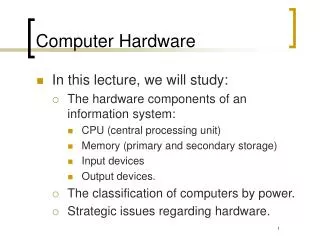
Objectives for Exercise 1 When you complete this exercise, you will be able to:
Identify, disconnect, and reconnect the computer’s cables and cover. • Identify the external connectors on a typical personal computer. • Identify and explain the purpose of the major internal components.
Why Disassemble the Computer? • To upgrade. • To repair. • To add to it.
The three most important things to remember when disassembling a computer are: • Document • Document • Document!
Document • Where cards are located. • How cables are routed. • Orientation of cables and connectors. • Hardware used to secure each component. • Anything else that might cause confusion when reassembling.
Your greatest enemy when working inside the computer is Electrostatic Discharge or ESD.
Your best defense against ESD is the anti-static wrist strap.
An internal resistor provides shock protection. 9
Turn off power to the computer and everything connected to it.
10101 10101 PS/2 Keyboard Connection
10101 10101 PS/2 Mouse Connection
Remove these screws... 22
1. 2. 24
Spreading the sides of the cover will help it to clear the computer.
Removing the side panel. 2 3 1 26
The Motherboard may also be known as the: • System Board • Planar Board • Baseboard • Main Board • Logic Board
WARNING! Hazardous voltages contained within this power supply, not user serviceable. Return to service center for repair.
Power Supply Output VoltagesAT-Type • +5 Volts • +12 Volts • –12 Volts • –5 Volts
Motherboard Power Connectors Black Wires P8 P9
Power Supply Output VoltagesATX-Type • +5 Volts • +12 Volts • –12 Volts • –5 Volts • +3.3 Volts
Grasp the connector by the shell… Never by the leads. 44
Mother- board 48
Master Hard Drive 49
Slave Hard Drive 50