Download
1 / 1
10 likes | 84 Vues
Name of Organization City and State Name of Project Director. Theological Reflections. Project Summary. Photos.

E N D
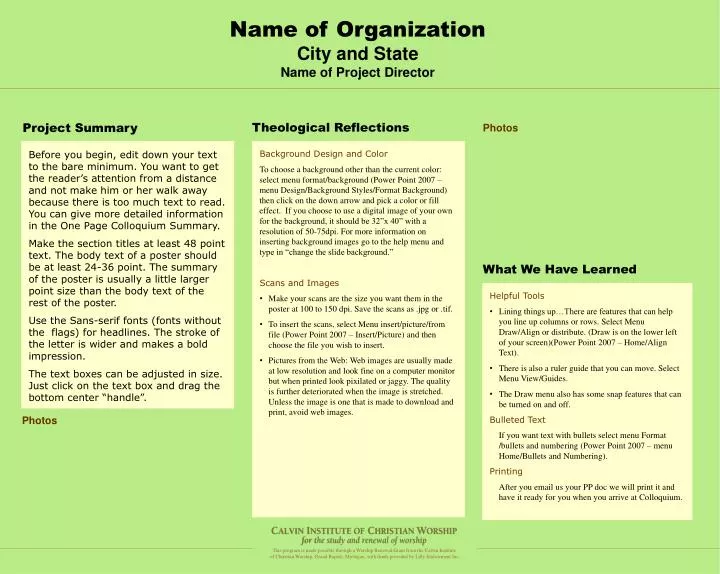
Name of Organization City and State Name of Project Director Theological Reflections Project Summary Photos Before you begin, edit down your text to the bare minimum. You want to get the reader’s attention from a distance and not make him or her walk away because there is too much text to read. You can give more detailed information in the One Page Colloquium Summary. Make the section titles at least 48 point text. The body text of a poster should be at least 24-36 point. The summary of the poster is usually a little larger point size than the body text of the rest of the poster. Use the Sans-serif fonts (fonts without the flags) for headlines. The stroke of the letter is wider and makes a bold impression. The text boxes can be adjusted in size. Just click on the text box and drag the bottom center “handle”. • Background Design and Color • To choose a background other than the current color: select menu format/background (Power Point 2007 – menu Design/Background Styles/Format Background) then click on the down arrow and pick a color or fill effect. If you choose to use a digital image of your own for the background, it should be 32”x 40” with a resolution of 50-75dpi. For more information on inserting background images go to the help menu and type in “change the slide background.” • Scans and Images • Make your scans are the size you want them in the poster at 100 to 150 dpi. Save the scans as .jpg or .tif. • To insert the scans, select Menu insert/picture/from file (Power Point 2007 – Insert/Picture) and then choose the file you wish to insert. • Pictures from the Web: Web images are usually made at low resolution and look fine on a computer monitor but when printed look pixilated or jaggy. The quality is further deteriorated when the image is stretched. Unless the image is one that is made to download and print, avoid web images. What We Have Learned • Helpful Tools • Lining things up…There are features that can help you line up columns or rows. Select Menu Draw/Align or distribute. (Draw is on the lower left of your screen)(Power Point 2007 – Home/Align Text). • There is also a ruler guide that you can move. Select Menu View/Guides. • The Draw menu also has some snap features that can be turned on and off. • Bulleted Text • If you want text with bullets select menu Format /bullets and numbering (Power Point 2007 – menu Home/Bullets and Numbering). • Printing • After you email us your PP doc we will print it and have it ready for you when you arrive at Colloquium. Photos


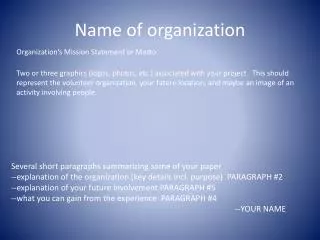

![[Name of Your Practice Experience Organization or Project] [ Your Name]](https://cdn1.slideserve.com/1807750/slide1-dt.jpg)