Download
1 / 13
130 likes | 274 Vues
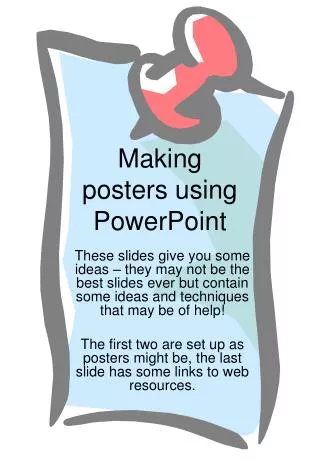
Research Posters in PowerPoint. Download Notes http://www.depts.ttu.edu/hs/computerlab/. Download Notes. http://www.depts.ttu.edu/hs/computerlab/ Click on “Poster Templates” in left navigation bar.

E N D
Download Notes http://www.depts.ttu.edu/hs/computerlab/ Click on “Poster Templates” in left navigation bar. Right Click over the link then “Save Target As” (Just clicking it won’t allow you to edit it.) • Save the file to a flash drive or your desktop. • Keep a copy for future use. • Modify the template with your name and preferred layout and save it to disk. This will save you valuable time with later posters.
Quick Notes for Success • Use PowerPoint to create the poster(Word or Publisher will not print to larger sheets) • Use large fonts (24-36 point) for text • Use very large fonts (60-90 point) for titles • Use borders & boxes to outline the data • Use lots of white space between items • Remember that what works on presentations won’t necessarily work on posters. (Backgrounds)
Template Design Notes • These are only suggestions to get your thought process started. • You can change the color, line size, and shape of red boxes to match your text, data, and needs. • The logos and black lines are part of the slide master. To edit these items, go to the view menu, slide master option. • The boxes help organize the information and guide the viewer’s eyes.
Creating Your Own Poster • Open PowerPoint • File – New • File – Page Setup • Set paper size to 36” x 48”(24” x 36” or 11” x 17” for smaller posters) • Add frames, borders or logos as needed • Continue with the editing
Move Your Data • Copy & paste items from your Word or PowerPoint documents to the new poster. • Items you can copy & paste: • Any Office item (text, charts, tables, images) • Items from most Windows programs, including SPSS tables & charts • JPEG, BMP, GIF, and TIFF formatted images • Scanned images from books & articles
Text Formatting Problems • Text copied from one Office document to another can cause formatting problems. • Text may carry original formatting to the poster. • Formatting can go strange, overriding both the original and poster formats. • If the text “goes strange” on the poster: • Delete the text box on the poster and create a new one. • Copy the text to the new text box. • If the original formatting carries over to the poster, use the format painter function to correct the problem.
Image & Colors • Avoid large areas of images, wide borders, or colored backgrounds to save ink. • Internet images are often too small to use. • Large colored areas often wrinkle the paper. • Dark images often do not print well. • Clip art and simple images do print well. • Try to blend images, borders and chart colors to create a pleasing effect.
Printing Tips – Preview Print To save paper, please print preview copies to the color printer on 11” x 17” paper. • Do not change your page setup paper size! • Select File – Print (window pops up) • Select \\hs-dell\306color, then “Properties” (pop up) • Go to the “Paper/Quality” tab and change the paper source to “tray 3” • Click “OK” to close window • Check the “Scale to Fit Paper” box • Click “OK” to print
Printing Tips – Final Copy • Select File – Print (window pops up) • Select \\hs-dell\306plotter • Select the “Properties” button (new window) • Change “Paper Size” to Arch E • Click “OK” to close • Check the “Scale to Fit Paper” box • Click “OK” to print
Try It Yourself! • Download the templates:http://www.hs.ttu.edu/computerlab or create your own starting template • Copy your data or use the sample • Create a sample of hometown due for your participation points on October 3rd.