Download
1 / 15

E N D
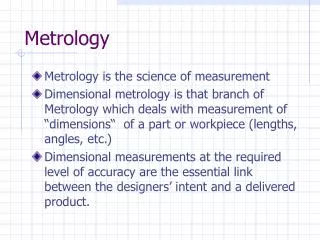
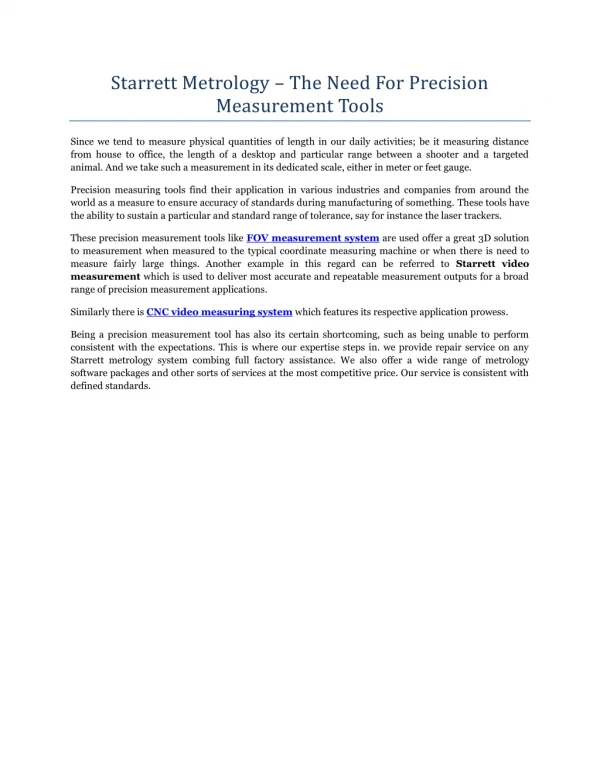
1. Introduction to Precision Metrology
2. General Comments Precision tools � delicate � treat them with respect
Set them down carefully � preferably something soft
Wood, linoleum � avoid metals, ceramics, glass
Check gauging surfaces � clean off and set to zero
When finished � wipe clean and return to storage box
Use rag with a drop or two of oil
With care these tools will last for years
If mis-treated they become worthless in days
3. General Comments cont�d Using precision tools is somewhat complex
Result � concentration on details � not bigger picture
Keep plastic ruler handy � double check measurements
More mixture of English and metric units
Measure twice � cut once
4. What you will do in lab Use some precision tools to measure sample parts
Gain a feel for use of the tool and its capabilities
Use some tools in order of increasing resolution
Gain a feeling for tool features that increase resolution
Get an understanding of the types of tools available
Tools used are generally available for mechanical inspection
Learn about ISO 5460, techniques to measure features
Set ups to measure specific features called out on drawings
Examples, flatness, straightness, roundness
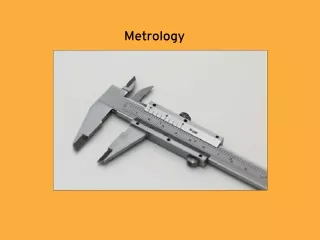
5. Calipers � from ISO 3599
6. Outside mircometers � ISO 3611
7. Dial indicators � test and long travel
8. Gauge or Jo Blocks � ISO 3650
9. Gauge blocks con�t
10. Angle gauge blocks
11. Inside micrometers
12. Sine plate or bar
13. Inspection of mechanical parts Part is held against datums called out on drawing
Indicator is slid along part for checking features with a spatial extent
Indicator reading must remain inside tolerance band
14. Use of �V� blocks
15. Measuring parallelism