Download
1 / 17
210 likes | 643 Vues
SCX-4521F/SCX-4321 Series training Hardware. June, 200 5. Agenda. Overview Block Diagram Connection Diagram Schematic – Key concept Front Cover and Jam Cover open Toner Cartridge Tech mode. Ⅰ. Introduction. 1. Overview. SMPS. Main Board. ADF Board. OPE Board. HVPS. LIU Board.

E N D
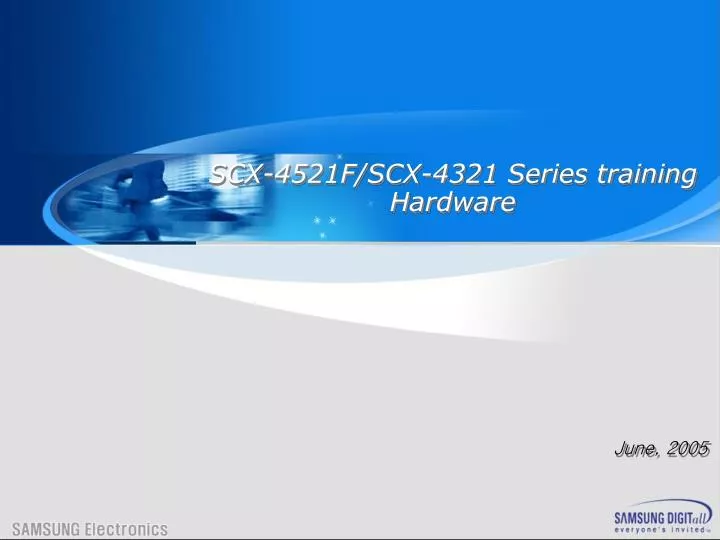
SCX-4521F/SCX-4321Series training Hardware June, 2005
Agenda • Overview • Block Diagram • Connection Diagram • Schematic – Key concept • Front Cover and Jam Cover open • Toner Cartridge • Tech mode
Ⅰ. Introduction 1. Overview SMPS Main Board ADF Board OPE Board HVPS LIU Board
Ⅰ. Introduction 2. Block Diagram of SCX-4521F
Ⅰ. Introduction 4-1. Main PBA - II CPU – Chorus2 • Chorus2(S3C46Q0X) is developed using ARM7TDMI core, 0.18um CMOS standard cell • 1.8V internal, 3.3V external(I/O boundary) Voltage used. • 16bit/32bit RISC architecture and 16bit external data bus. • Image processor included. • On-Chip clock generator with internal PLL. • USB Device(Ver 1.1) interface controller included. • Parallel Port Interface controller included. • Operating frequency 66MHz ( converting 10MHz main clock to 66MHz operating clocl using internal PLL )
Ⅰ. Introduction 4-1. Main PBA - III SDRAM – 8MB * 2ea • Two SDRAM chips (Max operating frequency : 133MHz) are used each SDRAM has 8MByte memory capacity. • SDRAMs operates 66MHz which is the same as CPU’s operating frequency. • Flash ROM( Nor flash ) has 2MB memory capacity and its access time is max. 70ns. • Firmware is stored in the FlashROM this can be upgraded by user. • When upgrading F/W, never turn off the power until completing upgrade process. • If the user turn off the power while upgrading F/W, the program code will conflict and the machine will not work. • If above situation occurs, replace the Main PBA. Flash ROM – 2MB
Ⅰ. Introduction 4-1. Main PBA - V Engine Motor Driver (A3977SLP) • A3977SLP is a stepping motor driver IC with integrated step and direction translator interface. • Direction Pin is tied to Vcc(High level) because the engine motor always rotate only one way. • Stepping resolution Pin(MS1, MS2) tied to GND there is no need to control any other resolution except Full-Step. • Current setting of the motor current is about 1.3A peak. • Output voltage and output current of the A3977SLP appears like left side image (oscilloscope waveform) Vout Iout
Ⅰ. Introduction 4-1. Main PBA - VI • TEA3718 is a stepper motor driver IC. • TEA3718 IC uses a pair of outputs, and stepper motor needs 2pairs of outputs, so 2 ICs used for driving platen motors. • Platen motor can be driven forward or backward direction and full-step, halt-step, quarter-step resolution by controlling 6 control inputs based on pre-defined control sequence. • Platen motor driving current is 0.5A on peak level. Platen Motor driver (TEA3718)
Ⅰ. Introduction 4-1. Main PBA - VII EEPROM – M24C04 • SCX-4x21 series has EEPROM in order to store environmental datum, total page count data, dot counter data, etc… • M24C04(4Kbit) EEPROM device is used. • Read/Write operation is activated when the machine states go idle. • While printing, Copying, scanning or FAX transmitting, EEPROM read/write operation not activated. • Because of this, if the user turn the power off right after the printed page has exited, there is no time for writing newer data therefore dot count and page count data will not be updated. • Machine requires 2sec for updating EEPROM data after final page exit.
Ⅰ. Introduction 4-1. Main PBA – Differences between 4-in-1 and 3-in-1 2 1 SCX-4521F Main Board SCX-4321 Main Board • SCX-4521F is a 4-in-1 machine, while SCX-4321 is a 3-in-1. SCX-4321 has no FAX function. • SCX-4521F and SCX-4321 has basically the same PCB, but some parts which related on FAX function are different. • The different parts between SCX-4521F and SCX-4321 are marked above picture. See area marked ( ). • Parts relating to FAX function and speaker function are not mounted on the board. • The Battery back-up function and RTC(real time clock) function have also been deleted on the SCX-4321 compared with SCX-4521F.(The crystal resonator used for the RTC function is also not mounted . See box marked ) 1 2
Ⅰ. Introduction 4-2. ADF PBA - I ADF Motor Driver IC – TEA3718 • ADF Motor drive IC is used TEA3718 – the same part as used in platen motor driver. • ADF Motor driving current is about 0.8A peak.
Ⅰ. Introduction 4-2. ADF PBA - II 2 3 1 Photo Sensor • 3 photo sensors exist on the ADF board. • The first sensor- marked 1- detects whether the original document is on the ADF or not. • The second sensor- marked 2 – detects the position of the original document for registration. • The third sensor – marked 3 – detects the position stating scanning of the original document. • If something prevent emitted ray from reaching base of the photo TR, sensor output goes High level, • and if there is nothing interruptting emitted ray to photo TR, sensor output goes Low level.
II. Summary of Product 4-5. SMPS PBA - I • SCX-4521F SMPS is almost same as ML-2010/2015. • The only difference between SCX-4521F and ML-2010 is 24V output current. • ML-2010 : 2.0A for 24V output • SCX-4521F : 2.5A for 24V output • On the SMPS board, Jam cover switch and paper-regi sensor exists.
II. Summary of Product 4-6. HVPS PBA - I PAPER-EXIT SENSOR • HVPS board is exactly the same as ML-2010/2015 priter machine. • SCX-4521F does not use SW2, LED1 and LED2. but they still places because they are used on ML-2010/2015. • Two photo-sensor s take place – Paper empty sensor and paper exit sensor • Cover open sensor is on the board.
II. Summary of Product 5. Front Cover & Jam Cover Open Sensing There are two user protection switches on this unit. If either of the two switches are opened, the +24V for DC fan, solenoid, main motor, polygon motor part of LSU and high voltage of HVPS is cut off. The will LCD display “Front cover or Rear cover open” until the respective cover has been closed. 24VS1 front cover switch Jam cover switch 24V 24VS2 24VS2 24V SMPS Main HVPS
II. Summary of Product 6. Toner Cartridge Sensingand Dot counting Toner Cartridge Sensing • LSU switch is the back of the machine, it is closed if Cartridge is inserted. • If user insert cartridge then LSU switch closed, LSU_5V is apply to LSU in order to +5V voltage to apply to the LD board for laser scanning. • LSU_5V is goes high, CRU_DET2 signal goes low. In other words, if cartridge is inserted CRU_DET signal level goes low, if cartridge is pulled out, CRU_DET2 signal goes high. • CPU detects the CRU_DET2 signal level and flags whether cartridge is in the machine. LSU_5V switch connector Dot Counting Method • No toner level sensor. Instead of level sensor, software dot counting method is used. • Want to view the Dot count? Print system data list, then you can see used dot count bottom of the page. • Toner Low : 3,380,000,000 dots (3K cartridge) / 1,159,000,000 dots (initial cartridge) • Toner Empty : 4,050,000,000 dots (3K cartridge) / 1,385,000,000 dots (initial cartridge)
II. Summary of Product 7. Useful function for troubleshooting – Tech Mode • All samsung MFP has useful function for troubleshooting. • Frequently used modes are <Engine Test mode>, <Tech Mode> • Engine Test Mode • Engine test mode is available by pressing “Menu → # → 1 → 9 → 3 → 1” • If you pressing correctly, you can see “Engine Test” on the LCD. • You can test some parts related printer engine like Solenoid, Engine motor, LSU, HVPS, etc… • It is not difficult to use, so you just press buttons correct sequence and you could know how to use. • Remember that you can test engine part just pressing “Menu → # → 1 → 9 → 3 → 1” in sequence. • Tech Mode • Tech mode is available by pressing “Menu → # → 1 → 9 → 3 → 4” • You can test below functions by using tech mode. • DRAM test • Engine pattern printing • Shading test • F/W version check • Switch test • Some expanded menus are accessible for test. • Like engine test mode, you could know the usage of each function. • Remember only one that you can access helpful test mode by pressing “Menu → # → 1 → 9 → 3 → 4” in sequence.