Download
1 / 74
740 likes | 909 Vues
L7 Wireless N Router – L7-NR2000. Wireless N Router L7-NR2000. Agenda. Product Overview Package Content Hardware Overview Features of L7-NR2000/TM Factory Default Settings Setting up of Devices Setup Internet Setup Wireless. Agenda. Setting up of Devices

E N D
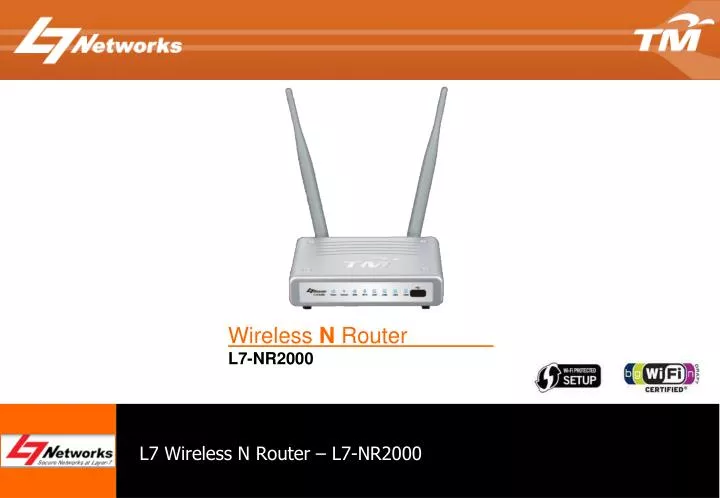
L7 Wireless N Router – L7-NR2000 Wireless N Router L7-NR2000
Agenda Product Overview • Package Content • Hardware Overview • Features of L7-NR2000/TM • Factory Default Settings Setting up of Devices • Setup Internet • Setup Wireless
Agenda Setting up of Devices • Setup SharePort Network USB Utility Troubleshooting Questions and Answers
L7-NR2000 Overview • Faster Wireless Networking • The L7-NR2000 provides up to 300Mbps wireless connection with other 802.11n wireless clients. • Compatible with 802.11b and 802.11g Devices • The L7-NR2000 is still fully compatible with the IEEE 802.11b and IEEE 802.11g standard. • Advanced Firewall Features • Content Filtering & DHCP Reserved • Filter Scheduling • Secure Multiple/Concurrent Sessions (IPSec/PPTP) • User-friendly GUI • Through its easy-to-use Web-based user interface, the L7-NR2000 lets you control what information is accessible to those on the wireless network
L7-NR2000 Package Content • 1 x QIG • 3 x Ethernet Cable (Red, Yellow & Blue) • 1 x Error Check List • 1 x D-Link L7-NR2000 Wireless Router • 1 x Power adapter • 1 x Manual CD • 1 x Warranty Card
Hardware Overview • The L7-NR2000 creates a wireless network using 802.11n technology with multiple antennas to maximize wireless speed and range, and share Internet access with computers, game consoles, and media players.
Hardware Overview – Front View 1 2 3 4 5 7 6
Hardware Overview – Front View 1 2 3 4 5 7 6
Hardware Overview – Rear View 6 5 1 2 3 4
Features of L7-NR2000 • 4 x LAN ports + 1 x WAN port (10/100Mbps) • 1 x USB SharePort • 2 x 5dBi Detachable Omni-Directional antennas • 2.4GHz wireless b/g/n (1~13) channels • Wireless speed of 300Mbps • WEP/WPA/WPA2 - Personal • WPS support • Supports Multiple SSIDs
Features of L7-NR2000 – cont’d • Firewall/NAT/DMZ • Parental Control • Virtual Server/Port forwarding/Port triggering • TR-069, TR-111 ready • Network/Website filtering • WAN management • DDNS
Factory Default Settings • IP address: 192.168.0.1 • DHCP Server: Enabled • Login User Name: admin • Login Password: *blank* • Wireless SSID: TMHSBB (default not enabled) • Wireless Auto Channel: On • Firewall: default Disabled • Remote Management: default Disabled
Hardware Connections Example Laptop (Wireless) Power Adapter Power Ethernet Cable (Red) Ethernet Cable (Yellow ) Ethernet Cable (Blue) Set-Top-Box (STB) Telephone Cable Telephone Wall Socket Broadband Termination Unit Desktop (Wired)
Setting up of L7-NR2000 Internet - Dyn IP 9 5 6 username@unifi password 7 password 8
Setting up of L7-NR2000 Internet- Static IP 11 5 6 202.111.222.1 202.111.222.1 7 255.255.255.248/252 202.111.222.2 202.111.222.6/2 8 username@unifibiz password 9 password 10
Setting up of L7-NR2000 Internet 13 14 15
Setting up of L7-NR2000 Wireless 10 7 8 9 This is a very long wireless password
Setting up of L7-NR2000 Wireless 12 13 14
Other Feature • Virtual Server • Port Forwarding • Application Rules
Virtual Server 1 2 9 3 4 8 6 10 5 7
Port Forwarding 1 2 8 3 4 6 9 5 7
Application Rules 1 2 5 6 3 9 4 8 7
Internet Connection Setup Wizard 3 192.168.70.130 192.168.70.1 255.255.255.248 4 192.168.70.131 192.168.70.136 username@unifibiz 5 password 6 password 7 8 9
Port Mapping Setup 3 1 2
Using SharePort™ Network USB Utility • The D-Link SharePort technology will allow you to connect a multi-function printer (MFP), scanner, or USB storage device* to your router and share the device with multiple computers**. Only these devices will be supported. • Install the software on the computer(s) you would like to use the USB device with. Remember that the computer(s) will also need the device drivers installed. • SharePort application can be found in the installation CD: • CDRomDrive:\Resource\SHAREPORT\setup.exe * Only 1 USB device is to be used for SharePort. USB hubs are not supported to expand the USB port ** The device can only be used by one computer at a time.
Using SharePort™ Network USB Utility • Step 1: Run the SharePort™ installation program and follow the on-screen instruction. Choose a language and click “OK”. • Step 2: Click “Next” to start the installation
Using SharePort™ Network USB Utility • Step 3: Choose another destination folder to install or click “Next” to continue. • Step 4: Wait for the installation to complete
Using SharePort™ Network USB Utility • Step 5: Click “Finish” to complete the installation. • Once installation completes, the SharePort™ icon will appear in the system tray at the bottom right corner of the screen.
Using SharePort™ Network USB Utility • Step 6: Right-click on in the icon, a window pops up to display the router with the respective IP address. Select “Enable” to activate SharePort™ service for the PC from the router. • The icon will turn from to once the router automatically detects any USB device is plugged into the USB SharePort. A window will pop up showing the connected USB device.
Using SharePort™ Network USB Utility • Step 7: Double-click on the icon to open the D-Link Network USB Utility. Showing the detected USB device. • Step 8: Click on the device, and click “Connect” to connect to that USB device.
Using SharePort™ Network USB Utility • Step 9: Once connected, it will be reflected as “In used by (PC name)”. Drivers for the USB device will be installed like how it is when plugging the USB device directly to the PC. • Step 10: User will be able to use the USB device as per normal. • Example: After connecting to a USB flash drive, it will appear as a Removable Storage drive in My Computers • For MFP, user will need the printer’s installation CD to install on that PC first before using the functions of the MFP.
Using SharePort™ Network USB Utility • Step 11: If another user has connected to the USB device, it will be reflected as “In used by (PC name)”. • Click on the device, and click “Request to use”
Using SharePort™ Network USB Utility • A Window will pop up at the other computer’s side to inform the user that another user is requesting to use the USB device. • The user will have to disconnect the USB device before any other users can connect to it again. Please note that only one user will be able to use the USB device at one time.
Using SharePort™ Network USB Utility • Step 12: To disconnect the USB device, click on the device that is currently connected, and click “Disconnect”. • Now the USB device is ready to be connected by another user.
Error Check List Network Storage - DNS-323