Download
1 / 13
130 likes | 203 Vues
Agenda 10/16. Sketchbook Warm-up Uploading photo files Using the XTi Cameras Vertical Shots (4) Distance Shots 50mm all shots 15-20ft away 8-10ft away 2-4ft away. Focus. Sh utter Sp eed &. Zoom. Ap erture. UPLOADING FILES. Turn camera off and place on table or in the box

E N D
Agenda 10/16 • Sketchbook Warm-up • Uploading photo files • Using the XTi Cameras • Vertical Shots (4) • Distance Shots • 50mm all shots • 15-20ft away • 8-10ft away • 2-4ft away
Focus ShutterSpeed & Zoom Aperture
UPLOADING FILES • Turn camera off and place on table or in the box • Plug in USB cord into the camera & USB end into the computer tower • Turn the camera on • Open iPhoto or Image Capture • Drag the photo files to the desktop OR Import all files • Rename the files • Open your Google Drive photo folder • Drag the renamed photo files from the desktop into the appropriate folder
FILE MANAGEMENT • Open your google drive DM folder • Create a folder named “Photo” • Within that folder, create more folders, such as: • New • Review • Keep • Save your photo file images in these folders • Keep your files labeled and logical • Organization is KEY! • Assignments • Technical • etc.
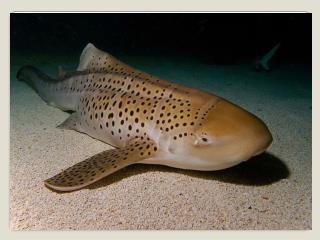
VERTICAL SHOTS • Select any 4 different subject(s) with a vertical orientation you wish. • Set light meter (shutter or aperture priority) and FOCUS. • Turn the camera so viewfinder is vertical and shoot at least 4 vertical shots
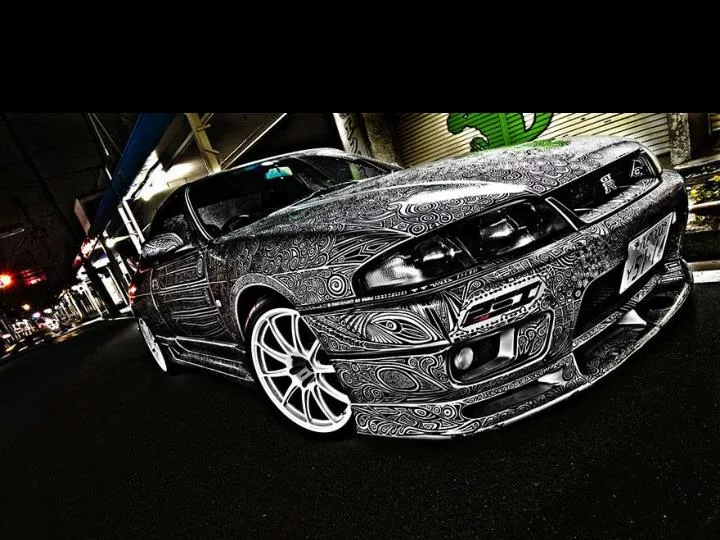
DISTANCE SHOTScropping with the camera DO NOT CHANGE THE ZOOM SHOOT ALL SHOTS AT 50mm 1.Choose a subject and shoot 3 shots of it from the following distances: • One exposure with subject about 15 to 20 feet away. • One exposure with subject about 8 to 10 feet away. • One exposure with subject about 2 to 4 feet away. 2. Make sure the light meter needle is lined up for the correct exposure and that you have focused the shot each time. 3. Choose the best orientation for your subject (horizontal or vertical), and really "look" at everything that appears in your viewfinder so you can see what details you are eliminating, "cropping”, as you move in closer to your subject each time.
SETTINGS TO ALTER EXPOSURE • Open the link on the calendar for today and copy the information in the back of your sketchbook • Don’t worry…. This one is a little shorter…
Camera Exposure Simulator Click here to try out this snazzy exposure simulator