Download
1 / 2
20 likes | 26 Vues
Get solution for hp envy 5055 ink cartridge installation, ink cartridge for hp envy 5055, hp envy 5055 printer instructions install ink, hp envy 5055 cartridge setup, ink for hp envy 5055, hp envy 5055 change cartridge, change ink hp envy 5055, ink for hp envy 5055 printer.<br><br>https://123-hp-com.com/<br>

E N D
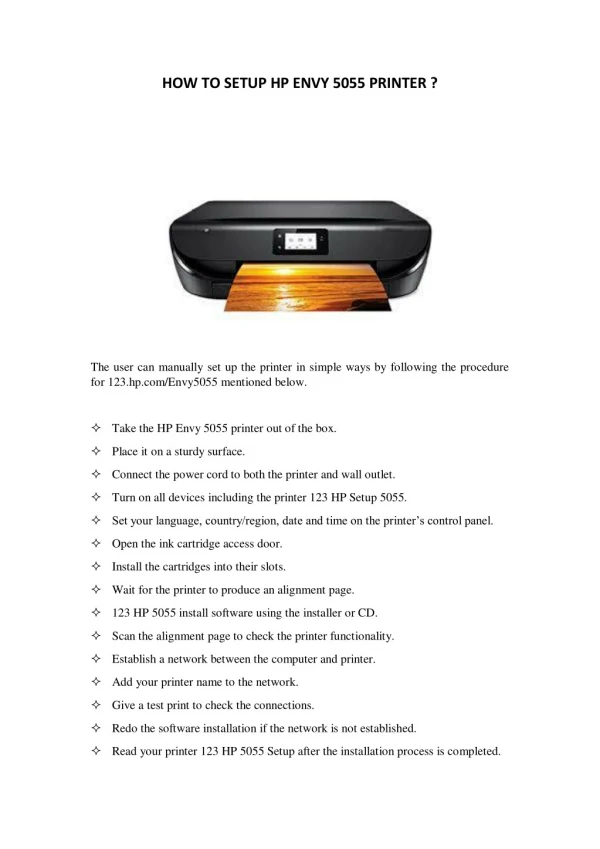
How to install an ink cartridge in HP Envy 5055 HP Envy 5055 is an All-in-One printer which can print, scan and copy at high resolution. The print cartridges compatible with the printer are 65/65XL black and 65/65XL Tri-color. The print quality can be maintained only if genuine HP ink cartridges are used. Installation of ink cartridges in HP Envy 5055 printer 1. Power up the printer and wait until the printer completes its warm-up period. 2. Pull the input tray out and load enough paper into it. 3. Lift the HP Envy 5055 cartridge access door. 4. Wait until the carriage is idle. Lift the lid on the cartridge slot. 5. Unpack the ink cartridge and peel off the protective tapes. 6. Slide the new ink cartridges into the slot and close the access door. 7. Collect the alignment page from the output tray. 8. Scan the page in order to align the ink cartridges. Loading and aligning ink cartridges on the HP Envy 5055 printer 1. Take the printer out from the carton and unwrap it. Clear all the packaging material from inside and outside the printer. 2. Connect the printer to a power source using a power cable and turn it on. Set your language, region and date/time on the control panel. 3. Pull the input tray out and place enough paper into the tray. Slide the paper width guides out, place enough paper and push the stack into the tray until it stops. 4. Adjust the guides such that they rest against the edges of the paper. Push the input tray back into the printer and touch Done on the control panel. 5. Pull the output tray and lift the tray extender. Lift and hold the cartridge access door and wait for the carriage to move to the left of the printer. Lift the lid on the cartridge slot once the carriage is idle. Push the lid back until it clicks to a position. 6. Unwrap the new ink cartridges and peel off the yellow-colored plastic tapes on them. Do not touch copper-colored contacts or nozzles. 7. Hold the new cartridge such that its nozzle faces towards the printer. Slide the cartridge into the slot and push it in until it clicks to a position. 8. Close the lid on the slot. Repeat the same procedure for inserting the other ink cartridge. Close the access door. 9.The printer prints an alignment page. Collect the page from the output tray. Lift the scanner lid
and place the page on the scanner glass such that the printed side of it faces the glass. 10. Close the scanner lid and tap OK on the control panel. Wait for the printer to align the installed ink cartridges. Touch the OK icon again. Get more information at 123.hp.com