Download
1 / 19
190 likes | 406 Vues
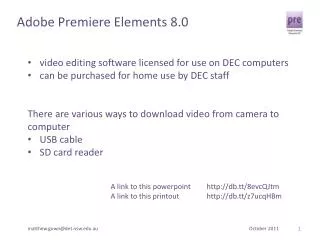
Adobe Premiere Elements. Version 9. PhotoShop Settings. Starting a New Movie. Name your file. Click browse To choose Location of Movie. Click settings and choose Settings on following page. Settings for Video. Length of Still Images Imported.

E N D
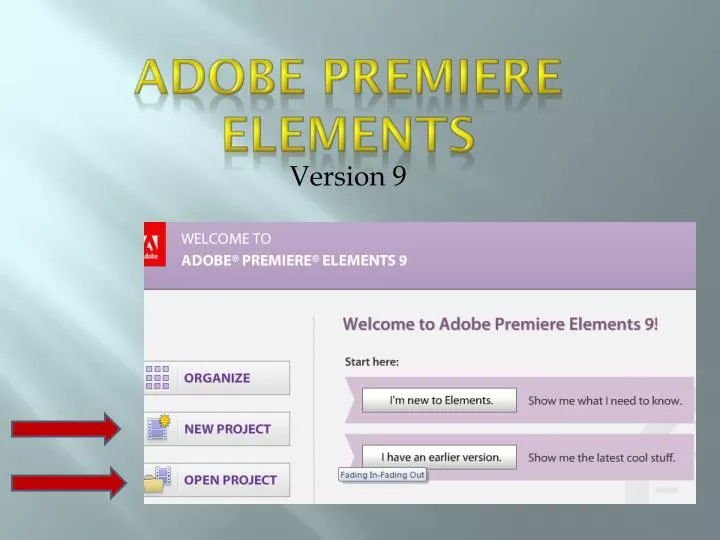
Adobe Premiere Elements Version 9
Starting a New Movie Name your file Click browse To choose Location of Movie Click settings and choose Settings on following page
Length of Still Images Imported Click on Edit, Preferences, General to determine amount time Each clip is imported 30 frames = 1 sec. 60 frames = 2 sec. etc.
Choose get media and locate the files/video that will be included in movie. Next drag them from project window down below to timeline
TimeLine vsSceneline • Switching between the Timeline and Sceneline • Just click on the tabs above your video • You have more control in the Timeline
CTI • The CTI in timeline mode: • The CTI Stands for Current Time Indicator
Fading In-Fading Out Right click on the image in the video window and choose FADE
Transitions • To view transitions: • Click on Edit Tab • Click on Transitions
Transitions • To insert a transition: • Click on a transition • Drag it between the two pictures you want the transition to occur
Effects • To go to Video Effects: • Click the Edit Tab • Click on Effects • Click on the drop down menu and choose Video Effects
Applyin Video Effects • To apply an effect: • Click and hold on the effect you want • Drag it to your picture/video on the track • Click on edit effects to make changes.
Applyin Video Effects • To edit an effect: • After clicking on edit effects, choose the effect you want to change • Make the changes • Click on the Done button to finish.
Smart Fix Sounds • To Smart Fix sounds on your audio tracks: • Click on the green sound icon • Select Smart Mix—Options • Notice: No keyframes on the yellow sound level lines on the audio tracks
Smart Fix Sounds c • In the Smart Mixer Panel: • Set each sound for Background • Or Foreground • Music is your Background • Audio files are your Foreground
Smart Fix Sounds • Smart Fix adjusted the sound levels on your audio tracks: • Notice: Keyframes have now been added on the yellow sound level lines on the audio tracks
Sharing Your Videos Browse folder location
Change Presets Change to LAN and Name your file for exporting Press Advanced and hit choose Windows Media Player and hit save