Download
1 / 10
100 likes | 168 Vues
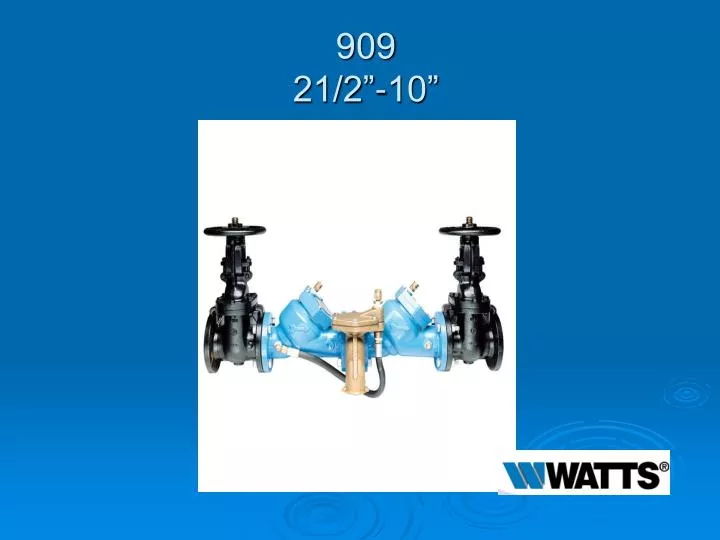
909 21/2”-10”. Modification Overview. Production began in 1979. The 909M1 (1989) for the 8”-10” sizes only. Downsized the RV and changed the housing from bronze to cast iron epoxy coated. Lead free (LF) version was introduced in 2010. Check Cover Removal. Cover is o-ring sealed.

E N D
Modification Overview • Production began in 1979. • The 909M1 (1989) for the 8”-10” sizes only. Downsized the RV and changed the housing from bronze to cast iron epoxy coated. • Lead free (LF) version was introduced in 2010.
Check Cover Removal • Cover is o-ring sealed. • Loosen bolts ½”. Spring load is now released from the cover and retained by the check subassembly. • Verify spring load before removing all the bolts.
Check Valve Removal • Center stem guided check assembly. • Disc & spring subassembly. • Slide subassembly straight out of seat and body.
Check Seat Removal * 21/2-3” Seats removed by ¼ turn twist. • 4”-10” Seats secured by two retaining wires. Each wire 10” long. • Pull one wire clockwise / one wire counter clockwise. • Seats are o-ring sealed and pull straight out of body.
Check Disc Replacement • Remove retaining nut for sizes 21/2”-4”. • Remove allen head screws in retainer plate for sizes 6”-10”.
RV Cover Removal • RV Cover is sealed by the diaphragm. • Loosen cover bolts ½”. Spring load is now released from the cover and retained by the bottom plug assembly. • Verify spring load before removing all the bolts.
RV Stem Removal • The piston subassembly can be lifted straight up and out of the body. • The bottom plug subassembly (4”-10”) contains the spring and does not need to be removed for normal service. * For removal: simply unscrew from outside the RV body.
RV Seat Removal • Unless damaged, there is no need to remove the RV seat. • RV seat is threaded and o-ring sealed.
RV Rubber Replacement • Replace diaphragm. • Replace wiper seal and piston o-ring. Apply lubricant to the o-ring. • Replace RV disc. * Hold upper guide fin and unscrew pressure plate. Replace disc assembly and stem o-ring.