Download
1 / 8
80 likes | 91 Vues
If you do not know How to set up Canon PIXMA TS9150 Wireless Connection then Call 1-888-840-1555 or read the post for Canon PIXMA TS9150 Support Care.<br>https://allprinters-customercare.com/setup-canon-pixma-ts9150/

E N D
How to Setup Canon PIXMA TS9150 Wireless Connection Canon PIXMA Printer Care 1-888-840-1555 If you do not know How to set up Canon PIXMA TS9150 Wireless Connection then Call 1-888-840-1555 or read the post for Canon PIXMA TS9150 Support Care. https://allprinters-customercare.com/setup-canon-pixma-ts9150/
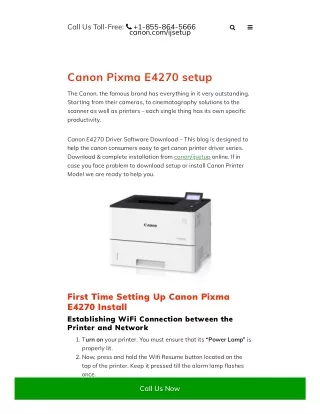
Use the easy wireless connection method to set up your Canon PIXMA TS9150 printer over a wireless network. There are two methods you can use to complete the setup. You installation file on your computer or start Easy Wireless Connect on your printer. So let us discuss the two methods one by one. can either download and run the Method 1: Start Easy Setup Canon PIXMA TS9150 Wireless Connection To start Easy Wireless Connect you need to follow the simple steps below. Step 1: Please Make Sure Your Printer Is On And The Power Light Is On Step 2: Select the Home screen icon on the left side of the Printers panel. If the error screen is displayed, select OK. After that, select the Home Screen icon.
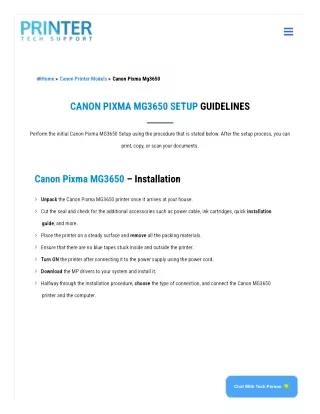
Step 4: After that select LAN Settings. Step 5: Select Wireless LAN, then choose Wireless LAN Setup. Step 6: Now select the Easy Wireless Connect option. Step 7: Select Yes. Step 8: When the printer preparation is complete, you will see a screen where you will see the message “Follow the instructions on the smartphone or computer to operate”. Method 2: Download and Run the Installer File on Your Computer Step 1: The first thing you need to do is to get the installation file. You can easily perform the installation process using the installation CD.
Step 2: Read the description carefully and then check how to run the setup file if it does not run automatically. If you see a message that says “The installer cannot be opened because Apple cannot be verified for malware,” select OK. After that, Control-click the installer file and launch it by clicking Open. After that, you have to choose the Open in the error message window. This will allow you to proceed with the program. Step 3: Select Download. Step 4: After that, another screen will open in front of you. There you have to select Next. Step 5: Enter the username and password of your computer and then choose the option to install the wizard.
Step 6: Next, select the Start Installation option. Step 7: Select your region and country, then select Next. Step 8: Now the License Agreement dialog box will open in front of you. If you want to continue with the setup process, select Yes. Step 9: Now you will see a survey page. Select Accept or Don’t accept the survey. Step 10: Then a status check will appear in front of you. Wait for the process to complete. Step 11: After that, go to the login method screen and then select Yes.
Step 12: If you see the wireless router selection screen in front of you, select the wireless router to connect to the printer. After that, you need to enter the password and then select Next. Step 13: After the connection is established, select Next. Step 14: Now the drivers will be installed. Wait for the installation to complete. Step 15: After that, another screen will open. There you need to select Allow. Step 16: Select the Add Printer option on your Add Printer screen. Step 17: Now go to the Kind column and select TS Series with Bonjour Multifunction. Now, under the Use drop-down list, choose AirPrint or Secure AirPrint.
Step 18: On the Add Printer screen, select Next. Step 19: If you want to run a test print, select Run. Otherwise, click Next to continue. Step 20: Now the setup full screen will open in front of you. There you have to select Next.
Thanks! Do you have any questions? support@allprinter-customercare.com 1-888-840-1555 https://allprinters-customercare.com/