1 / 6
60 likes | 82 Vues
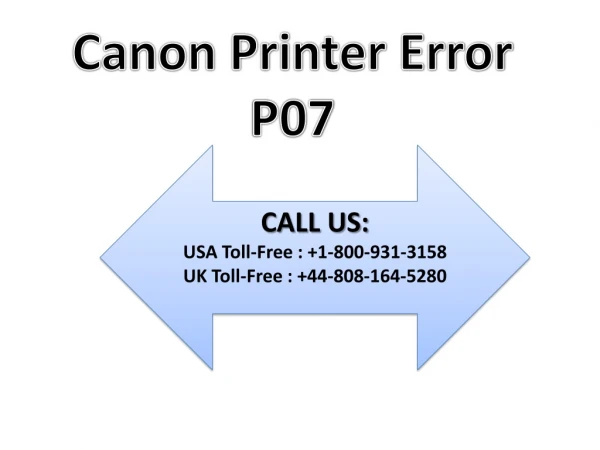
You can fix Canon G2010 P07 Light Blinking Error quickly at home if you follow the right steps. Accordingly, we will be discussing an easy and quick solution(1-888-840-1555) to the Canon G2010 P07 Light Blinking Error problem in this article.<br>https://allprinters-customercare.com/canon-g2010-p07-light-blinking-error/

E N D
How to Fix Canon G2010 P07 Light Blinking Error? Contact us (1-888-840-1555)
What is Canon G2010 P07 Light Blinking Error? The Canon G2010 printer model is known for its affordable and reliable printing capabilities. However, the P07 error code indicates a problem with the printer's ink absorber. When this error occurs, the power and alarm lights on the printer may blink alternately. The ink absorber is a sponge-like pad located inside the printer that absorbs excess ink during printing and maintenance processes. Over time, the absorber can become saturated with ink, leading to this error. The Canon G2010 printer is a popular choice for home and small office use due to its affordability and reliable performance. In this guide, we will provide step-by-step instructions on how to fix the Canon G2010 P07 blinking error.
How to Fix Canon G2010 Light Blinking Error? Step 1: Prepare the Workspace Start by ensuring that you have a clean and well-lit workspace. Gather the necessary tools, including gloves, tissues or paper towels, and a container for water. It's also a good idea to have the printer's user manual handy for reference. Step 2: Turn Off the Printer To begin the troubleshooting process, turn off the printer and unplug it from the power source. This will prevent any accidental damage and ensure your safety while working on the device. Step 3: Open the Printer Cover Locate the printer cover, which is usually on the top or front of the printer. Carefully open the cover, exposing the ink cartridges. Step 4: Remove the Ink Cartridges Gently remove the ink cartridges from their slots. Take note of their positions so that you can correctly reinsert them later.
Step 5: Locate the Ink Absorber The ink absorber is a rectangular sponge or pad inside the printer that absorbs excess ink during printing and maintenance processes. It is typically located at the bottom of the printer. Take your time to identify and locate the ink absorber. Step 6: Remove the Ink Absorber Once you have located the ink absorber, it's time to remove it from the printer. Put on gloves to protect your hands from ink stains. Carefully lift the absorber out of the printer, ensuring that you don't damage any other printer components in the process. Step 7: Rinse the Ink Absorber With the ink absorber in hand, take it to a sink or an area where you can rinse it with warm water. Avoid using hot water, as it may damage the sponge. Gently rinse the absorber under running water, squeezing it to remove the excess ink. Continue rinsing until the water runs clear. Step 8: Dry the Ink Absorber After rinsing, squeeze out any excess water from the ink absorber. You can use your hands or wrap the absorber in a clean, absorbent cloth or paper towel to remove the moisture. Ensure that the absorber is completely dry before proceeding to the next step. This may take several hours, so be patient.
Step 9: Reinstall the Ink Absorber Once the ink absorber is completely dry, it's time to reinstall it in the printer. Carefully place the absorber back into its original position, ensuring that it fits snugly and securely. Step 10: Reinsert the Ink Cartridges Take the ink cartridges that you removed earlier and reinsert them into their respective slots. Make sure that each cartridge is properly seated and locked into place. Step 11: Close the Printer Cover Gently close the printer cover, ensuring that it latches securely. Check for any obstructions or loose parts that may prevent the cover from closing properly. Step 12: Plug in the Printer and Turn it On Now that everything is back in place, plug the printer back into the power source and turn it on. Wait for the printer to initialize and check if the P07 error has been resolved. If the error persists, continue to the next step. Step 13: Reset the Printer If the P07 error still appears after following the previous steps, you can try resetting the printer. To do this, turn off the printer and unplug it from the power source. Wait for a few minutes, then plug it back in and turn it on. This may reset the printer's internal settings and clear the error.
Thank You Source:- https://allprinters-customercare.com/canon-g2010-p07-light-blinking-error/ +(1-888-840-1555)