Download

1 / 8
0 likes | 18 Vues
When you rely on the Rack Your Garage team, it means you are investing in professionalism, expertise, and tailored solutions for your garage storage needs. <br>

E N D
Overhead garage storage racks installation Visit Our Website www.rackyourgarage.com
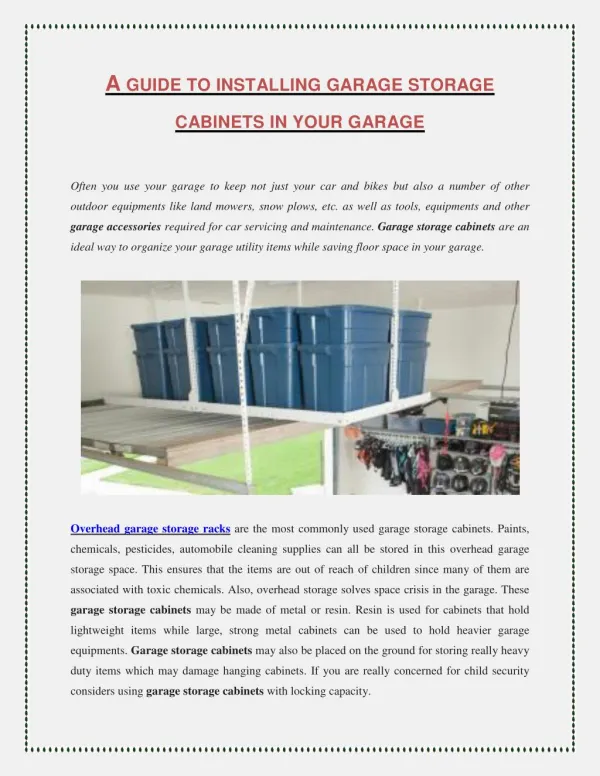
Installing overhead garage storage racks can be a great way to maximize space in your garage and keep items organized. Here is a general guide on how to install overhead garage storage racks:
Materials Needed: 1. Overhead garage storage rack kit Stud finder Drill Screwdriver Level Tape measure Pencil Ladder 2. 3. 4. 5. 6. 7. 8.
Steps: Choose the Right Location Decide where you want to install the overhead storage racks. Consider factors such as the layout of your garage, the height of the ceiling, and the accessibility of the items you'll be storing. Locate Ceiling Joists Use a stud finder to locate the ceiling joists where you plan to install the racks. Overhead storage racks need to be anchored into the ceiling joists for proper support. Measure and Mark Position the Rack Position the overhead storage rack in the desired location, aligning it with the marked joist locations. It's crucial to ensure that the rack is level. Use a tape measure to determine the distance between the ceiling joists. Mark the locations of the joists on the ceiling with a pencil. Mark Hole Locations Drill Pilot Holes Use a drill to create pilot holes in the marked locations. Make sure the pilot holes are slightly smaller than the size of the screws or anchors you will be using. With the help of the pre-drilled holes in the rack brackets, mark the locations on the ceiling where you will be drilling holes for the anchors or screws.
Steps: Attach Brackets Install the Rack Once the brackets are securely attached to the ceiling, install the storage rack onto the brackets. Follow the specific instructions provided by the manufacturer for attaching the rack to the brackets. Secure the brackets of the overhead storage rack to the ceiling by using screws or anchors. Use a screwdriver or a drill for this step. Test Stability Organize and Load Once the rack is installed securely, organize and load your items onto the storage rack. Be mindful of weight limits specified by the manufacturer. Before loading the rack with heavy items, test its stability by gently applying pressure and ensuring that it is securely attached to the ceiling. Always refer to the specific instructions provided by the manufacturer of your overhead garage storage rack, as installation methods may vary depending on the brand and model. If you are uncertain about any aspect of the installation, consult with a professional or seek assistance.
Contact Us 801-923-6382 www.rackyourgarage.com harry@propertyproperty.us 299 Main St Suite 1300 PMB 92069, Salt Lake City, UT 84111, United States
Thank You F o r Y o u r A t t e n t i o n Visit Our Website www.rackyourgarage.com