Download
1 / 10
100 likes | 165 Vues
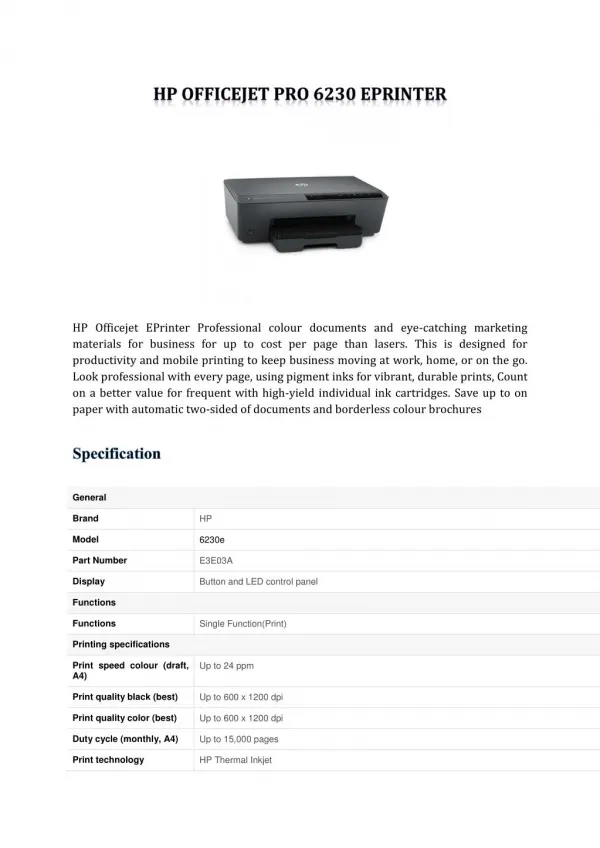
A radical better approach to print. <br>Print quicker than some other shading MFP in its class at the most reduced aggregate cost of ownership in its class. Get elite without trade off.

E N D
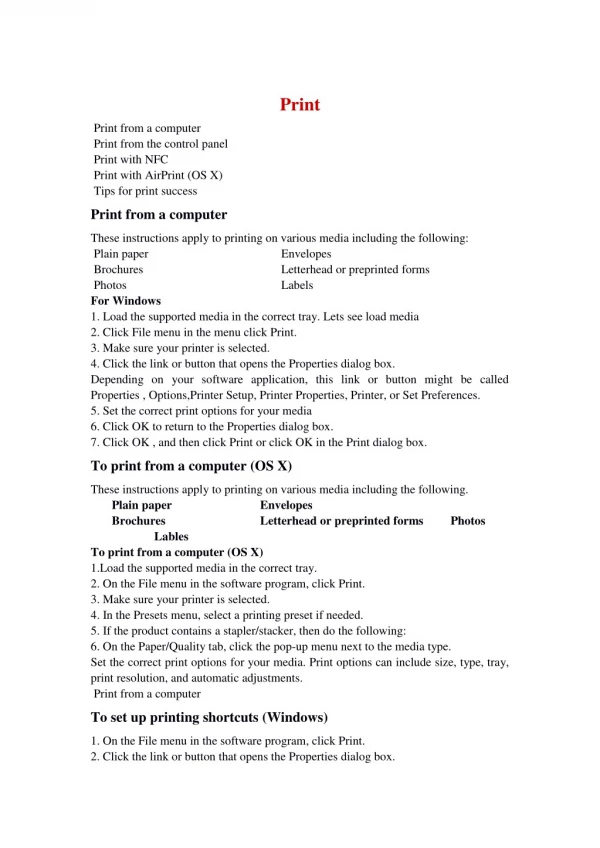
Print Print from a computer Print from the control panel Print with NFC Print with AirPrint (OS X) Tips for print success Print from a computer These instructions apply to printing on various media including the following: Plain paper Envelopes Brochures Letterhead or preprinted forms Photos Labels For Windows 1. Load the supported media in the correct tray. Lets see load media 2. Click File menu in the menu click Print. 3. Make sure your printer is selected. 4. Click the link or button that opens the Properties dialog box. Depending on your software application, this link or button might be called Properties , Options,Printer Setup, Printer Properties, Printer, or Set Preferences. 5. Set the correct print options for your media 6. Click OK to return to the Properties dialog box. 7. Click OK , and then click Print or click OK in the Print dialog box. To print from a computer (OS X) These instructions apply to printing on various media including the following. Plain paper Envelopes Brochures Letterhead or preprinted forms Lables To print from a computer (OS X) 1.Load the supported media in the correct tray. 2. On the File menu in the software program, click Print. 3. Make sure your printer is selected. 4. In the Presets menu, select a printing preset if needed. 5. If the product contains a stapler/stacker, then do the following: 6. On the Paper/Quality tab, click the pop-up menu next to the media type. Set the correct print options for your media. Print options can include size, type, tray, print resolution, and automatic adjustments. Print from a computer Photos To set up printing shortcuts (Windows) 1. On the File menu in the software program, click Print. 2. Click the link or button that opens the Properties dialog box.
3. Click the Printing Shortcuts tab. 4. Select an existing shortcut as a base. 5. Select the print options for the new shortcut. 6. Click the Save As button. 7. Type a name for the shortcut, and click the OK button. To set up printing presets (OS X) 1. On the File menu in the software program, click Print. 2. Make sure your printer is selected. 3. From the Presets pop-up menu, select Default Settings. 4. Click Save Current Settings as Preset. 5. Type a descriptive name for the preset, and save it for Only this printer or All printers. To adjust or manage colors Adjust the color of print output for the product by changing the settings in the printer driver software. • •Choose a preset color theme for a print job • • Adjust the color options for a print job manually • • Match colors to your computer screen • • Control access to color printing Choose a preset color theme for a print job 1. On the File menu in the software program, click Print. 2. Make sure your printer is selected. 3. Click the link or button that opens the Properties dialog box. Depending on your software application, this link or button might be called Properties , Options, Printer Setup, Printer Properties, Printer, or Set Preferences. 4. Do one of the following: Windows: Click the Color tab. OS X: Click the Color tab, and clear HP EasyColor. 5. From the Color Themes drop-down list (Windows) or the RGB Color pop-up menu (OS X), select one of the following color themes: Default (sRGB): This theme sets the product to print RGB data in raw device mode. When using this theme, manage color in the software program or in the operating system for correct rendering. Vivid: The product increases the color saturation in the midtones. Use this theme when printing business graphics. Photo: The product interprets RGB color as if it were printed as a photograph using a digital mini lab. The product renders deeper, more saturated colors differently than with the Default (sRGB) theme. Use this theme when printing photos. Photo (Adobe RGB 1998): Use this theme with printing digital photos that use the AdobeRGB color space rather than sRGB.Turn off color management using this theme.
None: No color theme is used. Adjust the color options for a print job manually Use the printer driver software to clear default color settings and adjust settings manually. Use the built-in help in the driver software to understand how each setting affects print output. 1. On the File menu in the software program, click Print. 2. Make sure your printer is selected. 3. Do one of the following: Windows: Click the link or button that opens the Properties dialog box.Depending on your software application, this link or button might be called Properties , Options,Printer Setup, Printer Properties, Printer, or Set Preferences. OS X: From the Copies & Pages pop-up menu, select Color. Then, deselect HP EasyColor. 4. Do one of the following: Windows: On the Advanced tab, click Ink Settings. OS X: Click the disclosure triangle next to Advanced. 5. Use the sliders to make the following adjustments: Dry Time: Move the slider to the right to increase the amount of time that the printer takes to dry a printed page. Increasing the drying time works best for jobs printed on plain paper. Saturation: Move the slider to the right to increase the amount of black or color applied. Increasing the saturation works best for jobs printed on brochure or photo paper. Black Ink Spread: Move the slider to the left to limit the spread of black onto adjacent areas of color on the printed page. Decreasing the spread works best for jobs printed on plain paper. 6. Click OK to save your adjustments and close the window, or click Reset to return the settings to the factory defaults (Windows). Match colors to your computer screen For most users, the best method for matching colors is to print sRGB colors. The process of matching printer output color to your computer screen is complex, because printers and computer monitors use different methods of producing color. Monitors display colors by using light pixels that use an RGB (red, green, blue) color process, but printers print colors by using a CMYK (cyan, magenta,yellow, and black) process. Many factors can influence your ability to match printed colors to those on your monitor: Print media Printing process (cartridge, press) Overhead lighting Personal differences in perception of color Software programs Printer drivers Computer operating systems Monitors Video cards and drivers Operating environment (humidity, for example)
Control access to color printing HP’s suite of color access control tools allows you to enable or disable color by individual users or groups and applications. For more information, visit Print from the control panel Print using job storage Print from a USB device Print using job storage To save printer memory or to protect sensitive information, you can delete the stored jobs from the product. •To disable or re-enable job storage •To apply job storage to one or all print jobs •To print a job stored on the printer •To delete a job stored on the printer To Disable or re-enable job storage Job storage is enabled, by default. You can disable or re-enable it in the printer software, as needed. Disable or enable job storage (Windows) Disable or enable job storage (OS X) Disable or enable job storage (Windows) 1. Click Start, and do one of the following, depending on your operating system: For Windows 10: Click Settings, click Devices, and then click Printers. For Windows 8.1: Click Control Panel, click Hardware and Sound, and then click Devices and Printers. For Windows 7: Click Devices and Printers. 2. Right-click your printer, and then click Properties or Printer properties. 3. In the Printer Properties window, click the Device Settings tab. 4. From the Job Storage drop-down list, select Disable to turn the feature off or select Automatic to turn it on. 5. Click Apply, and then click OK. Disable or enable job storage (OS X) 1. Open HP Utility. For more information, see Open HP Utility. 2. Make sure your printer is selected. 3. Click Devices. 4. Select Job Storage Settings. 5. Select Allow Stored Jobs on this printer, and set the storage job settings. To apply job storage to one or all print jobs You can apply the job storage feature to a single job or to all print jobs. When you do this, the single job or all jobs are stored in the printer memory so that you can print them later from the printer control panel. Apply job storage to one print job (Windows) Apply job storage to all print jobs (Windows)
Apply job storage to one print job (OS X) Apply job storage to all print jobs (OS X) Apply job storage to one print job (Windows) 1. On the File menu in the software program, click Print. 2. Make sure your printer is selected. 3. Click the link or button that opens the Properties dialog box. 4. Click the Job Storage tab, and select one of the following options: Proof and Hold: Prints the first copy of a multiple-copy job so you can verify the print quality and prints the remaining copies when you request them at the printer control panel Personal Job: Does not print the job until you request it at the printer control panel Personal jobs are automatically deleted after printing. Print from the control panel ● Quick Copy: Prints the requested number of copies of the job and stores a copy of it so you can print it again later ● Stored Job: Prints the job on the printer and lets other users print it at any time ● Make Job Private/Secure: Applies to Personal or Stored Jobs. You can require a personal identification number (PIN) or password to print the stored job from the control panel: —None: No PIN or password is required. —PIN to print: A four-digit PIN is required. —Encrypt Job (with password) (for Windows 7 or later): A password, consisting of 4-32 characters, is required. 5. In the User Name area, select User Name to use the default user name or select Custom and then type the user name you want. 6. In the Job Name area, select Automatic to use the default job name or select Custom and then type the job name you want. If you type a job name that is already in use, select one of the following: Use Job Name + (1-99): Append a unique number to the end of the job name Replace Existing File: Overwrite the existing stored job with the new one 7.Click OK , and then click Print to store the job on the printer. Apply job storage to all print jobs (Windows) 1. Click Start, and do one of the following, depending on your operating system: Windows 10: Click Settings, click Devices, and then click Printers. Windows 8, 8.1: Click Control Panel, click Hardware and Sound, and then click Devices and Printers. Windows 7: Click Devices and Printers. 2. Make sure your printer is selected. 3. Right-click your printer, click Printing preferences, and then click the Job Storage tab.
4. On the Job Storage tab, select one of the following options: Proof and Hold: Prints the first copy of a multiple-copy job so you can verify the print quality and prints the remaining copies when you request them at the printer control panel Personal Job: Does not print the job until you request it at the printer control panel Personal jobs are automatically deleted after printing. Quick Copy: Prints the requested number of copies of the job and stores a copy of it so you can print it again later Stored Job: Prints the job on the printer and lets other users print it at any time Make Job Private/Secure: Applies to Personal or Stored Jobs. You can require a personal identification number (PIN) or password to print the stored job from the control panel None: No PIN or password is required. PIN to print: A four-digit PIN is required. Encrypt Job (with password): A password, consisting of 4-32 characters, is required. 5. In the User Name area, select User Name to use the default user name or select Custom and then type the user name you want. 6. In the Job Name area, select Automatic to use the default job name or select Custom and then type the job name you want. If you type a job name that is already in use, select one of the following: Use Job Name + (1-99): Append a unique number to the end of the job name Replace Existing File: Overwrite the existing stored job with the new one 7. Click OK , and then click Print to store the job on the printer. Apply job storage to one print job (OS X)
1. On the File menu in the software program, click Print. 2. From the Copies & Pages pop-up menu, select Job Storage. 3. Make sure your printer is selected. 4. From the Mode pop-up menu, select one of the following options: Quick Copy: Prints the requested number of copies of the job and stores a copy of it so you can print it again later Proof and Hold: Prints the first copy of a multiple-copy job so you can verify the print quality and prints the remaining copies when you request them at the printer control panel Stored Job: Prints the job on the printer and lets other users print it at any time Personal Job: Does not print the job until you request it at the printer control panel Personal jobs are automatically deleted after printing. 5. In the User Name area, select User Name to use the default user name or select Custom and then type the user name you want. 6. In the Job Name area, select Automatic to use the default job name or select Custom and then type the job name you want. If you type a job name that is already in use, select one of the following: Use Job Name + (1-99): Append a unique number to the end of the job name Replace Existing File: Overwrite the existing stored job with the new one 7. For Personal or Stored Jobs, select Use PIN to Print if you want to require a four- digit personal identification number (PIN) to print the stored job from the control panel. 8. Click Print to store the job on the printer. Apply job storage to all print jobs (OS X) 1. On the File menu in the software program, click Print. 2. From the Copies & Pages pop-up menu, select Job Storage. Print from the control panel 3. Make sure your printer is selected. 4. From the Mode pop-up menu, select one of the following options: Quick Copy: Prints the requested number of copies of the job and stores a copy of it so you can print it again later Proof and Hold: Prints the first copy of a multiple-copy job so you can verify the print quality and prints the remaining copies when you request them at the printer control panel Stored Job: Prints the job on the printer and lets other users print it at any time Personal Job: Does not print the job until you request it at the printer control panel Personal jobs are automatically deleted after printing. 5. In the User Name area, select User Name to use the default user name or select Custom and then type the user name you want. 6. In the Job Name area, select Automatic to use the default job name or select Custom and then type the job name you want. If you type a job name that is already in use, select one of the following: Use Job Name + (1-99): Append a unique number to the end of the job name
Replace Existing File: Overwrite the existing stored job with the new one 7. For Personal or Stored Jobs, select Use PIN to Print if you want to require a four- digit personal identification number (PIN) to print the stored job from the control panel. 8. Click Print to store the job on the printer. To print a job stored on the printer 1. On the control panel, touch the Print icon. 2. In the display, touch the Stored Job or the Private Job icon. 3. Navigate to the stored job you want, and open it. 4. Select the number of copies, and touch Print. To delete a job stored on the printer 1. On the control panel, touch the Print icon. 2. In the display, touch the Stored Job or the Private Job icon. 3. Open the folder containing your stored job, and do one of the following: To delete one job, touch the job you want to delete. To delete all the jobs in the folder, touch the trash icon, and then touch Delete. 4. If needed, touch the trash icon, and then touch Delete. Print from a USB device This product features printing directly from a USB storage device (Plug and Print), so you can quickly print files without sending them from a computer. The product accepts standard USB storage accessories in the USB port near the control panel. 1. Insert the USB device into the USB port on the front of the product. The Memory Device Options menu opens. 2. In the display, touch the Print Documents icon. 3. Navigate to the job you want on the USB device, and open it. You can print the following types of files: PDF All photo formats Microsoft Office files, except Excel 4. Select the number of copies, and touch Black or Color to start printing. Print with NFC With Near Field Communications (NFC), you can walk up to the product and print from your smart phone or tablet. Print with AirPrint (OS X) Printing using Apple’s AirPrint is supported for iPad (iOS 4.2), iPhone (3GS or later), iPod touch (third generation or later), and Mac (OS X v10.10 or later). To use AirPrint, ensure the following: The printer and the Apple device are connected to the same network as your AirPrint-enabled device. For more information, visit . If a local version of this website is not available in your country/region, you might be directed to the HP Mobile Printing site in another country/region or language.
To re-enable AirPrint AirPrint is enabled, by default. If it becomes disabled, you can use the following instructions to enable it again. 1. Open the EWS. For more information, see Open the EWS. 2. On the Network tab, click AirPrint and then click Status. 3. In the AirPrint Status row, click Turn On AirPrint. Load paper that matches the paper settings of the printer. Tips for print success Cartridge tips Paper loading tips See Tips for selecting and using paper. Printer settings tips (Windows) To change default print settings, do one of the following: In the HP Printer Assistant, click Print , and then click Set Preferences. On the File menu in the software program, click Print. Open the Printer Properties dialog box. On the Color or Finishing tab of the printer driver, set the following options as needed: Print in Grayscale: Allows you to print a black-and-white document using only the black cartridge.It also allows you to print documents in high-quality grayscale, which uses color cartridges. Click Black Only or High Quality CMYK Grayscale, and then click OK . Pages per sheet: Helps you specify the order of the pages if you print document in more than two pages per sheet. Flip pages up: Depending on paper orientation, you can flip pages up for short-edge binding (calendars, for example) or long-edge binding (books, for example). Booklet Layout: Allows you to print a multiple-page document as a booklet. It places two pages on each side of a sheet that can then be folded into a booklet in half size of the paper. Select a binding method from the drop-down list, and then click OK : Left binding: The binding side after folded into a booklet appears at the left side. Select the option if your reading habit is from left to right. Right binding: The binding side after folded into a booklet appears at the right side. Select the option if your reading habit is from right to left. Print page borders: Allows you to add the borders to the pages if you print the document with two or more pages per sheet. You can use printing shortcuts to save time setting printing preferences. Cartridge tips Paper loading tips Printer settings tips (Windows) Printer settings tips (OS X) Use Original HP cartridges.
Printer settings tips (OS X) In the software program, be sure to select the correct paper size loaded in the printer: a. From the File menu, select Page Setup. b. In Format For, make sure your printer is selected. c. From the pop-up menu, select Paper Size. In the software program, be sure to select the correct paper type and quality loaded in the printer: a. On the File menu in the software program, click Print. b. From the Copies & Pages pop-up menu, select Paper/Quality, and select the correct paper type and quality. To print a black-and-white document using only the black cartridge, do the following: a. On the File menu in the software program, click Print. b. In the Print window, from the pop-up menu, select Copies & Pages, and then select Color. c. Clear the HP EasyColor checkbox. d. Click the Print in Grayscale pop-up menu, and select Black Only. For Service And Support Toll Free : 1 888 249 8496