CANON PIXMA WIRELESS PRINTER SETUP
Grab the simple Canon Pixma wireless printer setup guide from our tech experts. Contact us to get instant troubleshooting guidance.<br>

CANON PIXMA WIRELESS PRINTER SETUP
E N D
Presentation Transcript
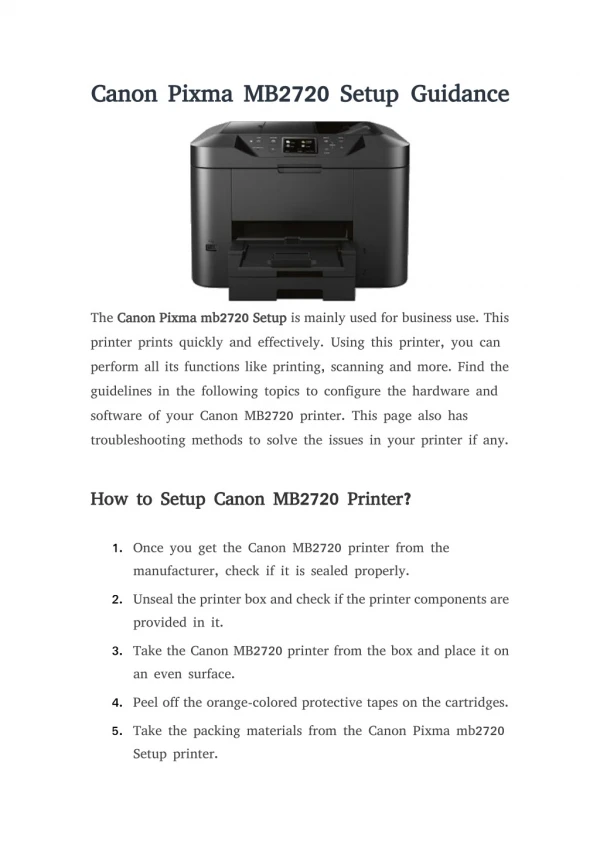
CANON PIXMA WIRELESS PRINTER SETUP •The Power button is available on the top of the printer’s control panel. •Use the Power button to change the printer to the active state. •Wait until the control panel displays. •Go to the Setup icon and click Maintenance. •Select the Wireless LAN Setup icon under Maintenance for the Canon Pixma wireless printer setup process. •Search for the access point and begin the connection process. •Choose the Canon printer option from the list of available devices. •Mention the password in its tab. The password is available in 8-64 characters. •Press OK after the process completes. •A message displays as the printer is connected to the access point. •To install the driver, click the Next option. •Wait until the Setup Guide Installation window pops-up. •Connect the printer to an access point to begin the installation process. •Select the Next option and choose the place of residence option. •Customize the driver settings and click Next. •Read and Agree to the Terms and Conditions mentioned on the screen. •The driver installs on the system. The installation progress status displays on the screen. •End the installation process by clicking Complete. •After completing the process, the printer name displays in the list of available devices. •After a while, the printer prints a test page to check if the driver is installed correctly. Contact our tech experts to know more about Canon Pixma wireless printer setup process.
WPS CONNECTION METHOD • To set WPS, you have to satisfy some conditions. Check if the access point has a physical WPS button available and whether your network uses Wi-Fi Protected Access or WPA2 security protocol. • After checking the above conditions, start the Canon Pixma wireless setup process. • Switch on your printer and make sure that the router features a WPS button. Press it when required. • Press & hold the Wi-Fi button on the printer control panel. Continue the action until the ON lamp starts to blink. • Now, press the Back button and then the Wi-Fi button for the Canon Pixma wireless printer setup process. • Ensure that the Wi-Fi lamps flash quickly and the ON lamp slowly. • Once the lights start to blink, then go to the access point & press the WPS button within the two minutes. • Now, on the printer, check if the blue light of the Wi-Fi lamp continues to flash while searching for the network, and the Power & Wi-Fi lights flash when the printer connects to the access point.
•If the lights stop flashing, it means that the WPS connection set up is successful. Assure that after the successful connection setup, the Wi-Fi & the ON lamp are lit. • Now, you can perform the print, scan, copy, or fax operations from your printer, once the Canon Pixma wireless printer setup process is over. STANDARD CONNECTION METHOD •The steps given below will help you understand how to connect your printer to the computer using a Canon Pixma standard connection method. •Tap the Home button on the control panel of your printer. •Use the up and down arrow keys to choose the WLAN Setup icon. •Press the Function Button available on the left side of the panel. •Once the connection is established, the Wi-Fi lamp will be lit in blue color. •The Canon printer will now start searching for any access points nearby. •Press the Stop/Reset button and hold it for a few seconds. •Choose the Standard setup option and tap OK. •Canon printer will now search for wireless networks available nearby. •With the help of the arrow key, choose the access point and press OK. •In case you are unable to find your network, then press the Left Function button to start searching again. •Specify the password of your network in the next screen that appears. The password is case-sensitive, so make sure you enter the correct password. •The security key can be entered using the arrow keys. •Press Done after successfully entering the password. •You can also edit the password by tapping the OK option. • Tap the Left Function button to finish click more.