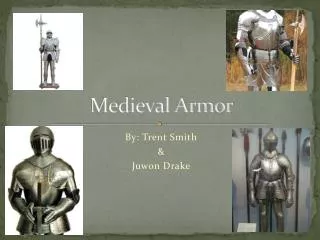
Chainmail Armor
From the Celts of 300 BC to 18th century Asia, chainmail armor was one of the most prized items a warrior could own. The "Foe of Swords " probably derived the name "mail" from the Latin "Macula" meaning net. This shirt features 16 gauge links combined in the "international" pattern, with 4 links through a 5th, which was common to all European mail. <br>http://www.museumreplicas.com/p-62-mail-armor-shirt.aspx

Chainmail Armor
E N D
Presentation Transcript
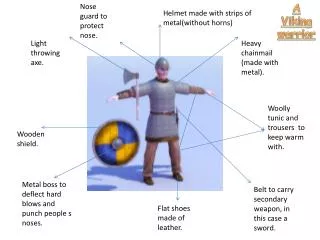
Step 1 Getting all the tools and material which is required for making chainmail armor. Tools Needed: Speed Drill, two needle nose pliers and mint bolt cutters. Material Needed: Stainless Steel wire and 3.8” wooden or metal dowel.
Step 2 Making The rings: • Drill the hole at the end of 3.8” dowel. • Place the dowel in the drill and thread the wire around the hole. • Now start your drill and spin it slowly. The wire will grab around the dowel and looks like a spring. Continue this process till the end and keep the coil as tight as possible. • After completing now slide the coil off the dowel and using the mini bolt cutters, cut along the length of the spring. • Now individual rings has been made.
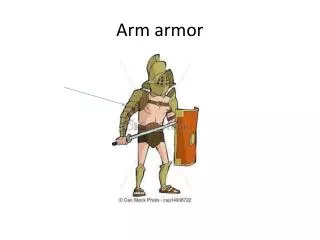
Step 3 Weaving the Rings Now in this one is attached to 4 other rings. Around half of the rings you need to be close, you can do this using two pliers. Also need to bend some of the coil cut rings open in order to connect other rings. Now the opened ring with your needle nose pliers and hook four rings onto it. Take the opened ring and hook it down and up through the two rings on the top of the 4 in 1. Place the bottom two rings of the top 4 in 1 over the opened ring. Carefully pick up the opened ring and close it as in step 1. After joining two 4 in 1's together this is what it will look like. Continue this pattern to make strips of whatever size and length you want.
Step 4 Now You are Ready for Battle Just need to get some axe and sword to complete your chainmail armor.