Download
1 / 15
150 likes | 182 Vues
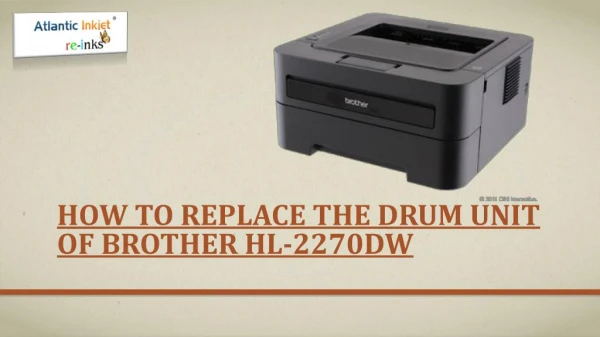
We’re going to give a step-by-step instruction on how printer users can replace the drum unit of your Brother HL-2270DW. If you want to know more about please visit our website page: https://atlanticinkjet.com/cic/eg/tonerprinter.php?printer=Brother HL-2270dw

E N D
The Brother HL-2270DW is a compact monochrome laser printer that has wireless networking features for easy sharing and auto-duplex printing option that produce professional two-sided documents, brochures and booklets, and reduce your paper use and help save money.
Steps in Replacing the Drum Unit Cartridge in Brother HL-2270DW:
Make sure that the Brother HL-2270DW is turned on. Leave the machine for at least 10 minutes to cool down. STEP 1
Open the front cover of the Brother HL-2270DW. Note that to prevent any degradation to the print quality; do not touch the shaded parts shown in the illustrations. STEP 2
Take out the drum unit and toner cartridge assembly. Remember that while removing the drum unit, handle it carefully because it may contain toner. STEP 3
Push down the green lock lever and take the toner cartridge out of the drum unit. STEP 4
Put the toner cartridge firmly into the new drum unit until you hear it lock into place. If you put the cartridge in properly, the green lock lever will lift automatically. STEP 6
Put the drum unit and toner cartridge assembly back into the machine. Do not close the front cover yet. STEP 7
Press and hold down the Go button for about 4 seconds until all the LEDs light up. Once all four LEDs are lit, release the Go button. STEP 8
https://atlanticinkjet.com/cic/eg/tonerprinter.php?printer=Brother+HL-2270dwhttps://atlanticinkjet.com/cic/eg/tonerprinter.php?printer=Brother+HL-2270dw Visit us: