Download
1 / 1
10 likes | 33 Vues
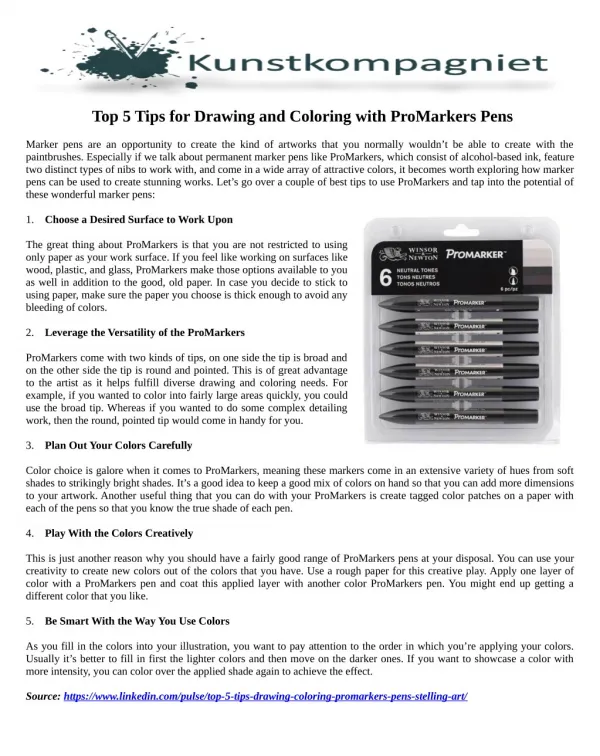
Color choice is galore when it comes to ProMarkers, meaning these markers come in an extensive variety of hues from soft shades to strikingly bright shades. It’s a good idea to keep a good mix of colors on hand so that you can add more dimensions to your artwork.

E N D
Top 5 Tips for Drawing and Coloring with ProMarkers Pens Marker pens are an opportunity to create the kind of artworks that you normally wouldn’t be able to create with the paintbrushes. Especially if we talk about permanent marker pens like ProMarkers, which consist of alcohol-based ink, feature two distinct types of nibs to work with, and come in a wide array of attractive colors, it becomes worth exploring how marker pens can be used to create stunning works. Let’s go over a couple of best tips to use ProMarkers and tap into the potential of these wonderful marker pens: 1. Choose a Desired Surface to Work Upon The great thing about ProMarkers is that you are not restricted to using only paper as your work surface. If you feel like working on surfaces like wood, plastic, and glass, ProMarkers make those options available to you as well in addition to the good, old paper. In case you decide to stick to using paper, make sure the paper you choose is thick enough to avoid any bleeding of colors. 2. Leverage the Versatility of the ProMarkers ProMarkers come with two kinds of tips, on one side the tip is broad and on the other side the tip is round and pointed. This is of great advantage to the artist as it helps fulfill diverse drawing and coloring needs. For example, if you wanted to color into fairly large areas quickly, you could use the broad tip. Whereas if you wanted to do some complex detailing work, then the round, pointed tip would come in handy for you. 3. Plan Out Your Colors Carefully Color choice is galore when it comes to ProMarkers, meaning these markers come in an extensive variety of hues from soft shades to strikingly bright shades. It’s a good idea to keep a good mix of colors on hand so that you can add more dimensions to your artwork. Another useful thing that you can do with your ProMarkers is create tagged color patches on a paper with each of the pens so that you know the true shade of each pen. 4. Play With the Colors Creatively This is just another reason why you should have a fairly good range of ProMarkers pens at your disposal. You can use your creativity to create new colors out of the colors that you have. Use a rough paper for this creative play. Apply one layer of color with a ProMarkers pen and coat this applied layer with another color ProMarkers pen. You might end up getting a different color that you like. 5. Be Smart With the Way You Use Colors As you fill in the colors into your illustration, you want to pay attention to the order in which you’re applying your colors. Usually it’s better to fill in first the lighter colors and then move on the darker ones. If you want to showcase a color with more intensity, you can color over the applied shade again to achieve the effect. Source: https://www.linkedin.com/pulse/top-5-tips-drawing-coloring-promarkers-pens-stelling-art/